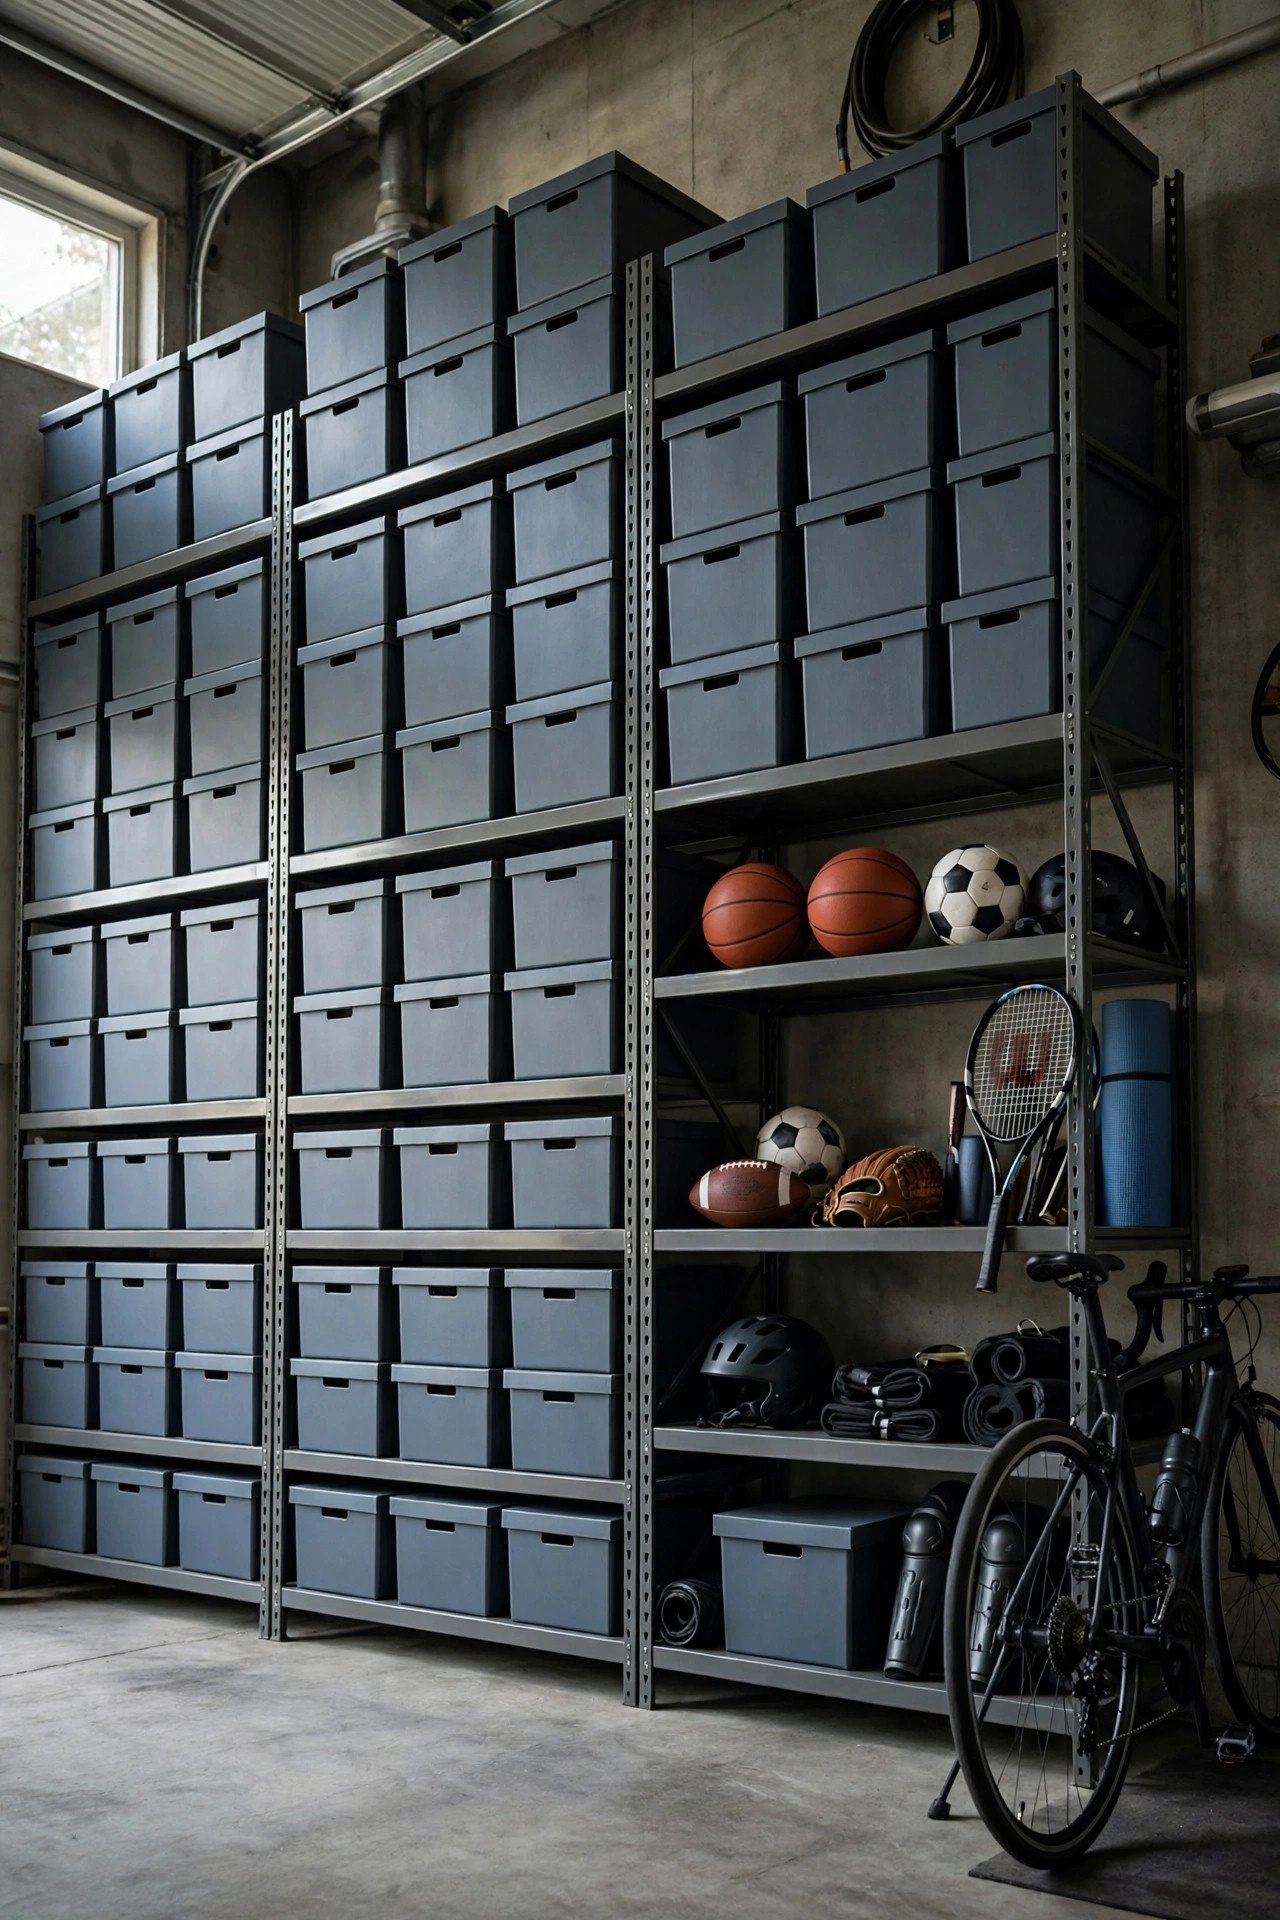
The garage is where good intentions go to be buried. It starts innocently: a few boxes from the move, the bikes, the tools. Five years later the car lives on the street, the lawnmower is behind the Christmas decorations, the Christmas decorations are behind a broken chair nobody will admit to owning, and finding the tyre pump requires an expedition with a torch. The garage did not run out of space. It ran out of zones.
A garage works when it is planned like a small warehouse: everything emptied and sorted once, the space divided into zones by job, the floor kept clear by putting storage on walls and ceiling, and labels doing the remembering for you. This guide works through it in order — audit, zone map, vertical storage, and the rules that keep the system alive after the big weekend ends.
Quick Answer
To end garage storage chaos, empty the garage completely and sort everything into zones by job: tools and DIY, garden, sports and bikes, seasonal and decorations, car care, and household overflow. Then assign each zone a fixed home along the walls, nearest the door or area where it is used, store by frequency (weekly items at hand height near the front, seasonal items high and deep), and get everything off the floor with shelving units, wall rails and hooks, and ceiling racks for light seasonal boxes. Finish with big, honest labels on every box and shelf edge, a clear rule that the car space stays clear, and a one-in-one-out rule for everything that enters from now on.
Step 1: Empty It All and Sort by Job, Not by Guilt
There is no version of this project that works around the piles. Choose a dry weekend, take everything out onto the drive, and sort by job into tarps or marked areas: tools and DIY, garden equipment, sports and bikes, seasonal (decorations, camping, winter gear), car care, paint and chemicals, and the honest final category — things that should not be in the garage at all. That last pile is usually the biggest discovery: broken furniture awaiting a repair that will never happen, boxes unopened since the move, duplicates of tools bought because the original was lost in the chaos.
Be as ruthless as the method deserves. It is the same empty-sort-measure discipline as our step-by-step space audit for an overflowing bedroom, at warehouse scale: you cannot plan zones for a collection you have never seen all at once. Count roughly as you sort — how many boxes of seasonal, how much wall the tools really need — because those numbers, not the shelving catalogue, are your design brief. Dispose of dead paint, dead chemicals and dead electronics properly at this stage; a zone plan built around rubbish is a rubbish plan.
Step 2: Draw the Zone Map Before Anything Goes Back
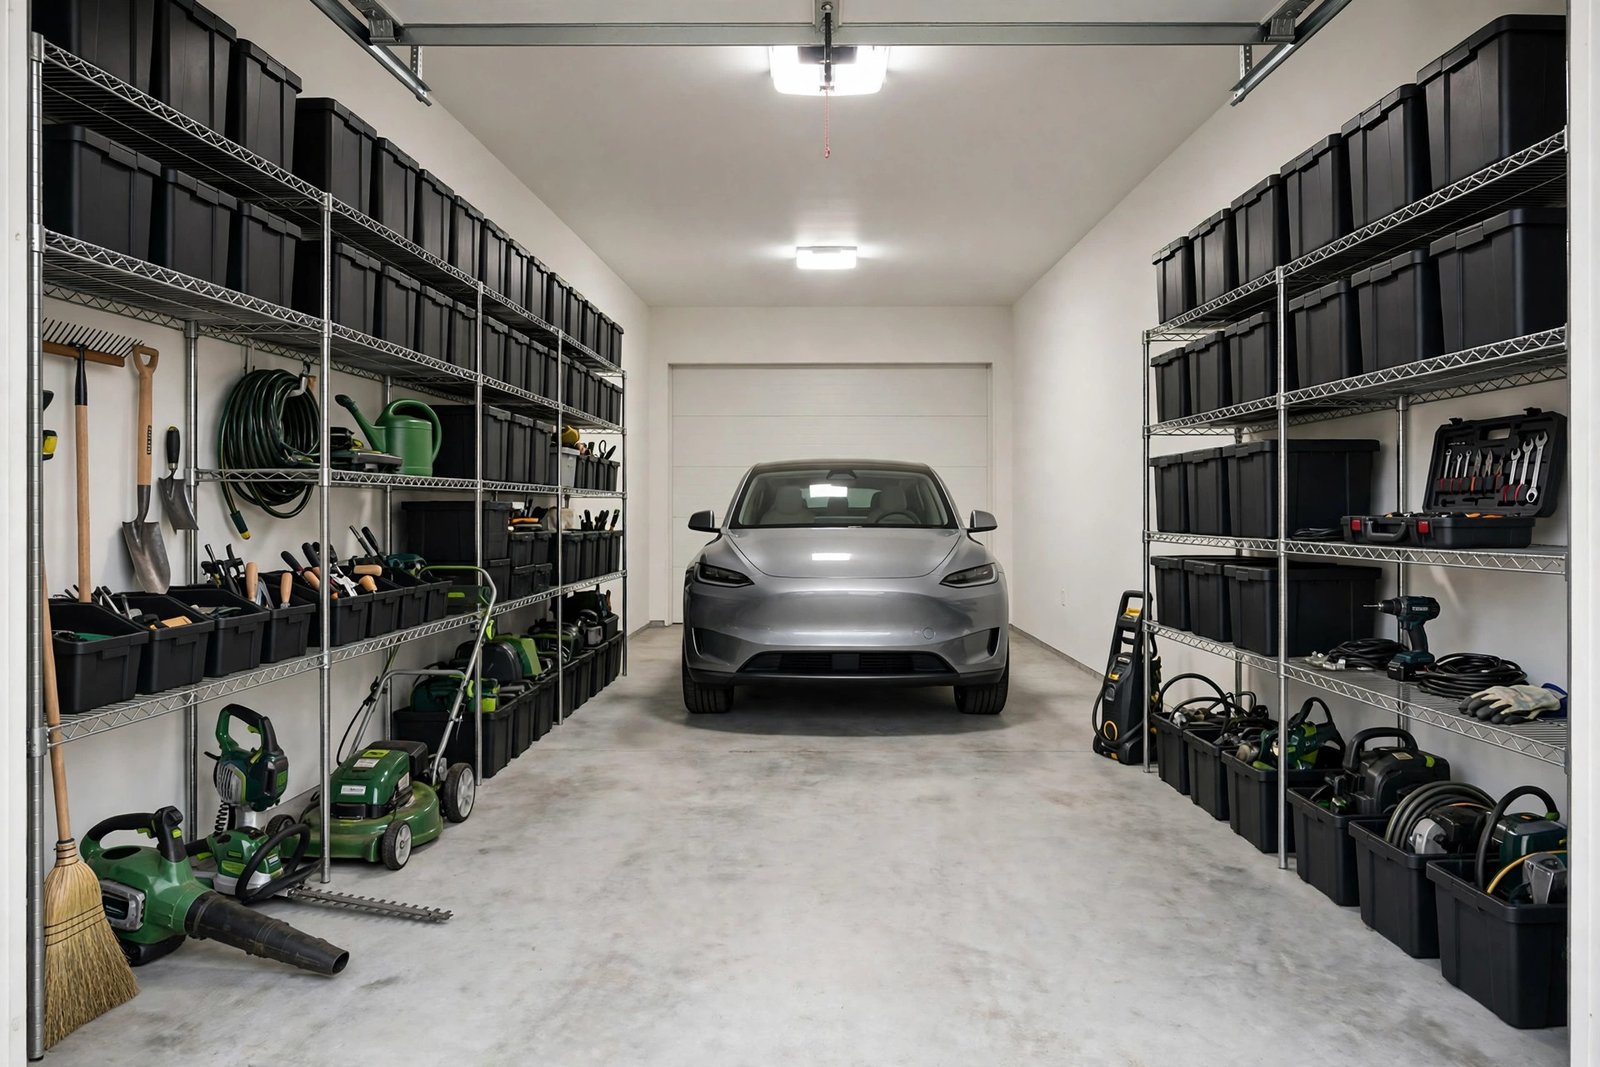
Now stand in the empty garage and assign the zones their territory, by two principles: the car comes first, and frequency decides the front. Mark the car’s rectangle — including door-opening space — as sacred ground nothing enters. What remains is the walls and the corners: that is your storage estate. Garden equipment goes nearest the door it leaves by, ideally on the wall beside the garden door or the main door. Tools and the workbench claim one wall, the one with power sockets if there is a choice. Sports and bikes sit near the main door for grab-and-go.
Seasonal and overflow take the deep and the high: the back wall, the top shelves, above head height — anywhere that requires a step stool is seasonal territory by definition. Car care lives beside the car’s rectangle, at the front, in one shelf’s worth of space. Sketch the map on paper with measurements before a single shelf is bought: zone widths, shelf runs, the height zones (hand height for weekly, above shoulder for monthly, step-stool for seasonal). The zones logic is identical to the one that fixes a hallway with wasted space: the shape of the space is fixed, so every item’s home is decided by how often it moves and where it is going.
Step 3: Walls and Ceiling — the Floor Is for the Car
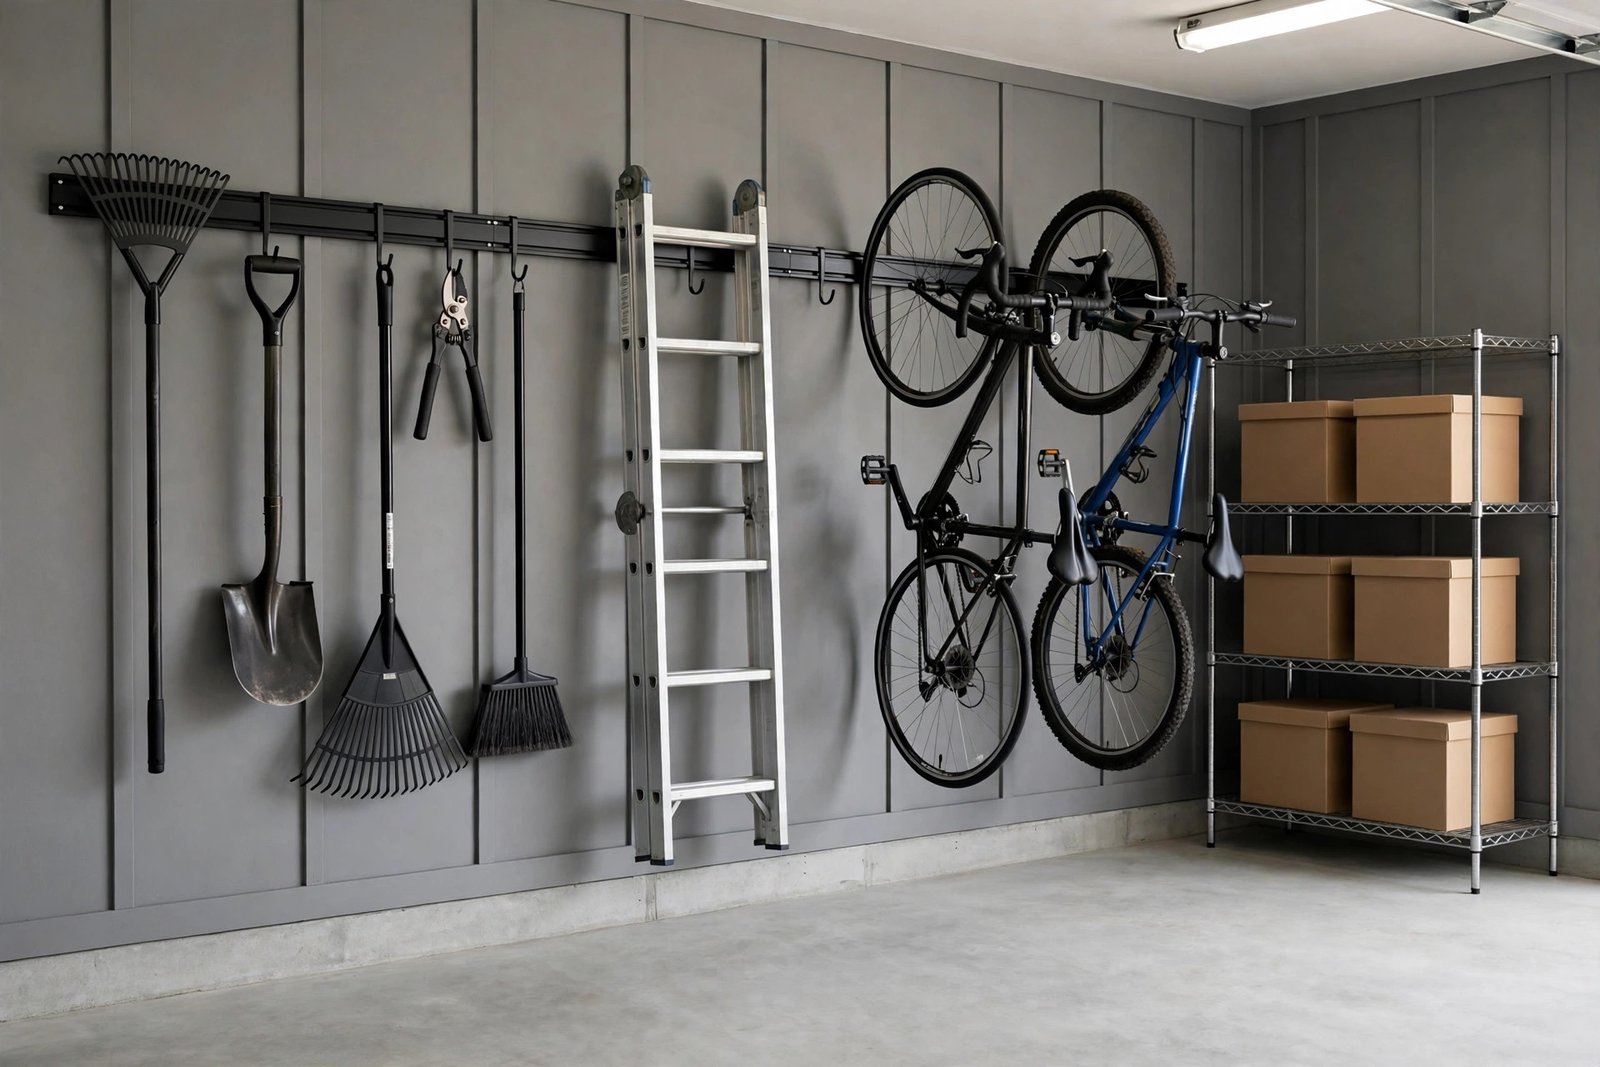
With the map drawn, the storage itself has one job: lift everything off the floor. Freestanding shelving units along the walls are the backbone — choose units deep enough for your boxes (40–50 cm is the workable standard) and standardise the boxes to fit them, because uniform boxes on uniform shelves are what “findable” looks like. Wall rails, hooks and brackets take the long, awkward shapes shelves handle badly: ladders, bikes (vertical hooks transform bike storage), garden tools, folding chairs. A rail system you can re-hook as the collection changes beats a forest of individual screws.
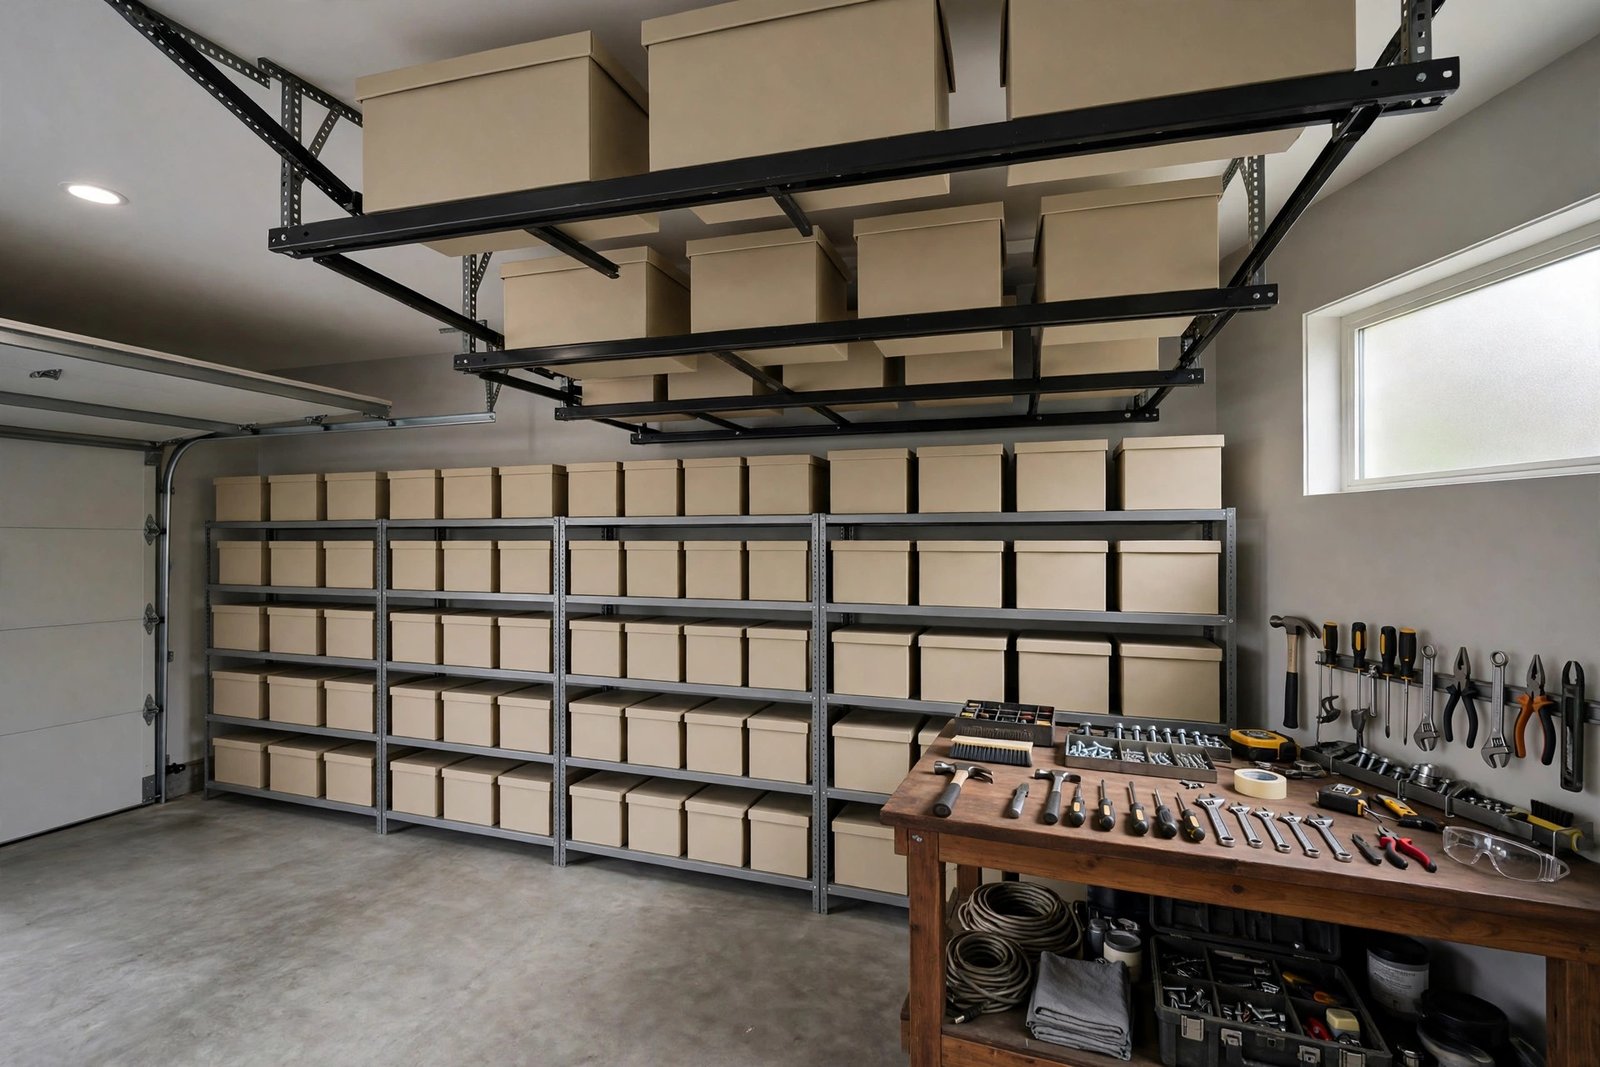
Overhead, ceiling racks above the car’s bonnet height hold the light, bulky, seasonal boxes — camping gear, decorations — that eat shelf space out of all proportion to their weight. Keep heavy things low, always: paint, tools and anything with real mass live between knee and shoulder height, both for your back and for safety. And leave one small luxury in the plan: a clear patch of floor or bench as a landing zone, where a project or a delivery can sit for a week without breaking the system — a planned exception that stops unplanned exceptions spreading.
Step 4: Labels and the Rules That Keep It Working
The difference between a tidy garage and a findable garage is labels. Label every box on the end that faces out, in words a tired person can read in bad light: not “misc” but “CAMPING — tent, stove, mats”. Label the shelf edges with their zones too, so putting things back is a matching exercise anyone in the household can do without you. Clear boxes help for the small, many-shaped categories; solid boxes with honest labels are cheaper and stack better for the rest.
Then defend the system with three rules. One in, one out: a new box of anything means an old box leaves. The car test: if the car cannot get in, the garage has failed its first job, whatever else it stores. Nothing crosses zones on the floor: an item “temporarily” on the floor of the wrong zone is how chaos respawns — it goes to the landing zone or to its home, nowhere else. It is the same discipline that plans storage for the smallest room in the house, our guide to a bathroom with no cabinet space: every object has a zone, every zone has a boundary, and the boundaries are the whole system.
Mistakes to Avoid
- Sorting in place instead of emptying out. Shuffling piles inside a full garage just redistributes the chaos. The driveway sort — everything out, grouped by job — is the only honest starting point.
- Buying shelves before drawing the zone map. Shelving bought by guess ends up the wrong depth in the wrong wall, and the zones get bent to fit the furniture. Map first, measure second, buy third.
- Storing by size instead of by job. Tall things together and boxes together looks neat for a week. Zones by job and frequency are what make things findable in month six.
- Seasonal items in the prime spots. Decorations used one week a year do not belong at hand height by the door. Weekly items earn the front; seasonal items earn the step stool.
- Boxes labelled “misc”. A misc box is a promise to re-sort later, which means never. Every box gets a contents label on its outward face, or it does not go on the shelf.
- Letting the car space become overflow. The first box parked “just for now” in the car’s rectangle is the beginning of the street-parked car. The rectangle is sacred; the landing zone is the only exception, and it has a time limit.
Frequently Asked Questions
What zones does a typical garage need?
Six cover most homes: tools and DIY, garden, sports and bikes, seasonal and decorations, car care, and household overflow (the legitimate spares and bulk storage). Small garages can merge car care into the tools zone and overflow into seasonal. The exact list matters less than the rule behind it — every category has one named home, decided by job and frequency.
How do I store things if my garage has no room for shelving units?
Go to the walls and ceiling first: rails and hooks for tools, bikes and garden equipment, a ceiling rack for light seasonal boxes, and one narrow shelf run (30 cm deep still holds paint, car care and most boxes) along the wall the car does not need for door swing. Floor units are the third choice, not the first — vertical volume is larger than floor volume in almost every garage.
What is the best way to label garage boxes?
Big, plain words on the outward-facing end, naming the contents specifically — “WINTER — blankets, snow gear” beats “bedding stuff”. Add the zone colour if your household likes systems: a strip of coloured tape per zone on every box makes returning things foolproof. Photograph each box’s contents and keep the photos in a phone album if you want a searchable inventory.
How do I keep the garage from sliding back into chaos?
Rules, not effort: one in, one out; the car rectangle stays clear; everything returns to its labelled zone; and a twice-yearly 30-minute sweep at the season changes to evict the drift. Chaos returns through exceptions, so give exceptions a legal home — the landing zone — with a one-week limit. Systems with a pressure valve survive; perfect systems collapse.
The Bottom Line
Garage chaos is not a space shortage; it is an unmade map. Empty everything, sort by job, let the car claim its rectangle first, and assign each zone a wall by frequency — weekly at hand height near the door, seasonal high and deep. Lift the storage onto shelves, rails and ceiling racks, label every box like you mean it, and defend the map with one-in-one-out and a clear floor. Do that once, and the garage goes back to its real jobs: housing the car, and surrendering the tyre pump in under a minute.