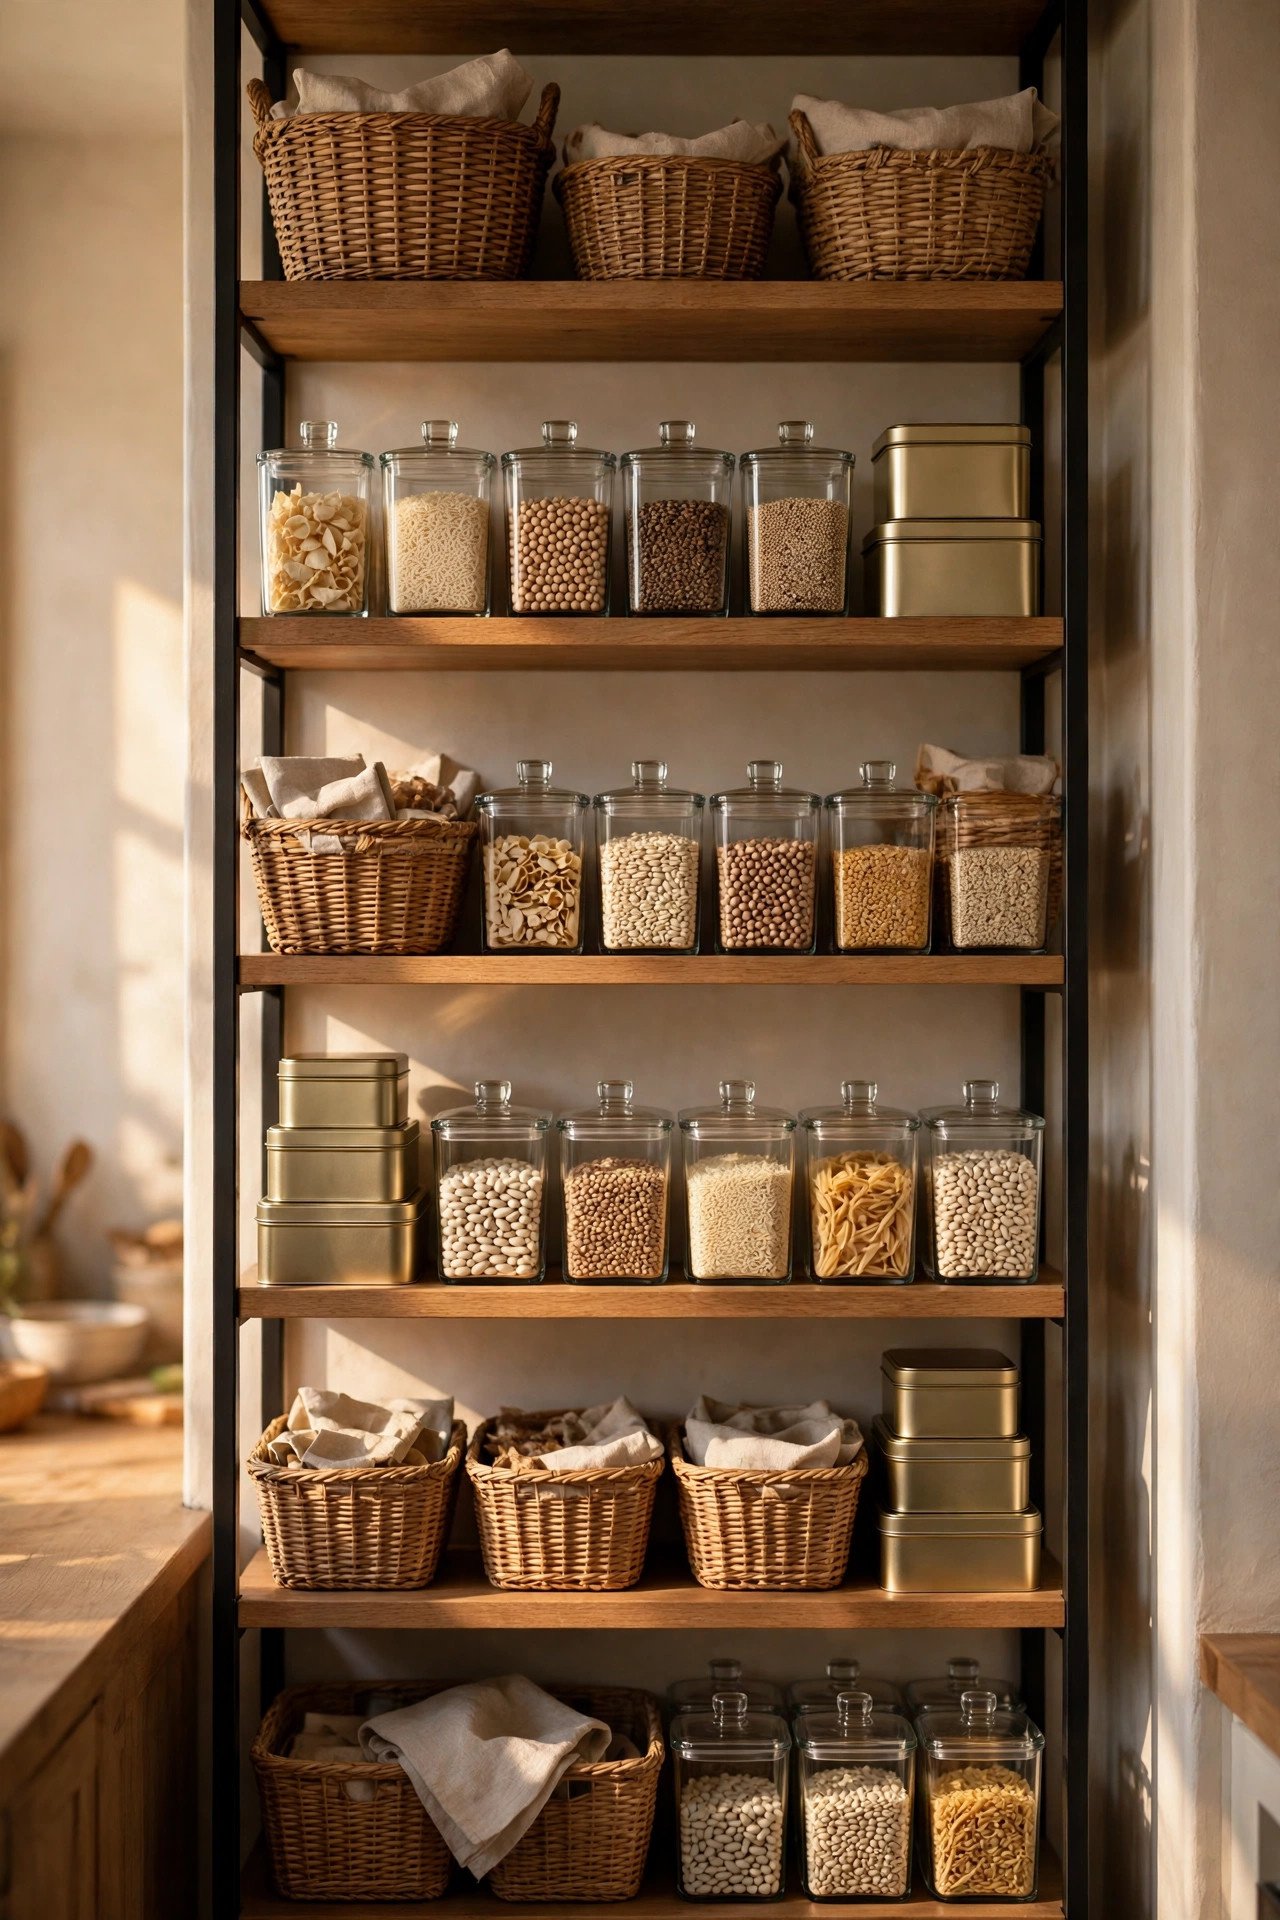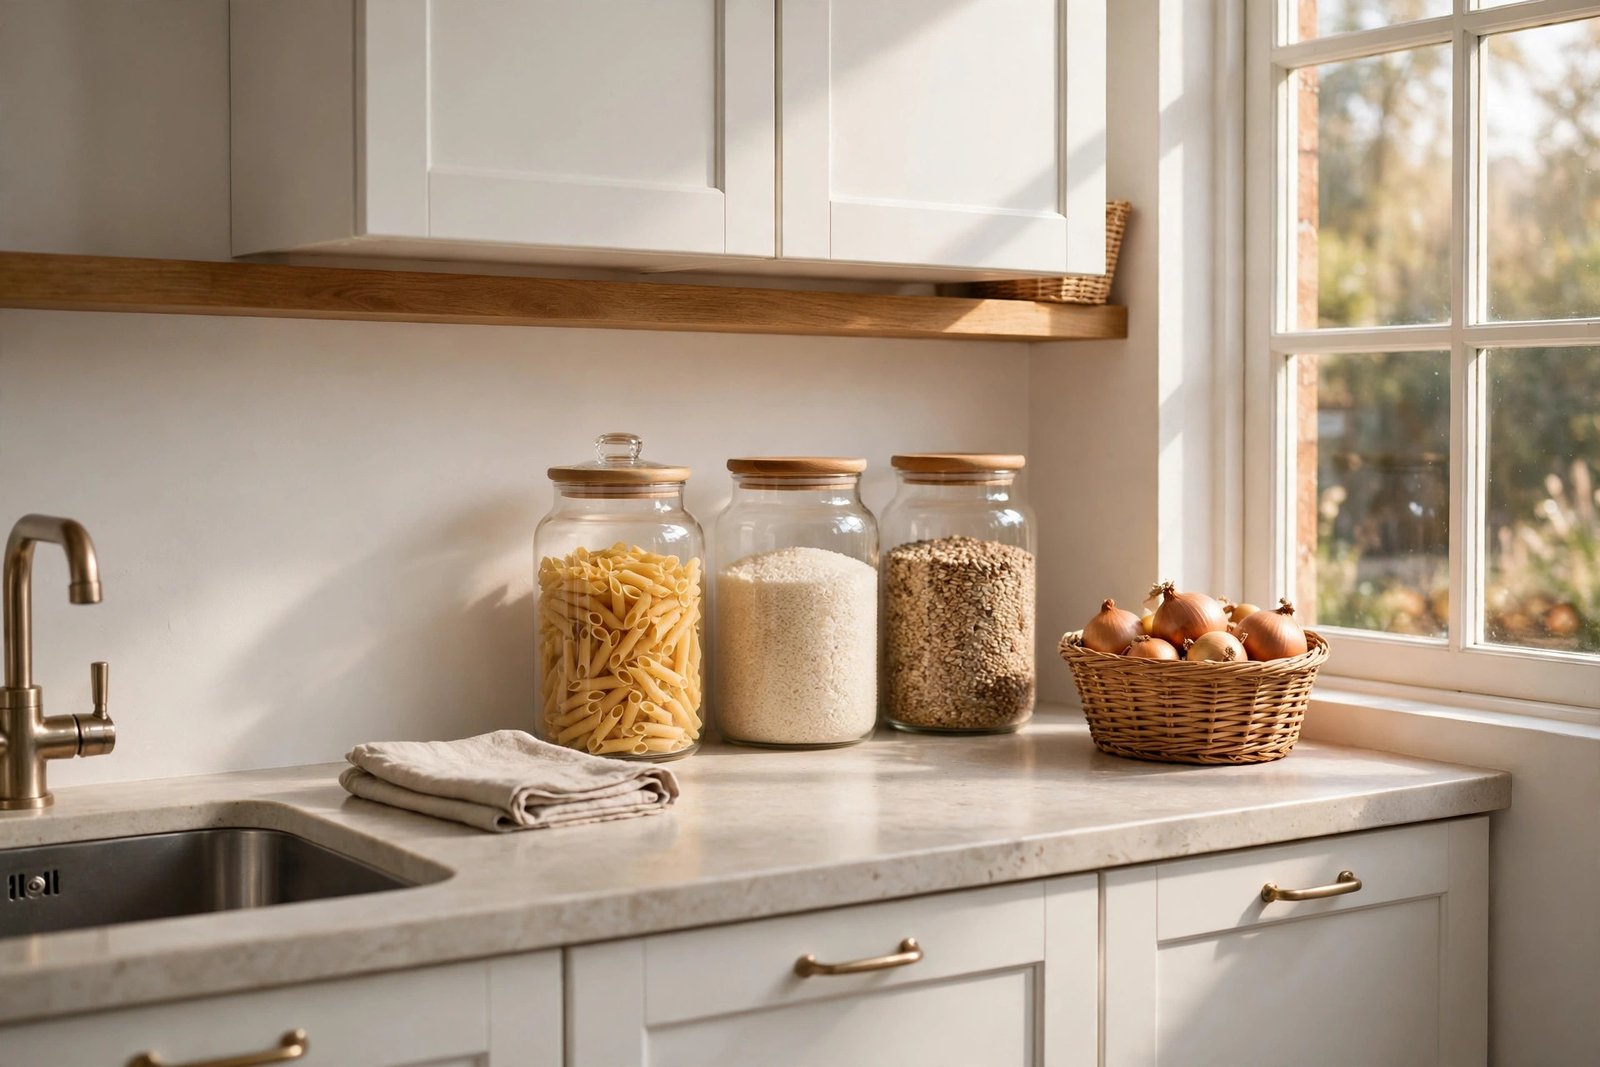
A pantry sounds like a luxury until you live without one. Then every bag of rice, tin of beans and half-used packet of pasta has to fight for the same few cabinet shelves as your plates and pans — and it usually loses. The result is familiar to anyone in a small flat or an older house: food stacked three deep, duplicates bought because the first one was hiding, and something out of date discovered at the back of a cupboard every single month.
The honest truth is that most small kitchens hold more than enough food storage — it is just unplanned storage. Cabinets get filled in the order things were bought, not in the order they are used, and awkward spaces (the deep corner, the shelf above the eye line, the gap beside the fridge) sit half empty while the easy shelves overflow. This guide gives you a plan in order: audit what you store, zone the cabinets by how often you cook with each thing, make every shelf hold more, and only then claim the extra spaces outside the cabinets.
Quick Answer
To plan food storage in a small kitchen with no pantry, sort everything you store into daily, weekly and backup groups, then give the daily group the cabinets between knee and eye height, the weekly group the higher and lower shelves, and backup stock the awkward spaces — deep corners, the top of cabinets, another room if needed. Inside each cabinet, shelf risers, turntables, under-shelf baskets and door racks typically double the usable space, and decanting dry goods into matching square containers removes the wasted air between odd-shaped packets. Only add outside-cabinet storage — a slim rolling cart, wall shelves, a hallway cupboard — once the cabinets themselves are working properly.
Step 1: Audit What You Actually Store
Every no-pantry plan fails the same way a no-closet plan does: storage gets arranged for the food you imagine you have, not the food you actually have. Start by emptying one cabinet at a time and sorting the contents into three groups. Daily: the oils, spices, grains, tea, coffee and tins you touch most days. Weekly: baking supplies, sauces, pasta shapes and ingredients for the meals you rotate through. Backup and bulk: the second bag of rice, spare tins, party supplies, and the slow cooker you use four times a year.
Throw out what is expired as you go — most people find 10–20 percent of a crowded cabinet is dead stock — and write down rough volumes for each group. The method is the same one used in our step-by-step space audit for an overflowing bedroom: measure what survives the sort, because those numbers, not the cabinet catalogue, are your design brief. Most households discover their daily group is surprisingly small — often a single cabinet’s worth — which is good news: it means prime space only has to serve a short list.
Step 2: Zone the Cabinets by Frequency
Now assign the zones. The space between about knee height and eye height is prime: it is where you can see and reach without stretching or crouching. That zone belongs to the daily group, ideally in the cabinets nearest the hob and the main worktop, because cooking is a loop between those three points. The weekly group goes on the shelves above eye height and below knee height. Backup and bulk go in the genuinely awkward places: the deep corner cabinet, the high shelf you need a step for, the cabinet over the fridge.
Within each cabinet, keep one category per shelf or per section, and put the thing you reach for most at the front. It sounds obvious, but most unplanned kitchens do the opposite: the everyday spice jars end up behind the waffle maker because the waffle maker arrived first. Frequency zoning is also exactly how you would plan wardrobe storage without a built-in closet — weekly clothes on the rail, seasonal clothes under the bed — and the logic transfers without change: the closer something sits to your hand, the more often you should be using it.
Step 3: Make Every Cabinet Hold More
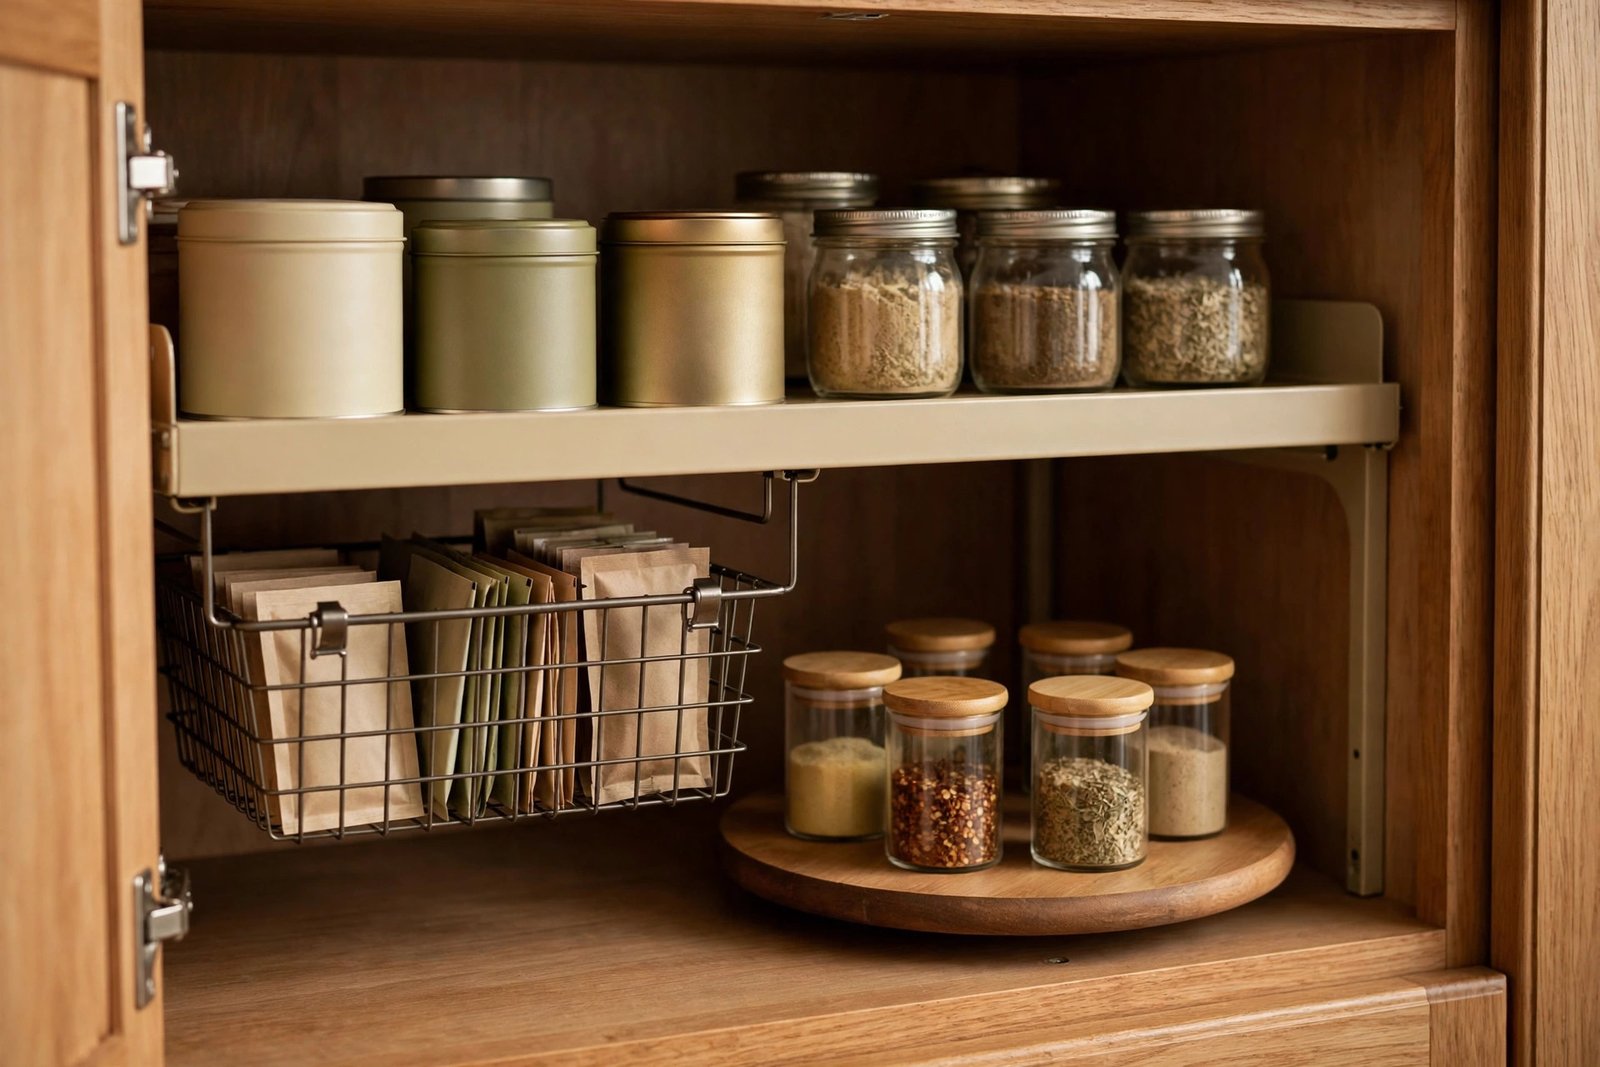
A standard cabinet shelf wastes the vertical half of its height: jars sit on the floor of the shelf while the air above them stores nothing. Fix that first. A shelf riser — a small raised platform — turns one shelf into two levels and lets you see the back row over the front one. A turntable in a deep or corner cabinet brings the back items within reach instead of into exile. Under-shelf baskets hook onto the shelf above and use the dead air beneath it for packets, wraps and small boxes.
The inside of the cabinet door is the other forgotten surface: slim racks there hold spice jars, wraps, lids and measuring cups — small flat things that otherwise rattle around in drawers. And decant dry goods into matching square or rectangular containers. Bags and boxes of different shapes waste a third of a shelf in gaps; uniform containers stack edge to edge, stack on top of each other, and show you at a glance what is running low. Keep one rule through all of this: you must be able to see everything in the cabinet without moving more than one thing. If you have to excavate, the cabinet is over capacity no matter how neatly it is stacked.
Step 4: Claim Space Outside the Cabinets — Carefully
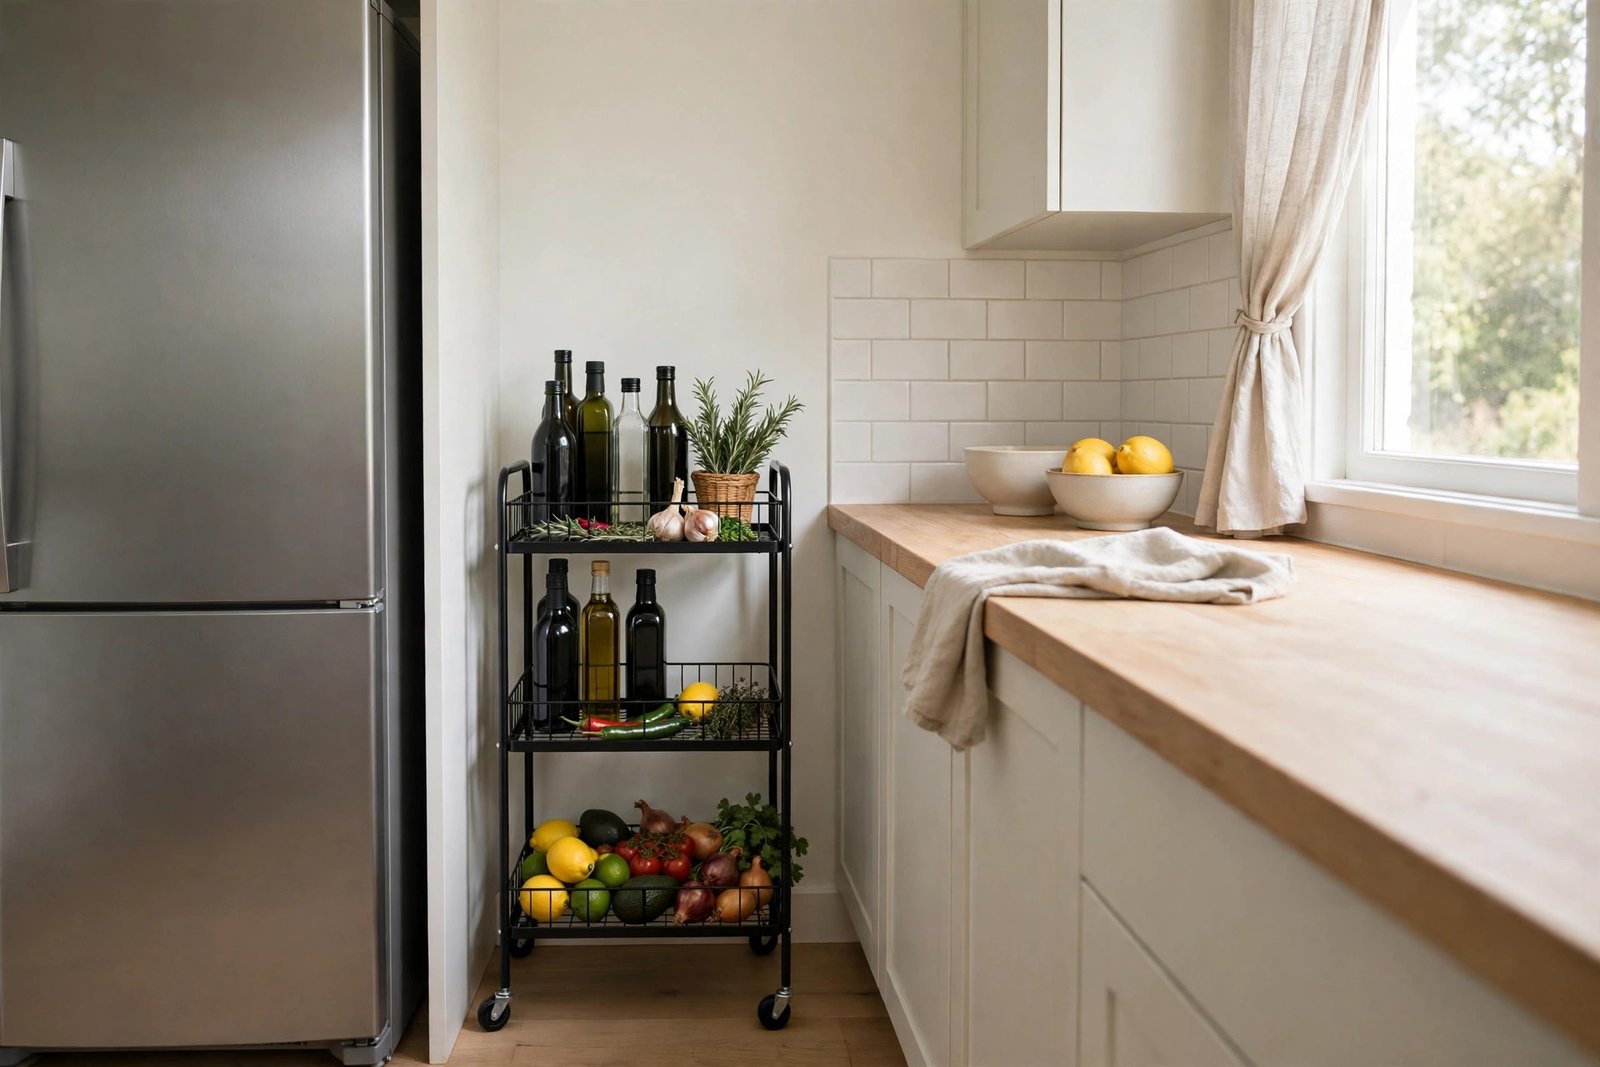
Only when the cabinets are zoned and fitted out should you look beyond them, because outside storage added to an unplanned kitchen just spreads the mess over more surfaces. The good options are narrow and vertical. A slim rolling cart (15–20 cm wide) fits the gap beside a fridge or cooker and holds oils, sauces and daily produce. Open wall shelves above the worktop take the daily dry goods in their matching jars — the things you use constantly and do not mind seeing. A rail with hooks keeps utensils and mugs off the counter.
The top of wall cabinets, usually a dust-collecting void, takes backup stock in matching lidded boxes — clearly the backup zone, not daily food. And if the kitchen genuinely cannot hold bulk buys, there is no rule that says backup food must live in the kitchen at all: a shelf in a hallway cupboard works well, as long as it stays shallow and organised — the same principles behind our guide to hallway storage that still feels open. What should never happen is food colonising the worktop itself: the counter is a workspace, and every item permanently stored on it is cooking space you have given away.
Mistakes to Avoid
- Buying organisers before auditing. Risers, racks and jars bought for food you later throw out are just new clutter in prettier packaging. Sort first, measure second, buy third.
- Storing by category instead of by frequency. All the spices together looks tidy, but the five you use daily belong by the hob and the other twenty can live higher up.
- Deep stacking. Anything stored three rows deep effectively does not exist — you will buy it again while it expires at the back. Two rows maximum, and a turntable for deep shelves.
- Keeping bulk buys you have no zone for. A bargain bag of rice that lives on the floor for a month was not a bargain. Buy bulk only when the backup zone has room.
- Using the worktop as overflow storage. The counter is for cooking. Once jars and appliances claim it permanently, the kitchen feels smaller and cooking gets slower.
- Decanting everything into jars on day one. Decant the daily dry goods you refill often. Rarely used packets are fine in their packaging, in the backup zone.
Frequently Asked Questions
How much food storage does a small kitchen actually need?
Less than most people fear. Once expired and duplicate stock is removed, a typical household’s food usually fits into two to three standard cabinets: one for the daily group, one for weekly ingredients, and the awkward spaces for backup. The secret is not volume but zoning — daily items visible and reachable, backup items allowed to be harder to reach.
Are open shelves a good idea for food storage?
For the daily group, yes: matching jars of the grains, pasta and coffee you use constantly look good and work fast. For everything else, closed cabinets are better — mixed packets and tins on open shelves look messy quickly and collect dust and grease. A common split is one open shelf for daily jars, cabinets for the rest.
What is the best storage for a deep corner cabinet?
A turntable or a pull-out basket, because the problem is access, not space. Without one, the back half of a deep cabinet becomes a graveyard for forgotten tins. If neither fits, give the corner cabinet the backup role — big, light, rarely used items like spare containers and the stock pot, which are easy to pull out even from the back.
Where should spices go in a kitchen with no pantry?
The five or six you use daily belong in a door rack, a small drawer or a riser right beside the hob. The rest of the collection can live in a less prime spot — a higher shelf or a box in the weekly cabinet. Splitting spices by frequency feels wrong to tidy minds, but it matches how cooking actually happens.
The Bottom Line
A missing pantry is a planning problem, not a space problem. Audit what you store, sort it into daily, weekly and backup groups, give each group the cabinet zone its frequency earns, and then double the shelves you already own with risers, turntables, door racks and uniform containers. Add outside storage last and keep it narrow and vertical. Do it in that order and the small kitchen stops being a monthly excavation — everything visible, everything reachable, and the worktop finally clear for cooking.