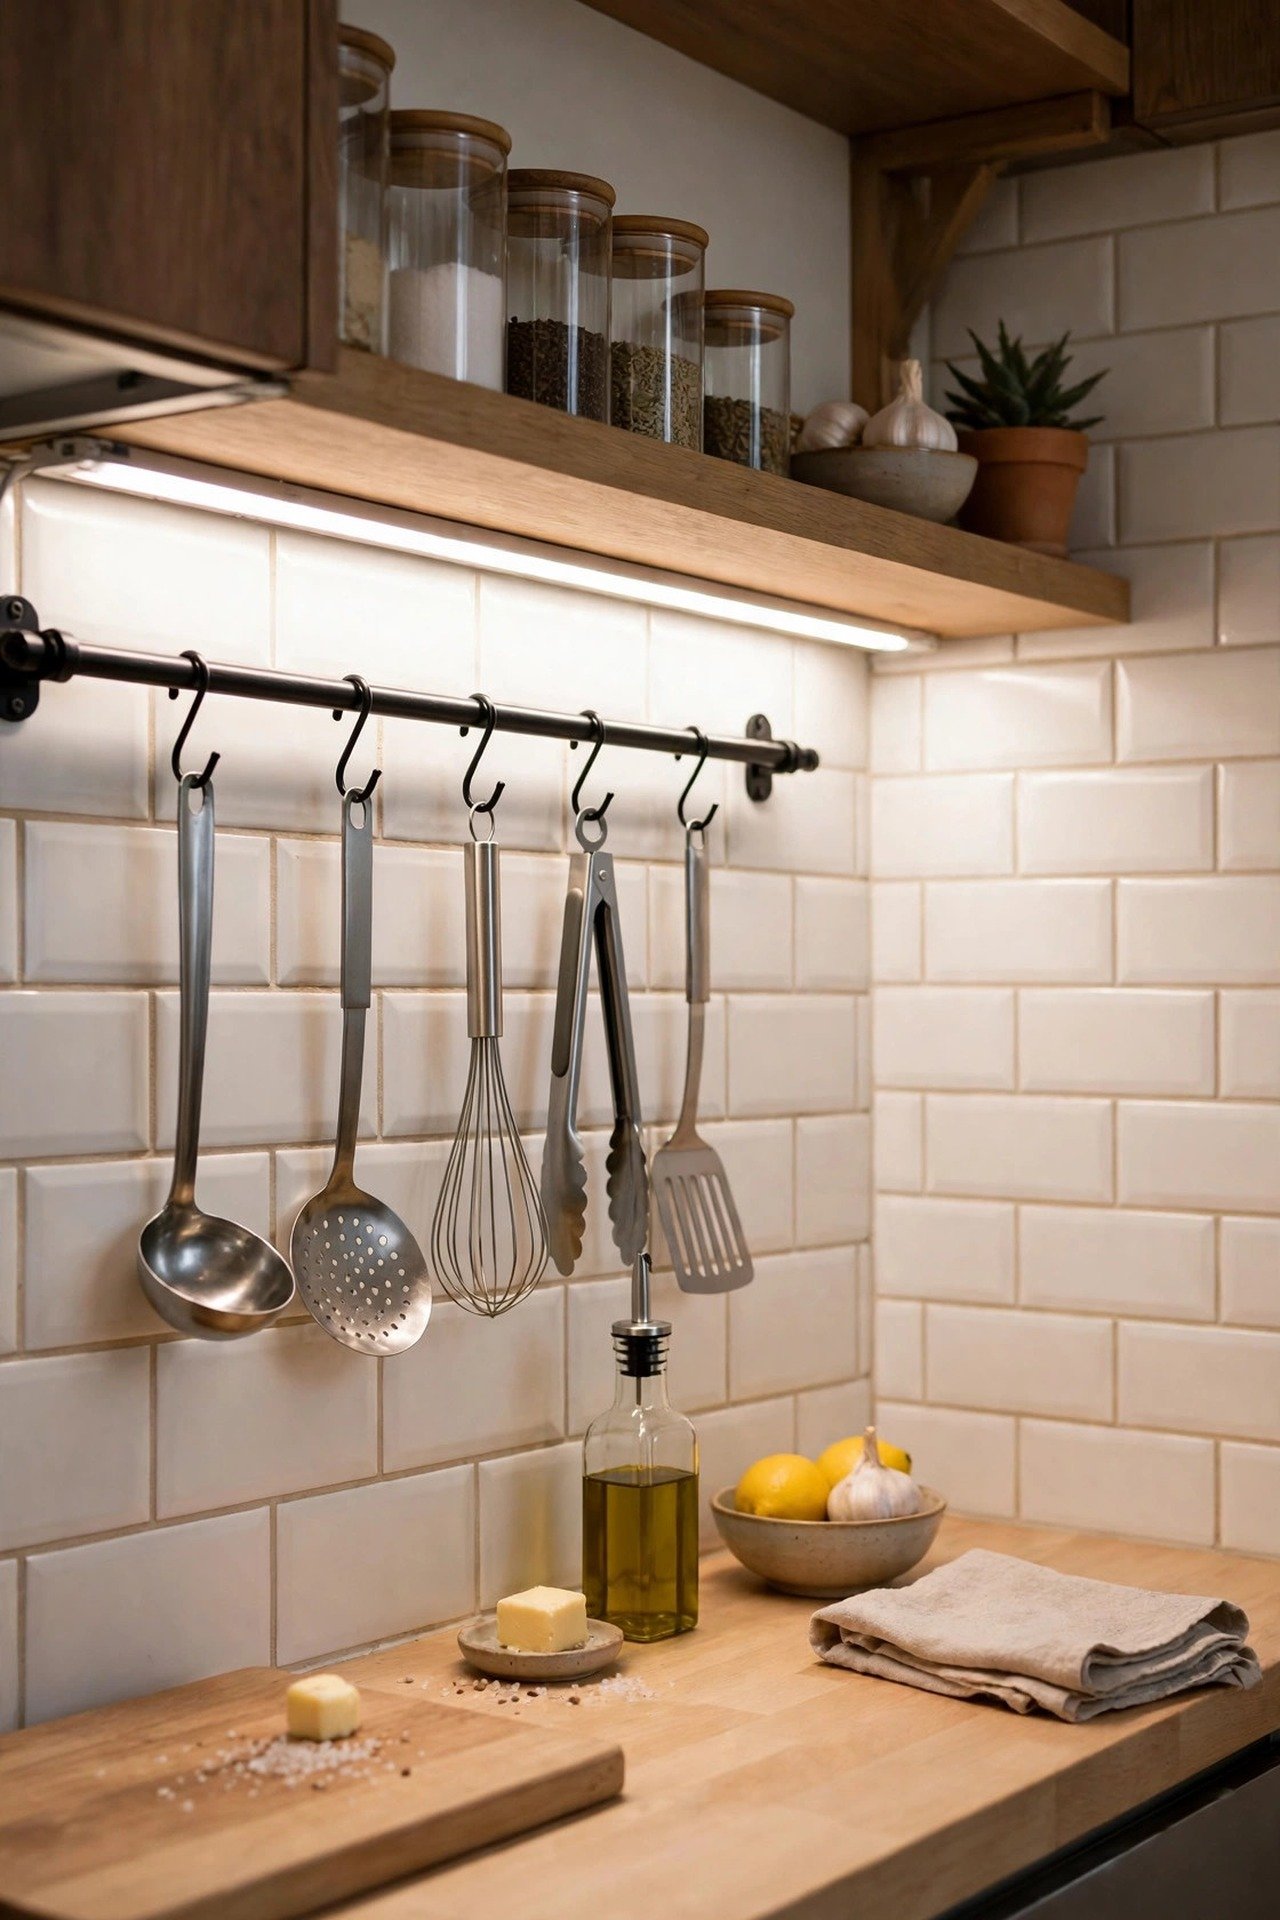
Every kitchen has the same bad joke built into it. The ceiling light sits in the middle of the room, you stand at the counter with your back to it, and the thing you are trying to chop sits in the shadow of your own body. The worktop — the one surface in the house where you use sharp knives and hot pans — ends up the darkest place in the room, lit by everything except the light that matters.
This is not a brightness problem; the room may be bright overall. It is a placement problem, and it has a precise, well-tested solution: light that lives under the wall cabinets, aimed at the counter instead of at you. This guide explains why counter shadows happen, how to choose and place under-cabinet lighting properly, and what else to fix so the whole kitchen works under light that helps instead of hinders.
Quick Answer
Counter shadows happen because the main light is behind you and the wall cabinets block it from above. The fix is under-cabinet lighting mounted at the front edge of the cabinet’s underside, angled slightly toward the backsplash, in a continuous run rather than spaced dots. Choose LED strips or slim bars at 3000–4000K with a CRI of 90+ so food colours look true, bright enough to work by (roughly 300–500 lumens per metre of counter), and pair them with a pendant or focused light over the sink and hob. Renters can get most of the benefit from plug-in or rechargeable strip lights with no wiring at all.
Why the Shadow Falls Exactly Where You Work
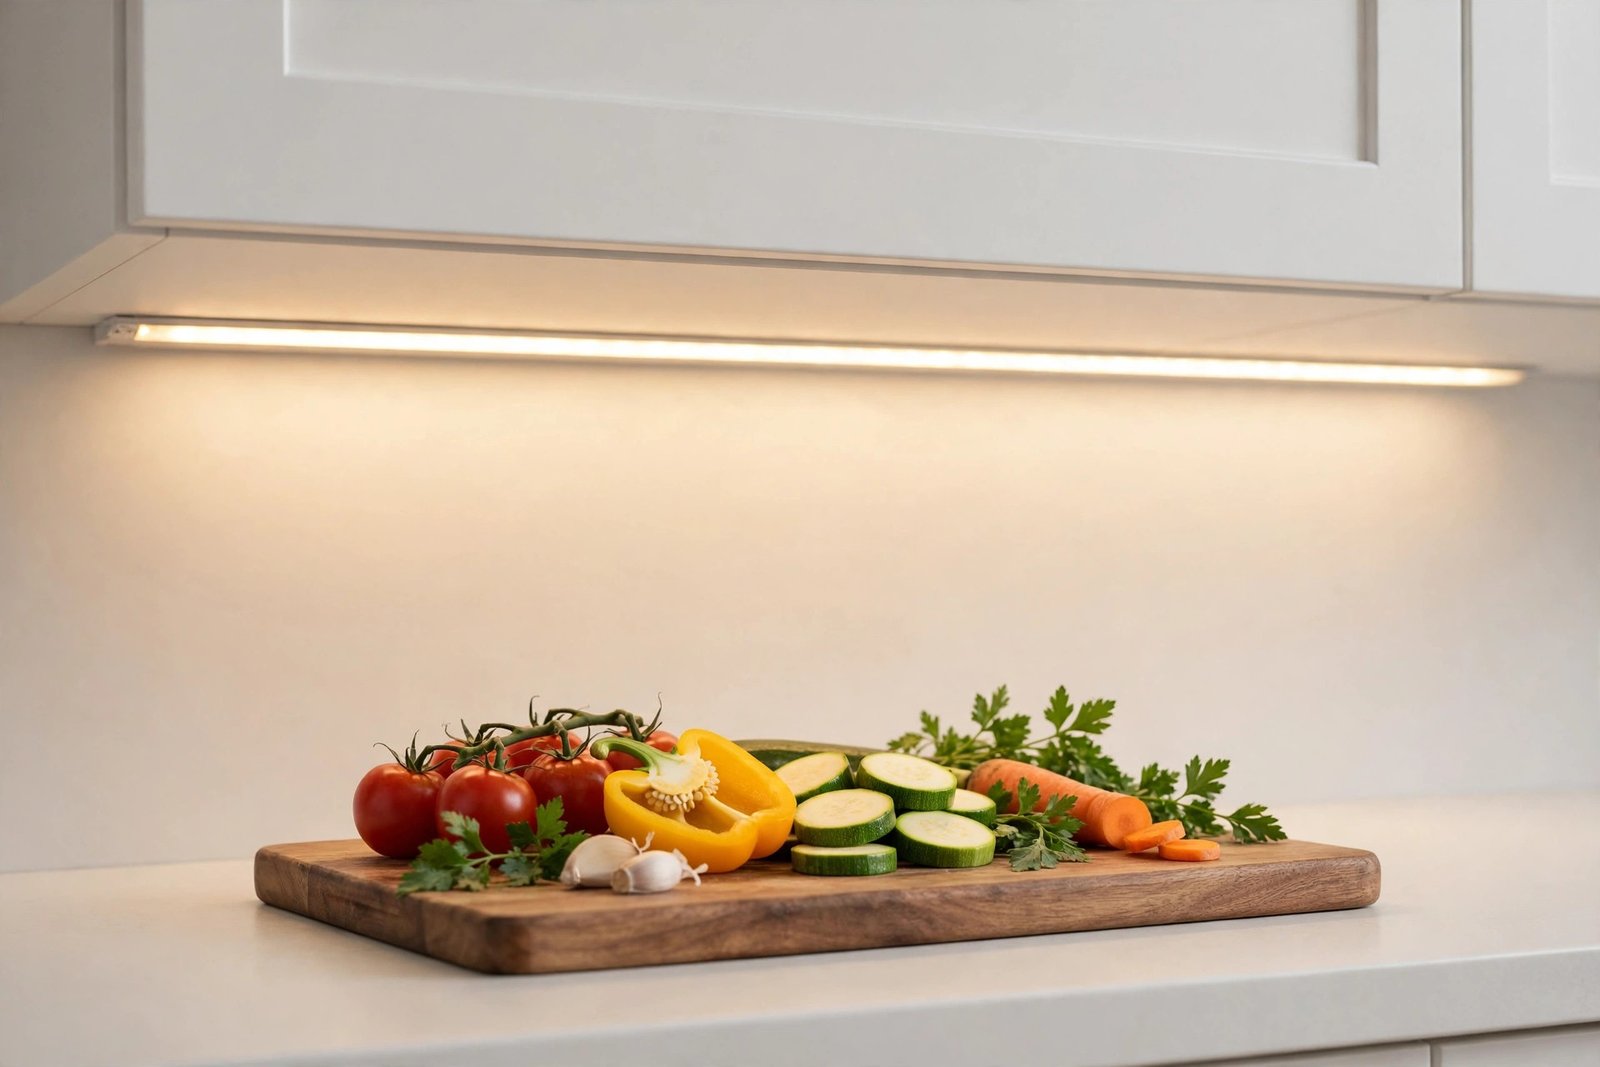
Stand at any counter and look at the geometry. The ceiling light is behind and above you, so your head and shoulders cast a shadow forward onto the worktop. The wall cabinets make it worse: they project 30 cm or more from the wall, directly over the counter, and they block whatever light might have arrived from a window or a fitting in front of you. The result is a permanent shadow band running the length of every counter, no matter how powerful the ceiling light is. Adding a stronger ceiling bulb just sharpens the shadow’s edge; it cannot remove it, because you are standing inside the light path.
The same logic explains why kitchens feel fine for walking through but tiring for cooking. Ambient light is designed for seeing the room. Work light needs to arrive at the task surface from in front of or above the task — never from behind the worker. Once you see the kitchen as a set of task surfaces (counter, hob, sink, island) each needing its own light, the whole design falls into place.
Under-Cabinet Lighting: the Fix, Done Properly
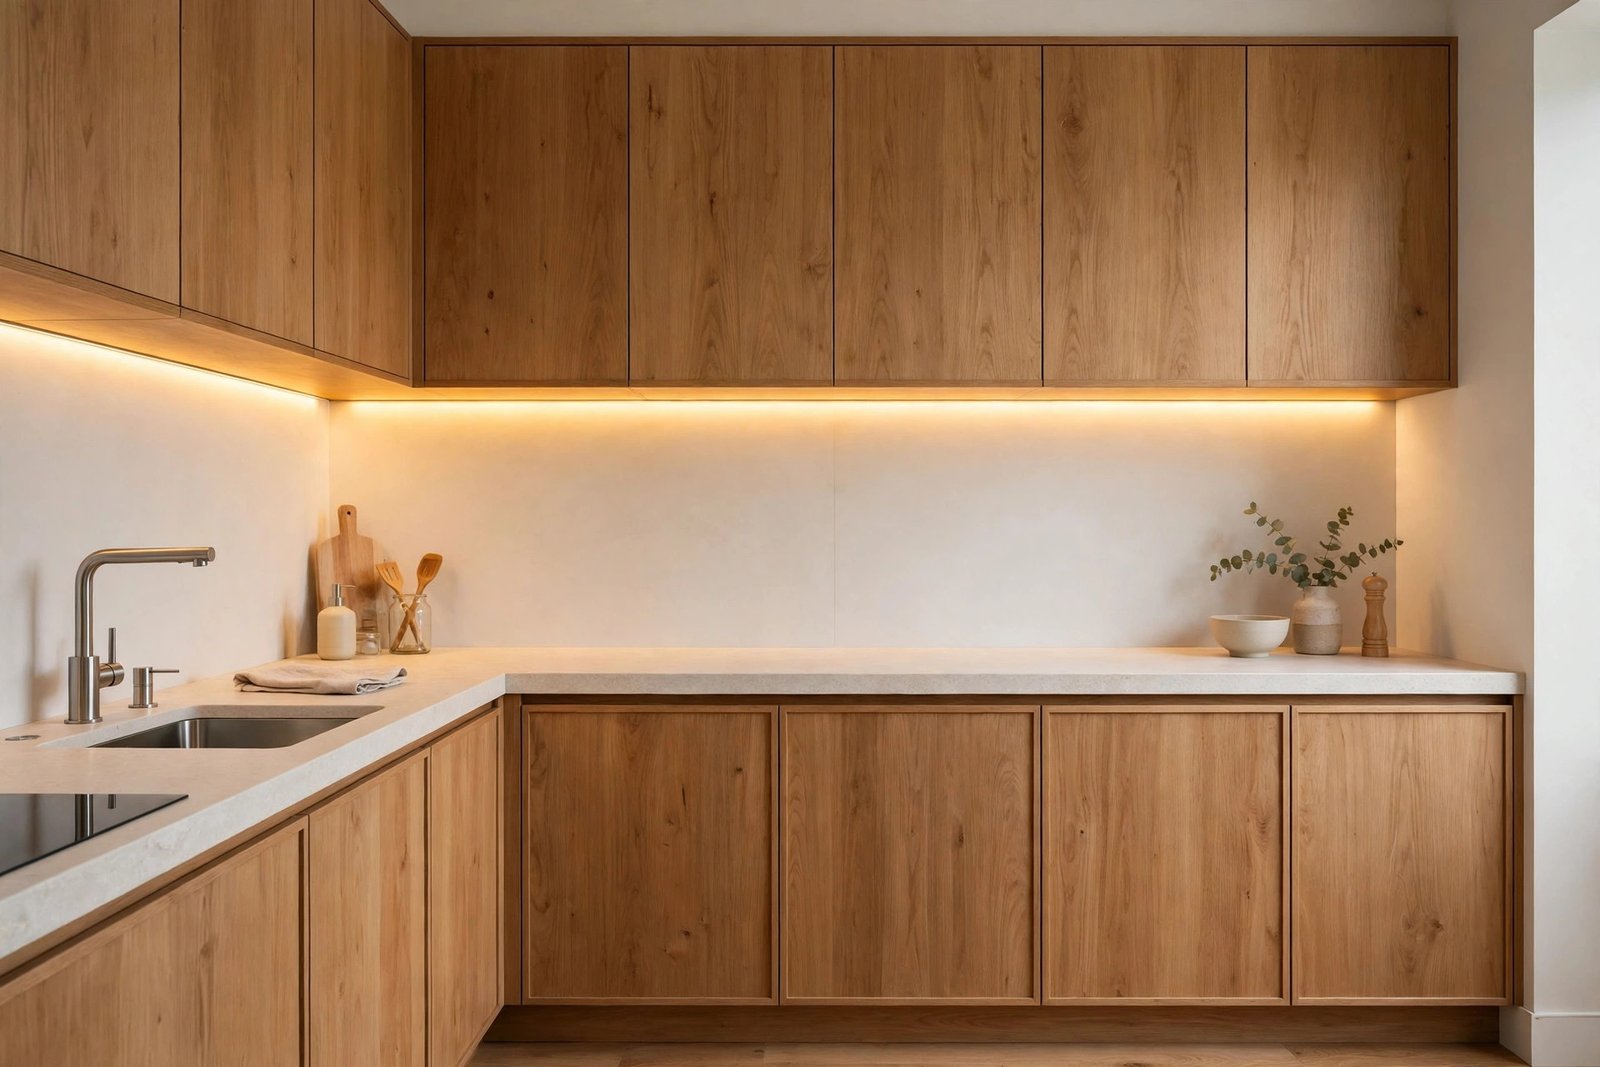
Position is everything. Mount the light at the front underside of the wall cabinet, close to the front edge — not against the wall at the back. Placed at the back, the light rakes down the backsplash and leaves the front half of the counter (where you actually stand and chop) comparatively dim, and it creates a glaring bright line reflected in the worktop. Placed at the front and angled slightly back, it washes the full depth of the counter evenly and the source hides behind the cabinet’s front rail, so you see the light’s effect, not the fitting.
Choose continuous light over dots. A run of LED strip or linked slim bars gives an even wash with no scalloped pools of light and dark between fittings. Individual puck lights are cheaper and easier but leave bright circles and shadow gaps — acceptable over a short stretch, disappointing along a main counter. If your cabinets have a recessed underside or a pelmet, the strip sits invisibly inside it; if not, an aluminium channel with a frosted cover both hides the strip and diffuses the light so individual LED dots do not reflect in a glossy worktop.
Pick the right light quality. For task areas, 3000–4000K is the working range: 3000K keeps a warm kitchen feeling cosy, 4000K gives a crisper, more clinical light some cooks prefer for judging colours. Either way, insist on a CRI of 90 or above — cheap low-CRI strips make meat look grey, herbs look dull and ripeness impossible to judge. Match the temperature to the rest of the room’s lighting so the counter does not look like a different kitchen; the layering principles in our guide to layering light for a softer feel apply here too — one colour temperature family per room, several sources doing different jobs.
The Other Task Zones: Sink, Hob and Island
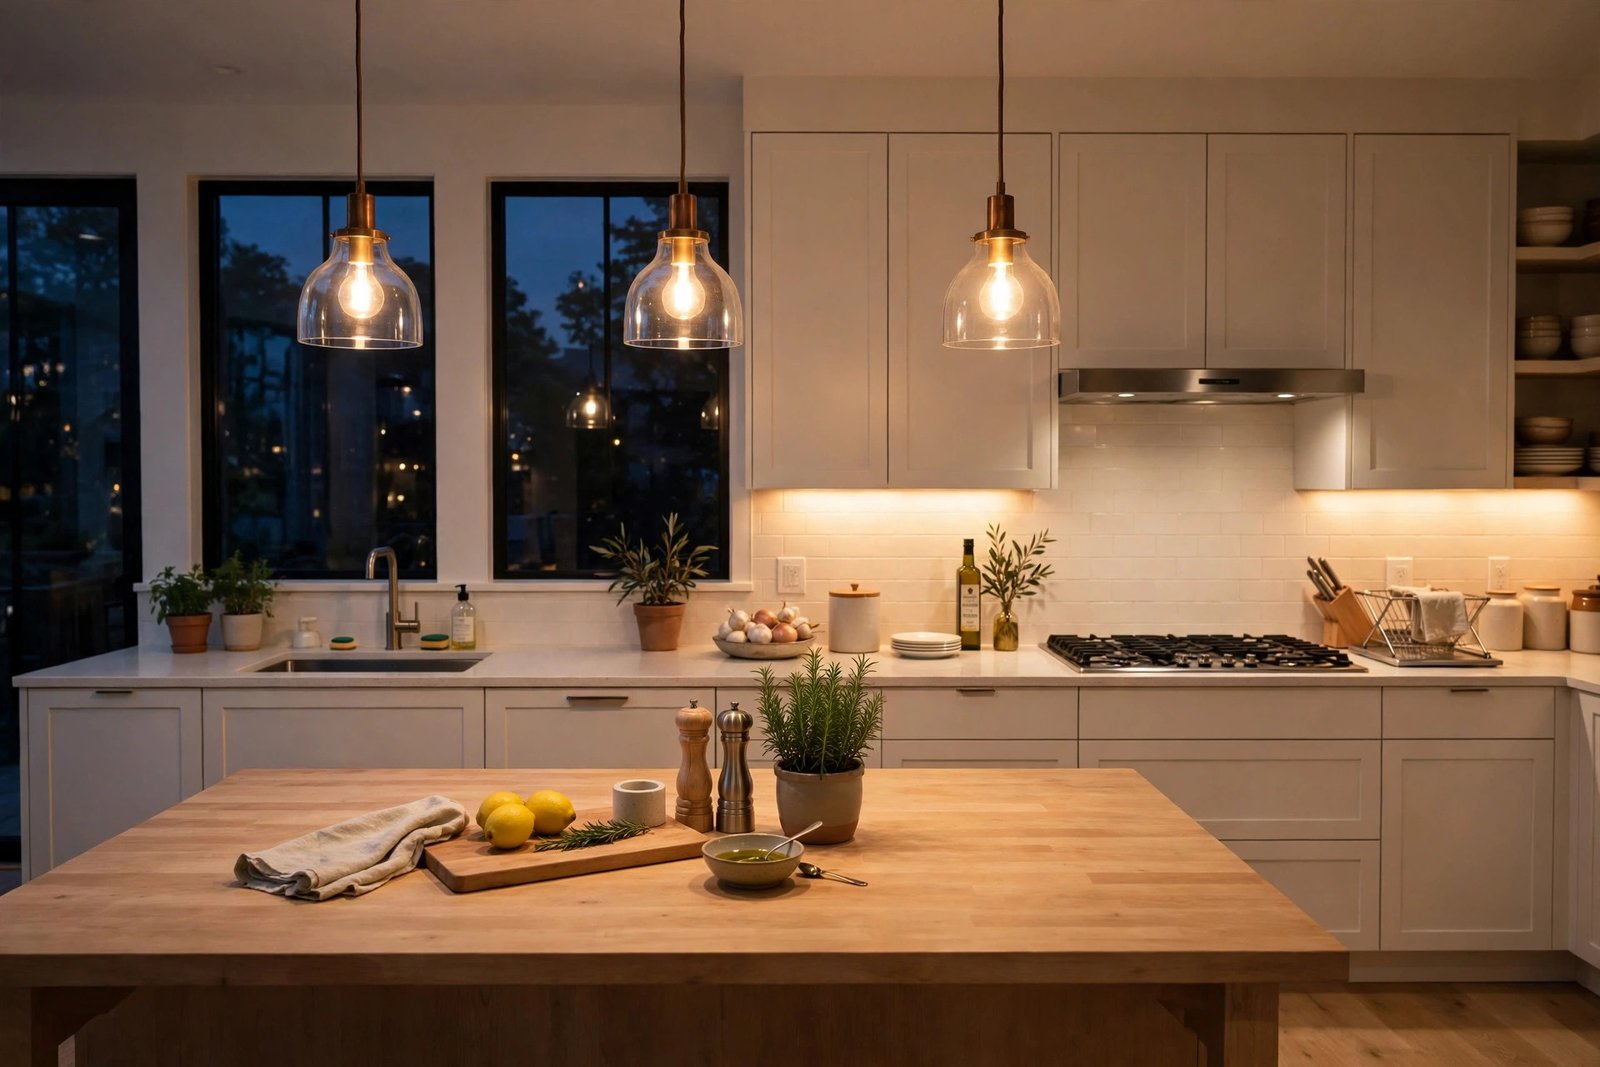
Under-cabinet light solves the counters; finish the job zone by zone. The sink usually sits under a window — lovely by day, a dark hole by night. A small downlight or a short strip under the cabinet or shelf above it, or a pendant if there is no cabinet, ends the evening washing-up gloom. The hob often has an extractor with built-in lights; if yours are weak or a strange colour, replace those bulbs first — it is the cheapest task-light upgrade in the kitchen. An island used for prep needs pendants hung so the light pool covers the work area without shining in the eyes of someone seated opposite: shades that direct light down, hung roughly 75–90 cm above the worktop.
Step back and check the ambient layer too. With the task zones lit, the ceiling light can be softer and warmer than before, because it no longer has to do a job it was never able to do. Many kitchens end up calmer once the counters stop depending on it — the same relief described in our guide to a room that feels dark even with the lights on, where spreading light across sources fixed what wattage could not.
Wiring, Switches and Renter-Friendly Options
Hardwired under-cabinet lights on their own switch are the tidiest result, and a dimmer is worth adding: full brightness for cooking, low for evening ambience, when the strips alone turn the kitchen into a softly lit backdrop rather than a workspace. If you are rewiring anyway, have the lights switched at the counter run itself, not only at the door — you want them reachable with wet hands mid-recipe.
Renters and the wiring-shy are well served now. Plug-in LED bars that chain together and run from one socket, battery strips with motion sensors for short counters, and USB-rechargeable bars that stick on magnetically all deliver the same geometry — light in front of you, on the counter — with nothing more permanent than adhesive pads. Motion-sensor versions are genuinely practical over a sink or a coffee corner. Adhesive strips can take paint off when removed, so mount them on the cabinet underside, never on the wall, and test one corner first.
One more consideration if your kitchen ceiling is low: skip bulky pendants over the island in favour of a flush fitting or a track that keeps heads clear, and lean harder on the under-cabinet layer — the low-room tricks in our guide to a ceiling that feels too low explain how uplight and wall-washing can replace hanging fittings entirely.
Mistakes to Avoid
- Mounting the strip at the back of the cabinet underside. It lights the backsplash beautifully and the front of the counter barely at all. Front edge, angled back — that is the rule.
- Buying a stronger ceiling light to fix the shadow. You are standing in the light path. More power makes a sharper shadow, never a smaller one.
- Cheap, low-CRI strips. Food looks wrong, colours mislead, and cooking judgement suffers. CRI 90+ is non-negotiable over a work surface.
- Spaced puck lights along a long counter. Pools of light with shadow between them tire the eyes as you move along the counter. Run continuous light on main work runs.
- A different colour temperature from the rest of the room. Blue-white strips in a warm kitchen look like a fish-and-chip shop window. Match the family: 3000K with 3000K.
- No switch you can reach while cooking. If the under-cabinet lights are awkward to turn on, you will cook in shadow out of habit. Reachable switch or motion sensor, always.
Frequently Asked Questions
Where exactly should under-cabinet lights be mounted?
On the underside of the wall cabinet, as close to the front edge as the cabinet’s structure allows, angled slightly toward the backsplash. That position throws light across the full depth of the counter and hides the fitting behind the cabinet’s front face or rail, so you see lit worktop rather than a glowing strip. Mounting at the back wastes most of the light on the wall.
What colour temperature is best for kitchen task lighting?
3000K if the rest of your kitchen lighting is warm, 4000K if you prefer a crisper, daylight-style work light and the room’s other lights match. Avoid mixing the two families in one room, and avoid anything above 4000K over food. In all cases choose a colour rendering index (CRI) of 90 or higher so ingredients show their true colours.
Can I add under-cabinet lighting in a rental kitchen?
Yes. Plug-in LED bars, battery-powered strips and magnetic rechargeable bars all mount with adhesive pads or small clips on the cabinet underside and need no electrician. You get the same shadow-free counter; when you leave, the fittings come with you. Just avoid adhesive on painted walls, and keep one charging cable handy for battery versions.
How bright should under-cabinet lighting be?
As a working guide, aim for roughly 300–500 lumens per metre of counter for comfortable chopping and prep, and put the run on a dimmer if you can so it can drop to a soft glow in the evening. If you can read a recipe and see the edge of a knife clearly without squinting or shadow, the brightness is right.
The Bottom Line
Counter shadows are geometry, not bad luck: the light is behind you and the cabinets are above the work. Move the light to where the work is — a continuous, high-CRI run under the front edge of the wall cabinets — then give the sink, hob and island their own focused light and let the ceiling fitting relax. The kitchen will not just look better; it will be measurably easier and safer to cook in, which is what kitchen lighting is actually for.