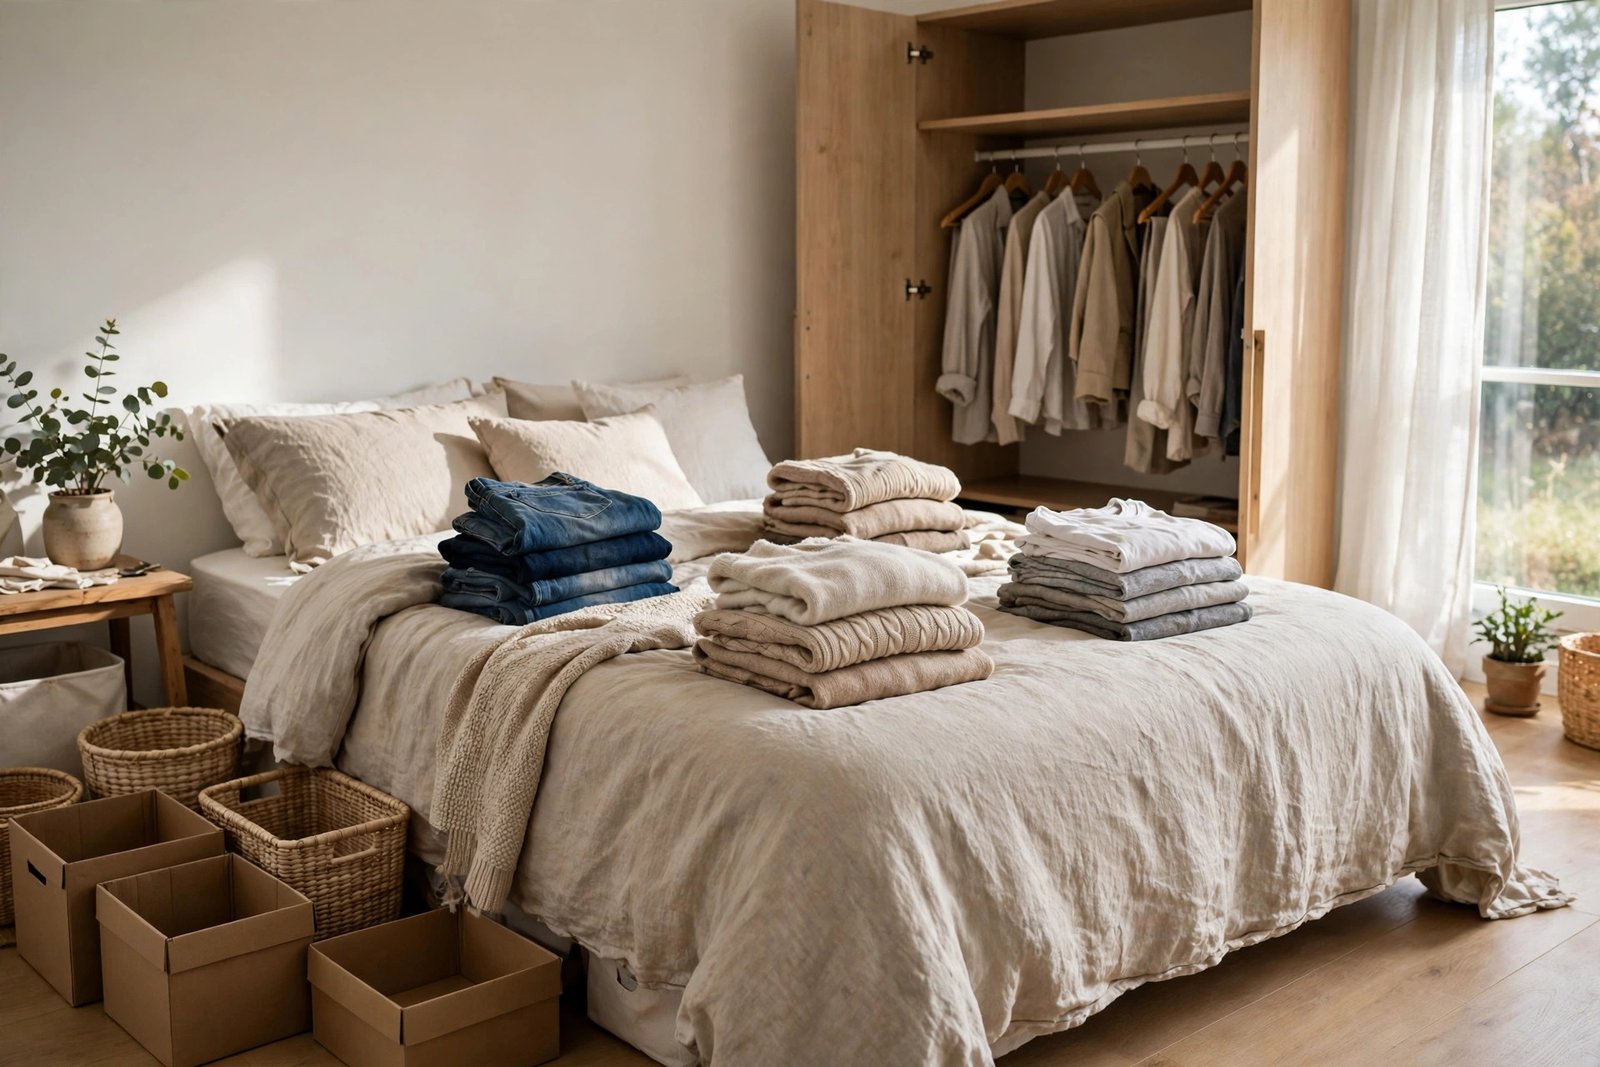
Every overflowing bedroom tells the same story. The wardrobe doors barely close, the drawers need a hip-check, there are boxes on top of the wardrobe and bags under the bed unopened for a year — and the owner’s next move, almost every time, is to buy more storage. A bigger chest. Another rail. A set of boxes that will, somehow, make it all fit. It rarely works, because the problem was never measured. Nobody knows what is actually in the room, how much of it earns its place, or how much storage the survivors genuinely need.
That is what a space audit fixes. It is a few hours of unglamorous work — empty, sort, count, measure — and it changes every decision that follows. This guide walks through the audit step by step: how to sort the whole room by category, how to measure what survives in centimetres rather than guesses, how to map the storage you already own honestly, and how to fix the mismatches with moves that cost nothing. The buying list comes last, and by then it is usually surprisingly short.
Quick Answer
Before buying any bedroom storage, run a four-step audit: empty and sort everything by category, removing what you no longer wear or use; measure what survives — rail length for hanging clothes, drawer space for folded clothes, pairs of shoes; map your existing storage and mark where it is wasted (half-empty drawers, dead space on top of the wardrobe, things in prime spots that belong elsewhere); then reassign what you own to the zones its frequency earns. Only buy storage for the measured gap that remains — for most bedrooms that is one or two specific pieces, not a whole new system.

Step 1: Empty and Sort by Category, Not by Location
The audit starts with a rule that feels extreme and is not negotiable: everything comes out, category by category. Not room by room and not drawer by drawer — category by category, because you cannot judge how many coats you own while they are spread across three different rooms. Clothes first (the biggest category in almost every bedroom), then shoes, then bedding and towels, then bags and accessories, then the miscellaneous layer of boxes, paperwork and mystery items.
Sort each category into four piles: use weekly, use monthly, seasonal, and goes. Be honest about the “goes” pile — clothes that do not fit, are worn out, or have not been worn in a year are not storage problems, they are departures delayed. This step is the bedroom version of the removal order in our guide to a small living room with too much furniture: duplicates and dead items leave first, because every centimetre they occupy is a centimetre you were about to pay to replace.
Step 2: Measure What Survives — in Centimetres
Now turn the surviving piles into numbers. Hanging clothes: push them together on a rail or lay the hangers along a bed and measure the total length — most people’s weekly hanging clothes take 100–150 cm of rail, with monthly and seasonal pieces adding a second, smaller figure. Folded clothes: count the stacks and their height; a standard drawer holds roughly two stacks side by side. Shoes: count pairs, and split them into daily pairs and the rest. Bedding: count full sets, not loose items.
Write the numbers down. They are your design brief, and they usually surprise in both directions: the seasonal pile is bigger than expected (which is fine — it can live in low-access storage) and the daily pile is smaller (which is the good news the whole plan rests on). The same measure-first method runs the kitchen version of this audit in our guide to a small kitchen with no pantry: frequency groups first, measurements second, furniture last.
Step 3: Map the Storage You Already Own
With the room emptied and the numbers written, walk the storage you have and audit it as harshly as you audited the clothes. Open every drawer, shelf and box and note three things: what is in it, how full it honestly is, and whether its contents match its position. Almost every bedroom reveals the same waste pattern. Prime space — the drawers at waist height, the front half of the wardrobe — is occupied by things used monthly or less. Dead space — the top of the wardrobe, the high shelf, the deep back corners — is empty or holding dust. And under-bed space is either empty or filled with unlabelled bags nobody opens.
Mark each storage spot as prime (arm’s reach, eye level), standard, or deep (step needed, or a box under the bed). This map is the audit’s real product: most overflowing bedrooms do not lack storage volume, they have a frequency mismatch — daily things buried in deep storage, rare things camping in prime space, and whole zones unused. Mismatches are free to fix. Missing volume is what costs money, and you cannot tell one from the other until both the contents and the containers have been measured.
Step 4: Reassign by Frequency, Fix the Free Problems
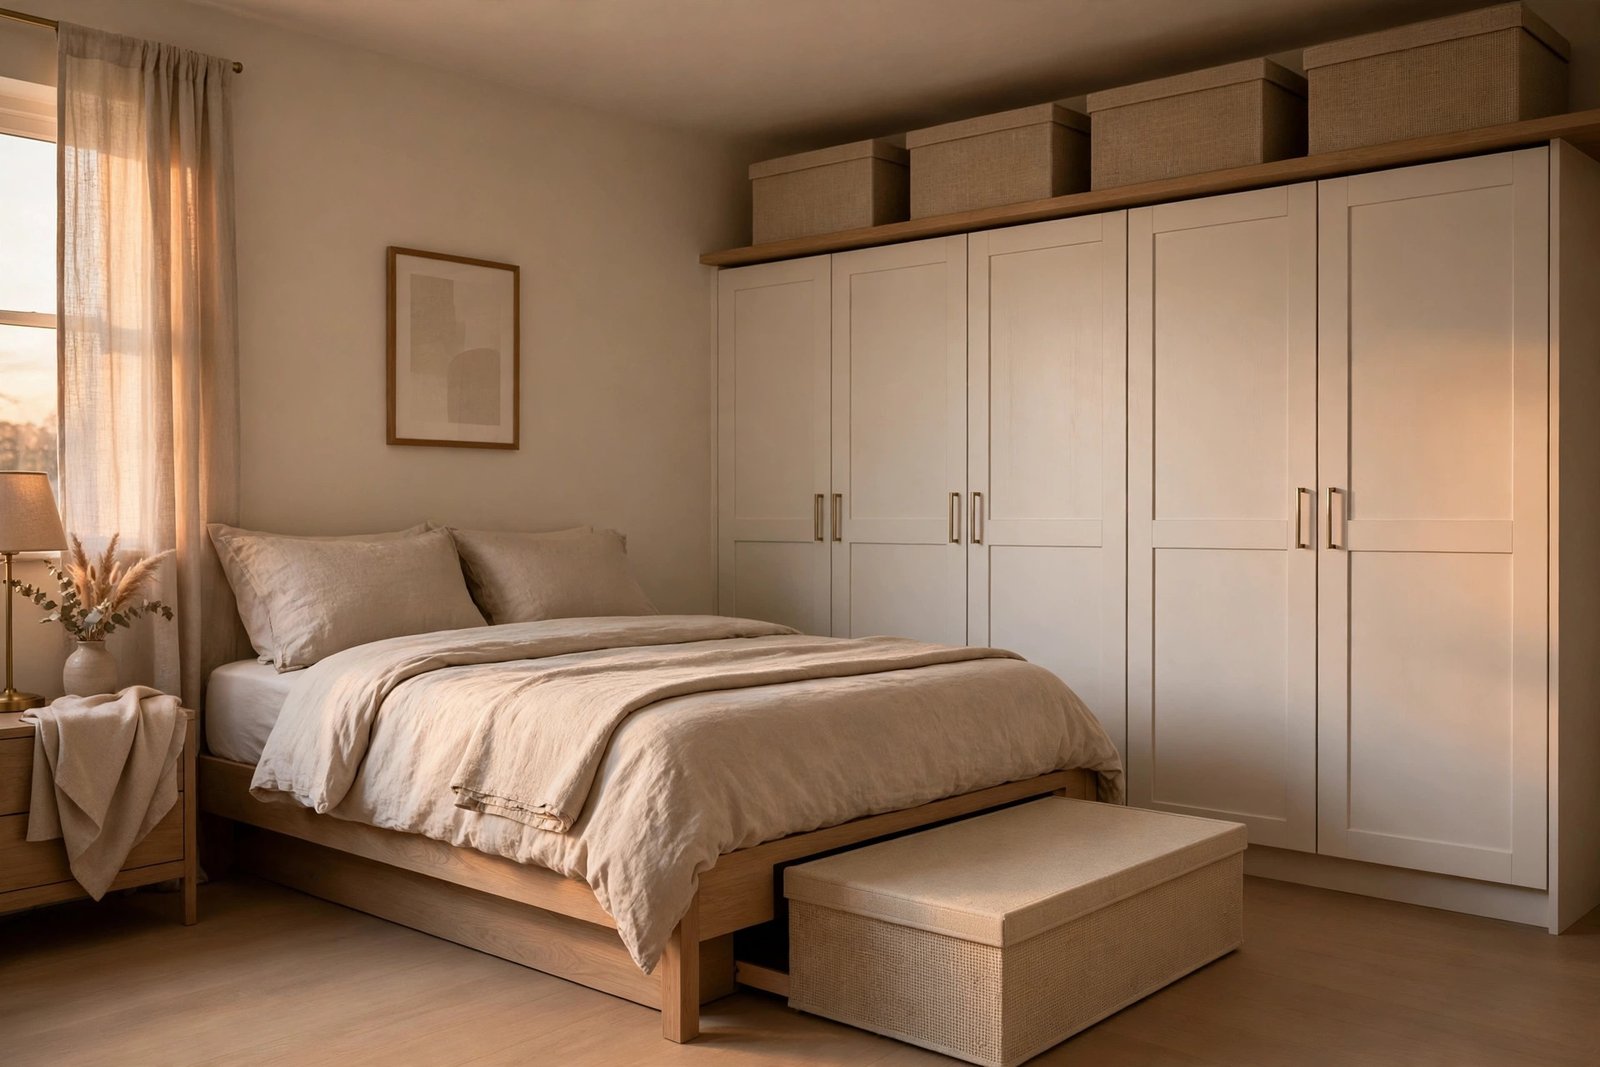
Now put everything back — but by the map, not by habit. Weekly clothes take the rail and the waist-high drawers. Monthly items go higher, lower and further back. Seasonal items leave prime space entirely: lidded boxes under the bed, the high shelf, the top of the wardrobe in matching boxes. Bedding for the bed you are standing next to lives in the bedroom; spare sets for other rooms go to wherever those rooms’ linen lives.
Most bedrooms also have specific free fixes hiding in the audit. A drawer of unfolded chaos holds half what the same drawer holds folded and filed vertically. The wardrobe’s floor, usually a shoe-and-bag landslide, takes a low rack or two boxes and doubles its use. The back of the door takes hooks for dressing gowns and tomorrow’s clothes. If your audit reveals the deeper problem — no wardrobe at all — that is a planning job of its own, covered in our guide to planning wardrobe storage without a built-in closet. But run the audit first either way: the numbers it produces are the brief for that project too.
Step 5: Only Now, Make the Buying List
After the reassignment, a real gap sometimes remains — measured, specific and undeniable. That gap, and only that gap, is your buying list. It usually reads like “40 cm more rail” or “one drawer unit for folded knitwear” or “three lidded boxes, 60 × 40 cm, for under the bed” — items with sizes attached, bought to fit a measured space. Compare that with the pre-audit list, which usually just read “more storage”.
Buy in the audit’s order, too: the piece that serves the daily pile first, since that is where the overflow pain actually lives. And give the new arrangement a month before buying anything else. A reassigned room often keeps improving as habits catch up with it — things migrate to their zones, the “goes” pile actually goes — and the gap you measured in week one is sometimes smaller by week four. Storage bought for a settled system stays right-sized; storage bought in a panic rarely does.
Mistakes to Avoid
- Buying storage before measuring. The entire point of the audit. A chest of drawers bought by eye will be the wrong size for the pile it was meant to hold, and the overflow simply moves house.
- Sorting by location instead of category. Tidying drawer by drawer hides the real totals. You cannot decide how much shoe storage you need until every pair is in one place at one time.
- Keeping the “just in case” pile in prime space. Clothes for a life you do not currently live belong in deep storage at most — and usually in the “goes” pile. Prime space is for the life you live weekly.
- Skipping the written numbers. An audit held in your head evaporates by the following weekend. Rail centimetres, drawer counts, shoe pairs — written down, they become a brief you can shop against.
- Refilling by habit. Putting everything back where it was, only neater, wastes the whole exercise. The reassignment by frequency is the audit’s payoff; do not skip it.
- Judging the result on day one. A reassigned room needs a few weeks of habit to settle. Small migrations are normal; a full relapse means a zone was misjudged, not that the audit failed.
Frequently Asked Questions
How long does a bedroom storage audit take?
For an average bedroom, two to four hours, most of it on the clothes category. Do it in one session if you can — a half-emptied room left overnight tends to be quietly refilled by habit. Smaller versions work too: auditing just the wardrobe, start to finish, delivers most of the benefit if a full room audit feels like too much for one day.
What measurements actually matter?
Three numbers cover most decisions: the total length of hanging clothes in centimetres (weekly and seasonal counted separately), the number and height of folded stacks, and the count of shoe pairs split into daily and stored. Add the internal dimensions of any space you plan to fill — under-bed clearance, the top of the wardrobe — and you can shop for exact fits instead of hopeful ones.
My audit says I genuinely do not have enough storage. Now what?
Then you buy — but with a brief. The audit tells you which category overflows, by how much, and in what shape, so the purchase is targeted: rail length for hanging overflow, drawers for folded, boxes sized to the under-bed gap for seasonal. One measured piece that fits its gap beats a roomful of approximate storage every time.
How often should I repeat the audit?
A light version once or twice a year — usually at the season change, when seasonal clothes rotate anyway. The full empty-and-measure audit is a one-off rescue for an overflowing room; after that, the seasonal swap keeps the frequency zones honest and stops the slow drift back into overflow before it starts.
The Bottom Line
An overflowing bedroom is usually an unmeasured bedroom. Empty it by category, remove what no longer earns a place, measure what survives in rail centimetres, stacks and pairs, and map the storage you already own with the same honesty. Reassign everything by frequency — weekly in prime space, seasonal in deep storage — and the famous storage shortage often shrinks to one small, specific gap. Buy for that gap, at that size, and not before. The audit costs an afternoon; the storage you would have bought without it costs far more and fixes far less.
2 thoughts on “Bedroom Storage Overflowing? A Step-by-Step Space Audit Before You Buy Anything”