When money is tight, renovation advice can feel useless — every guide seems to assume you can do everything, just “on a budget”. In reality a small budget forces a ranking: some fixes change how a home looks and works every single day, while others are expensive, disruptive and barely noticed once the dust settles. Spending in the wrong order is how people end up with a costly new floor under walls that still make the room feel tired.
This guide gives you that ranking. It is built on one principle: fix function and light first, then the biggest surfaces, then the details — and never spend on decoration while something is leaking, broken or unsafe. Work down the list as far as your money reaches, and stop without guilt: a half-finished list in the right order looks far better than a random splurge.
Quick Answer
On a tight budget, spend in this order: 1) repairs and safety — leaks, electrics, broken fittings; 2) lighting and bulbs; 3) paint on walls and ceilings; 4) the ugliest single surface in your main room (often cabinet fronts or one floor); 5) handles, textiles and finishing details. Leave structural changes, full flooring and new suites until the cheap, high-impact layers are done — paint and light change more per unit of money than anything else you can buy.
Step 0: Repairs Before Renovation, Always
No cosmetic work survives a leak above it. Before any decorating, fix active water leaks, dripping taps, cracked sealant around baths and showers, loose sockets, broken extractor fans and sticking doors. These jobs are unglamorous and mostly cheap in parts — washers, sealant, a new fan — and they protect every pound you spend afterwards. A mouldy corner behind fresh paint will push through within months and waste the whole job.
Make a written list of defects room by room, and clear it first. If a repair is beyond DIY — anything involving gas, consumer units or structural cracks — that professional bill outranks every cosmetic item in this guide. Safety and water are not where budgets get trimmed.
Step 1: Light — The Cheapest Transformation
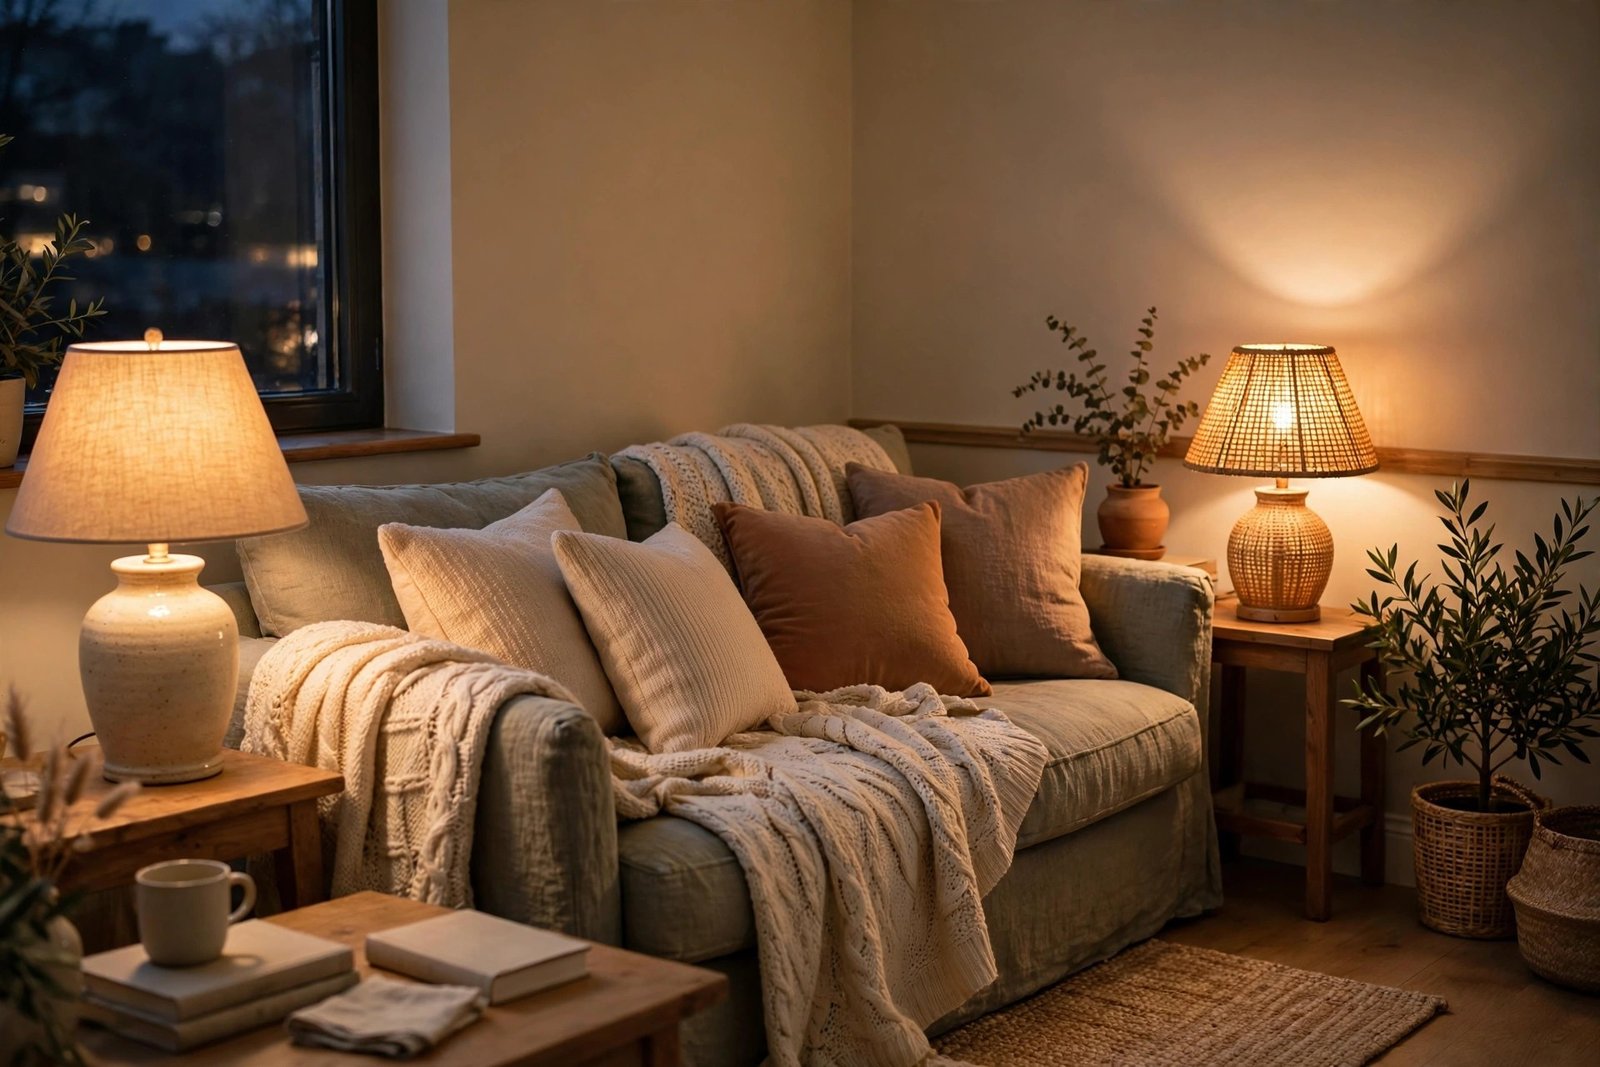
Bad lighting makes good rooms look cheap, and fixing it costs less than a single tin of premium paint. Walk through your home at night and note where you squint, where shadows fall on work surfaces, and which bulbs are mismatched — a mix of cold blue and warm yellow bulbs in one room looks like a mistake even when everything else is fine.
Standardise on warm-white bulbs (2700–3000K) in living spaces, add a lamp or two so rooms are not lit only from the ceiling, and put task light where you cook, read and work. Our guide to why a room feels dark even with the lights on, and the colour and lighting fixes that work goes deeper on squeezing more light out of the fittings you already own.
Step 2: Paint — The Biggest Surface for the Least Money
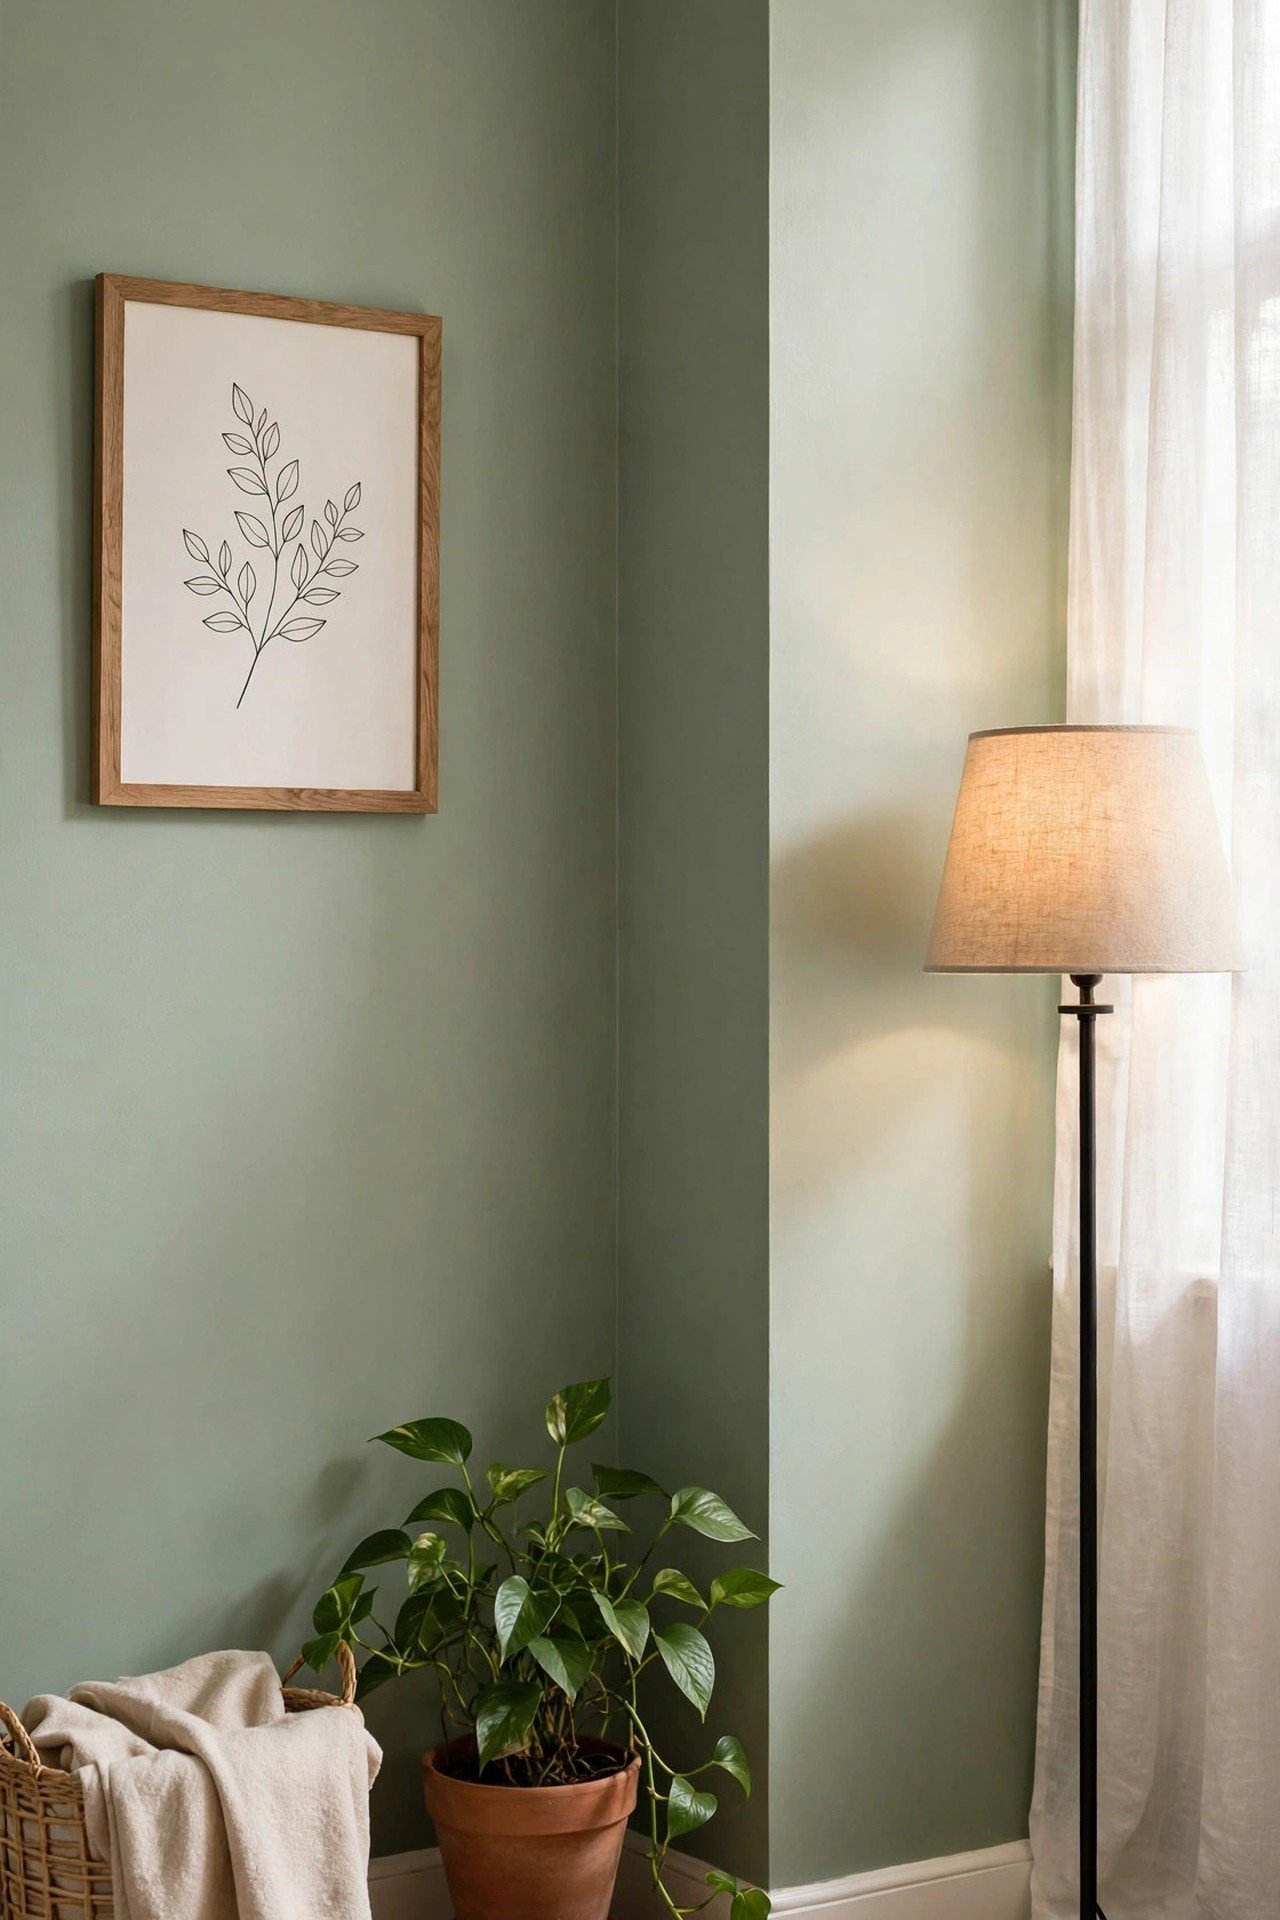
Walls and ceilings are the largest visible surface in any room, and paint changes all of them at once. A fresh ceiling in plain white and walls in one well-chosen colour will do more for a tired room than any single piece of furniture. Budget roughly one tin per average room for walls (two coats), and do the preparation properly — fill, sand, wash down — because paint shows every shortcut.
Sequence matters: ceiling first, then walls, then woodwork. If money runs out mid-plan, a room with a fresh ceiling and walls but old skirting still looks finished; the reverse does not. Choose colours in the room’s real light and test on a big sheet of paper you can move around, a lesson covered in detail in our article on why paint colour looks wrong after painting and how to fix it.
Paint is also your cheapest tool for big-ticket items. Kitchen cabinets, dated tiles with proper tile paint, a tired front door, even a fireplace surround — all can be transformed for the price of primer plus paint, which is exactly the thinking behind the cabinet decision in our guide on whether to replace or paint kitchen cabinets, with costs and honest advice.
Step 3: One Hero Surface Per Room
After paint, each room usually has one surface that still drags it down: a stained carpet, scratched worktop, yellowed bathroom suite, chipped cabinet fronts. Spend your next money on that one thing in the room you use most — not a little bit everywhere. A single new floor in the living room, or refinished cabinet fronts in the kitchen, reads as a renovation; five half-measures read as nothing.
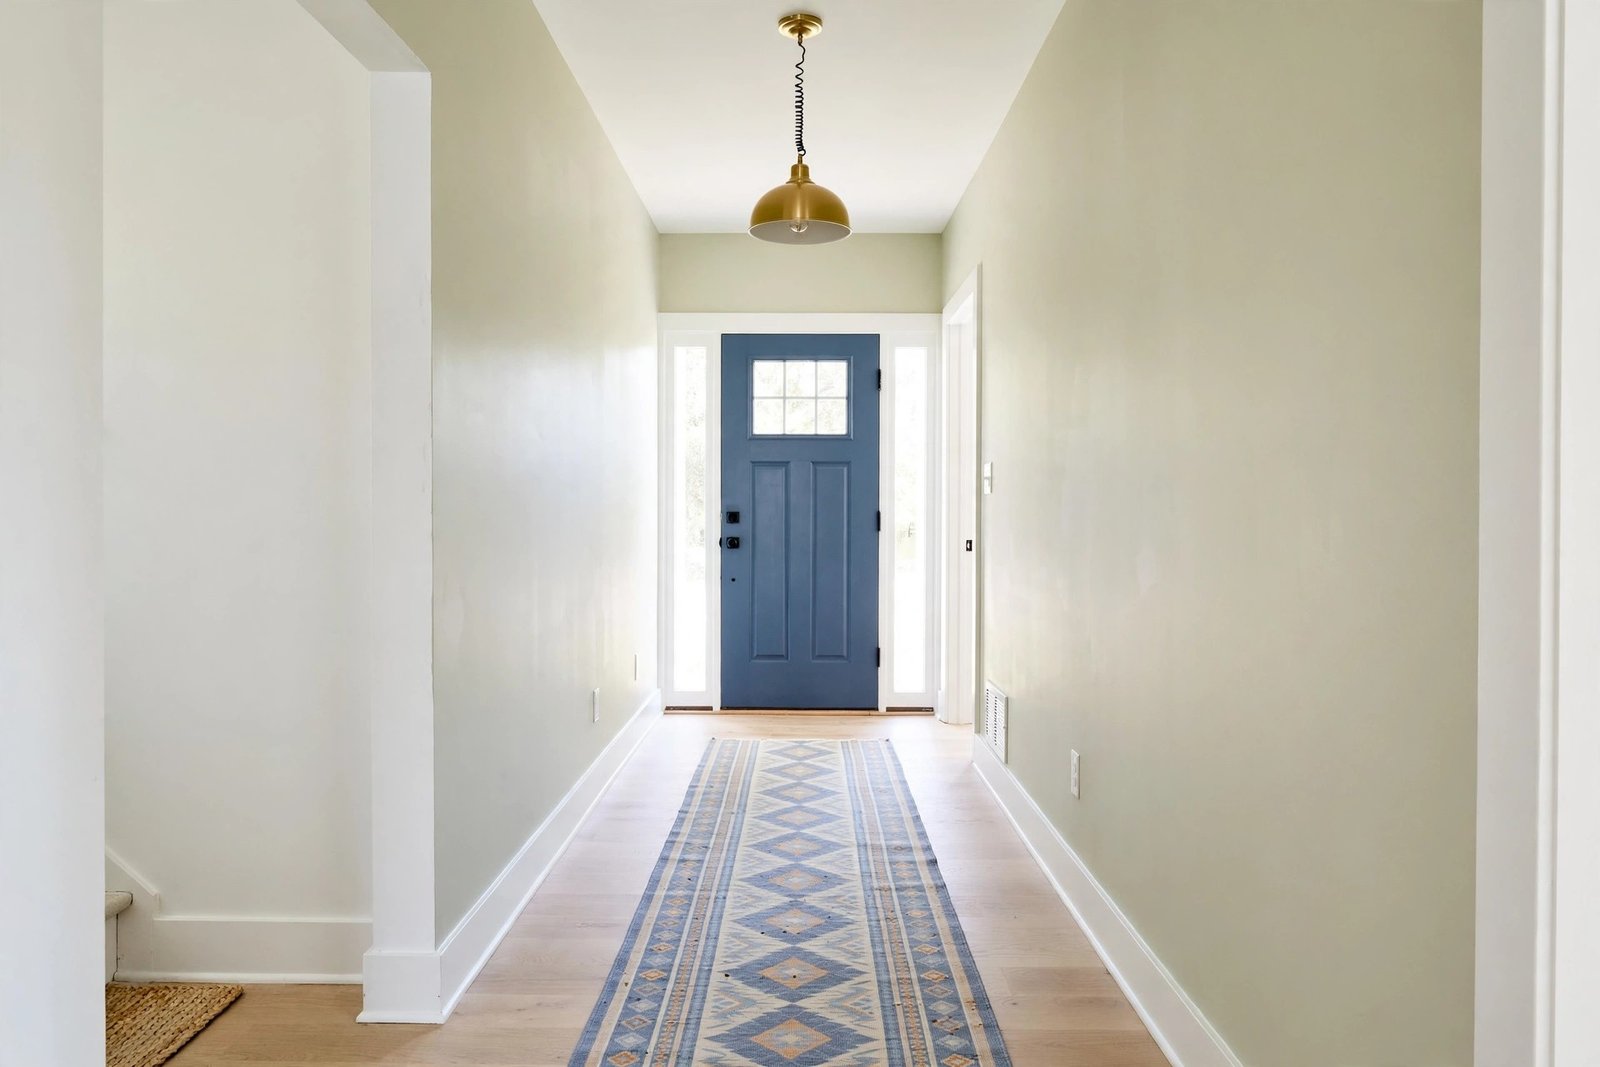
Rank rooms by hours used, not by embarrassment. The living room and kitchen earn money before a spare bedroom does, and a hallway — seen constantly but used briefly — often needs only paint, light and a runner.
Not sure a room counts as your “main” one? Test it for a week: note where the household actually gathers in the evening, where guests are taken, and where you sit to relax. Budgets follow real life, not room labels — many families discover the kitchen table hosts more life than the formal lounge, which moves the kitchen up the spending order and the lounge down it.
Step 4: Handles, Textiles and the Details People Touch
Small hardware has an outsized effect because hands and eyes meet it daily. New handles on kitchen cabinets and internal doors, matching socket covers where the old ones are yellowed, and a decent curtain or blind at the main window finish a room’s story. Then textiles: cushions, a throw, a rug that is actually big enough for the seating. Buy these last, in the colours the finished room now has — buying them first is how budgets leak into things that match nothing.
What to Postpone Without Regret
Full re-flooring beyond the one hero room, moving walls or doorways, a complete bathroom suite, bespoke joinery and brand-new kitchens all belong to a later, bigger budget. None of them will be missed if the layers above are done well. Equally, skip purely fashionable purchases — the trend item that dates in two years — when a basic like a working extractor fan is still unfunded. Tight budgets reward boring priorities.
Mistakes to Avoid
Starting with the most exciting purchase. A statement sofa or designer tiles bought first will eat the money that paint, light and repairs needed — and will sit in an unfinished room looking lost.
Spreading the budget thinly across every room. Five rooms at 20% improved look like nothing happened. Finish one room completely, then move on.
Skipping preparation to save a day. Unfilled cracks, unwashed walls and unprimed glossy surfaces are why cheap paint jobs peel. Preparation is free except in time, and it is where cheap work becomes good work.
Buying materials before measuring. Over-ordered tiles and wrong-size flooring are silent budget killers. Measure twice, add 10% for cuts and breakage, and no more.
Paying for labour you can safely do. Painting, sealing, handle swaps and flat-pack assembly are realistic DIY. Save professional money for electrics, plumbing, gas and plastering.
Frequently Asked Questions
I can only afford one thing this year — what should it be?
If everything works and nothing leaks, paint the main living space, ceiling included, and standardise the bulbs. No other single spend changes as much visible surface or affects how every evening in the room feels.
How should I split a small budget between rooms?
Do not split it evenly. Fully finish the room you live in most, keep the rest to cleaning, light bulbs and repairs, and repeat next year. Completed rooms build momentum; half-done houses drain it.
Is it worth borrowing to renovate faster?
For safety and water damage, possibly. For cosmetics, rarely — interest quietly converts a tight budget into a smaller one. The order in this guide is designed so the cheap steps carry you comfortably until you can afford the rest.
Where do people waste the most money on small renovations?
On replacing things that paint or repair would have saved — cabinets, doors, tiles — and on buying finishing items first. Audit honestly what is broken versus merely dated; dated is a paint problem, broken is a budget problem.
The Bottom Line
A tight budget is not a failed renovation; it is a renovation that must be sequenced. Repairs and safety first, then light, then paint, then one hero surface in the room you live in, then the details. Follow that order and even a modest amount of money produces a home that visibly, daily feels better — which is the entire point of spending it.
3 thoughts on “Renovating on a Tight Budget? What to Fix First for the Biggest Change”