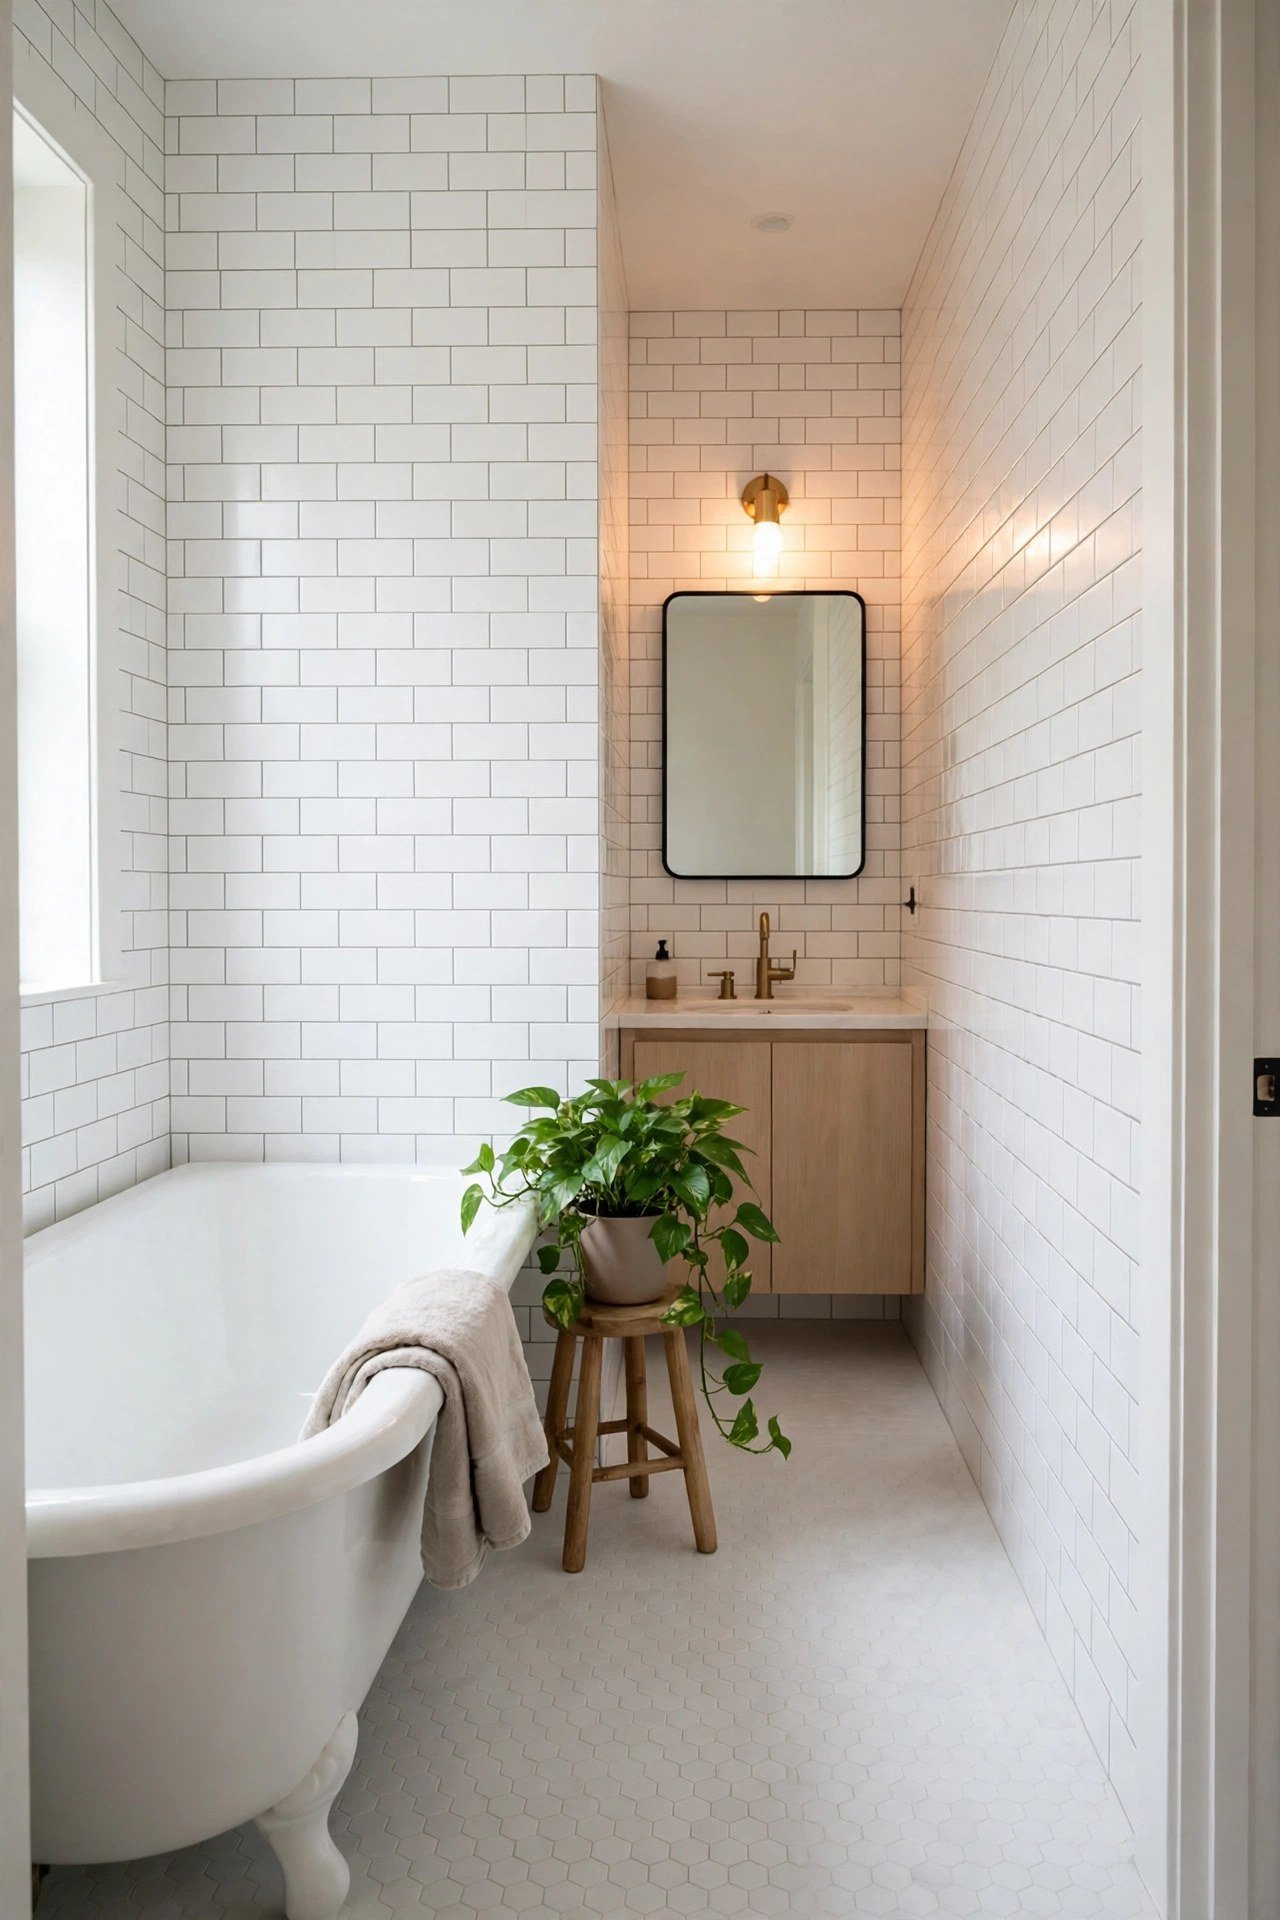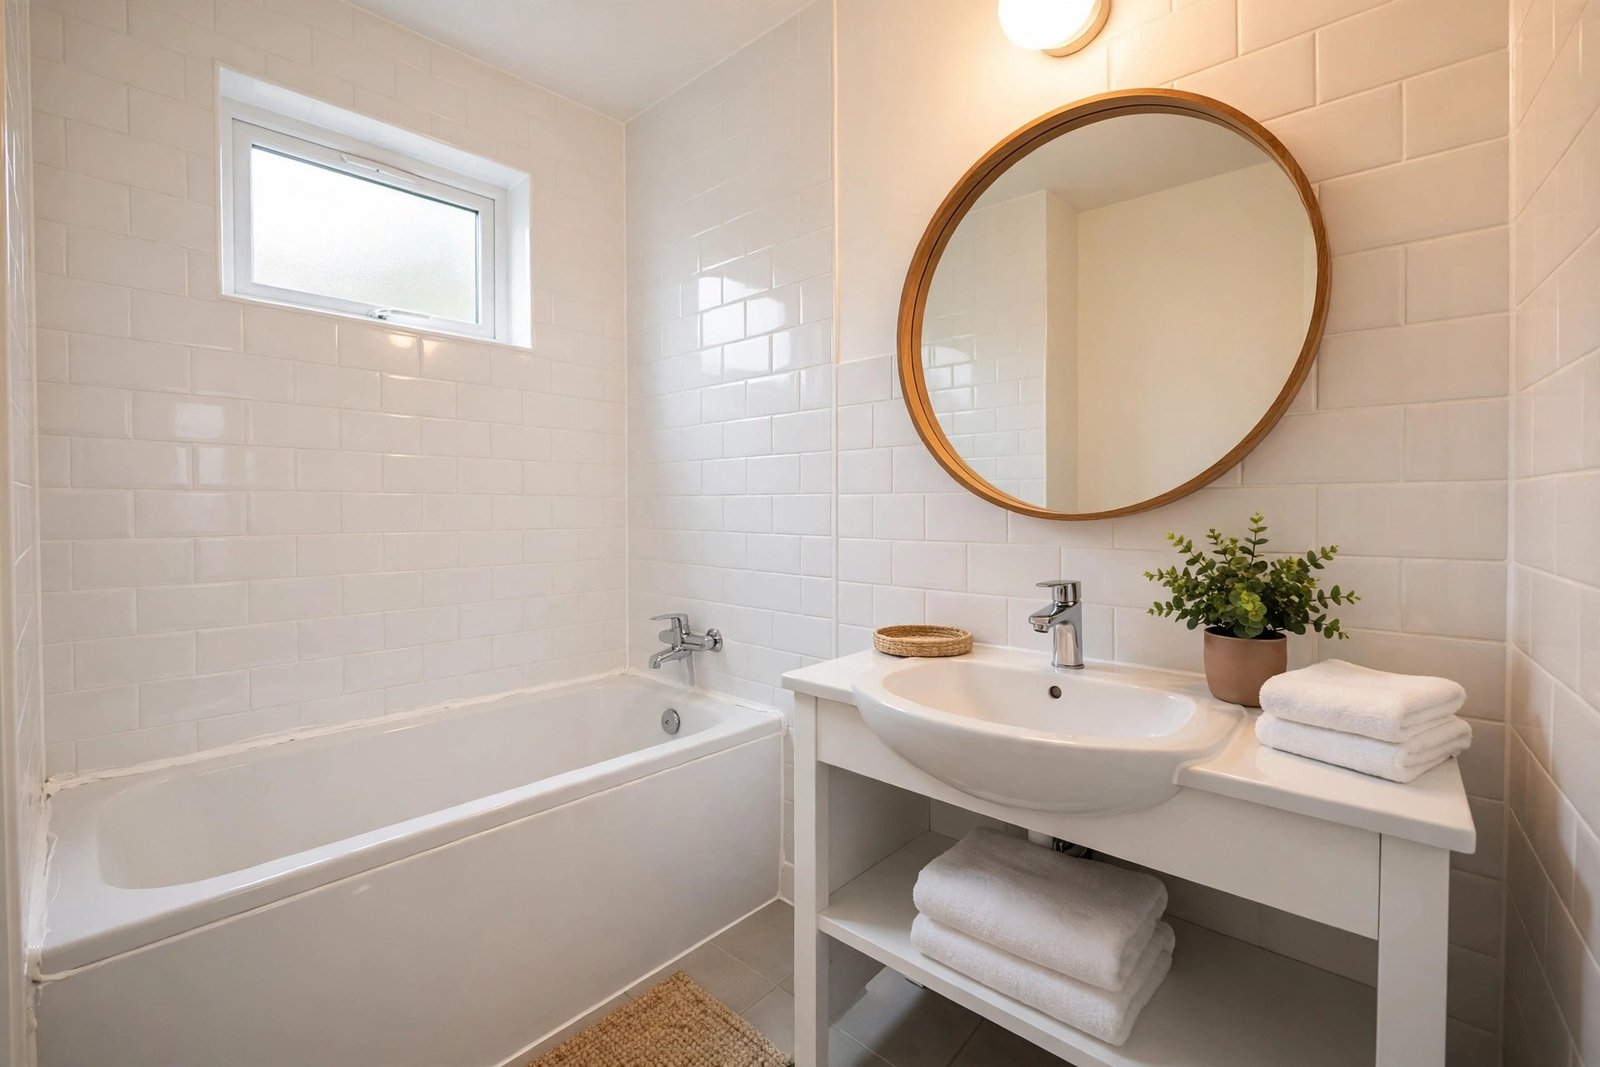
A full bathroom refit is one of the most expensive jobs in a home, square metre for square metre — plumbing, tiling, waterproofing and several trades all packed into the smallest room. So when the bathroom looks tired, many people assume the only honest fix is saving up for years and ripping everything out. In reality, most bathrooms that feel old are not failing; they are dirty at a level normal cleaning does not reach, yellowed in their sealant, dulled in their lighting and cluttered in their storage. Those problems are cheap.
A refresh is not a refit, and this guide will be honest about what it cannot do — it cannot move plumbing, fix a leaking tray or rescue rotten flooring. What it can do is take a sound but tired bathroom and make it look cared for again, in a weekend or two, for a small fraction of a refit’s cost. Work through the steps in order; each one is cheap, and together they compound.
Quick Answer
Refresh a tired bathroom in this order: 1) deep clean, regrout and replace the sealant; 2) paint the ceiling, walls and — if sound — the tiles; 3) improve the light and the mirror; 4) swap the small fittings (shower head, toilet seat, handles, towel rail); 5) fix storage and styling. Leave the suite, the plumbing layout and structural tiling alone. Grout, light and sealant are where old bathrooms hide their age, and all three cost very little to put right.
Step 1: Deep Clean, Regrout and Reseal
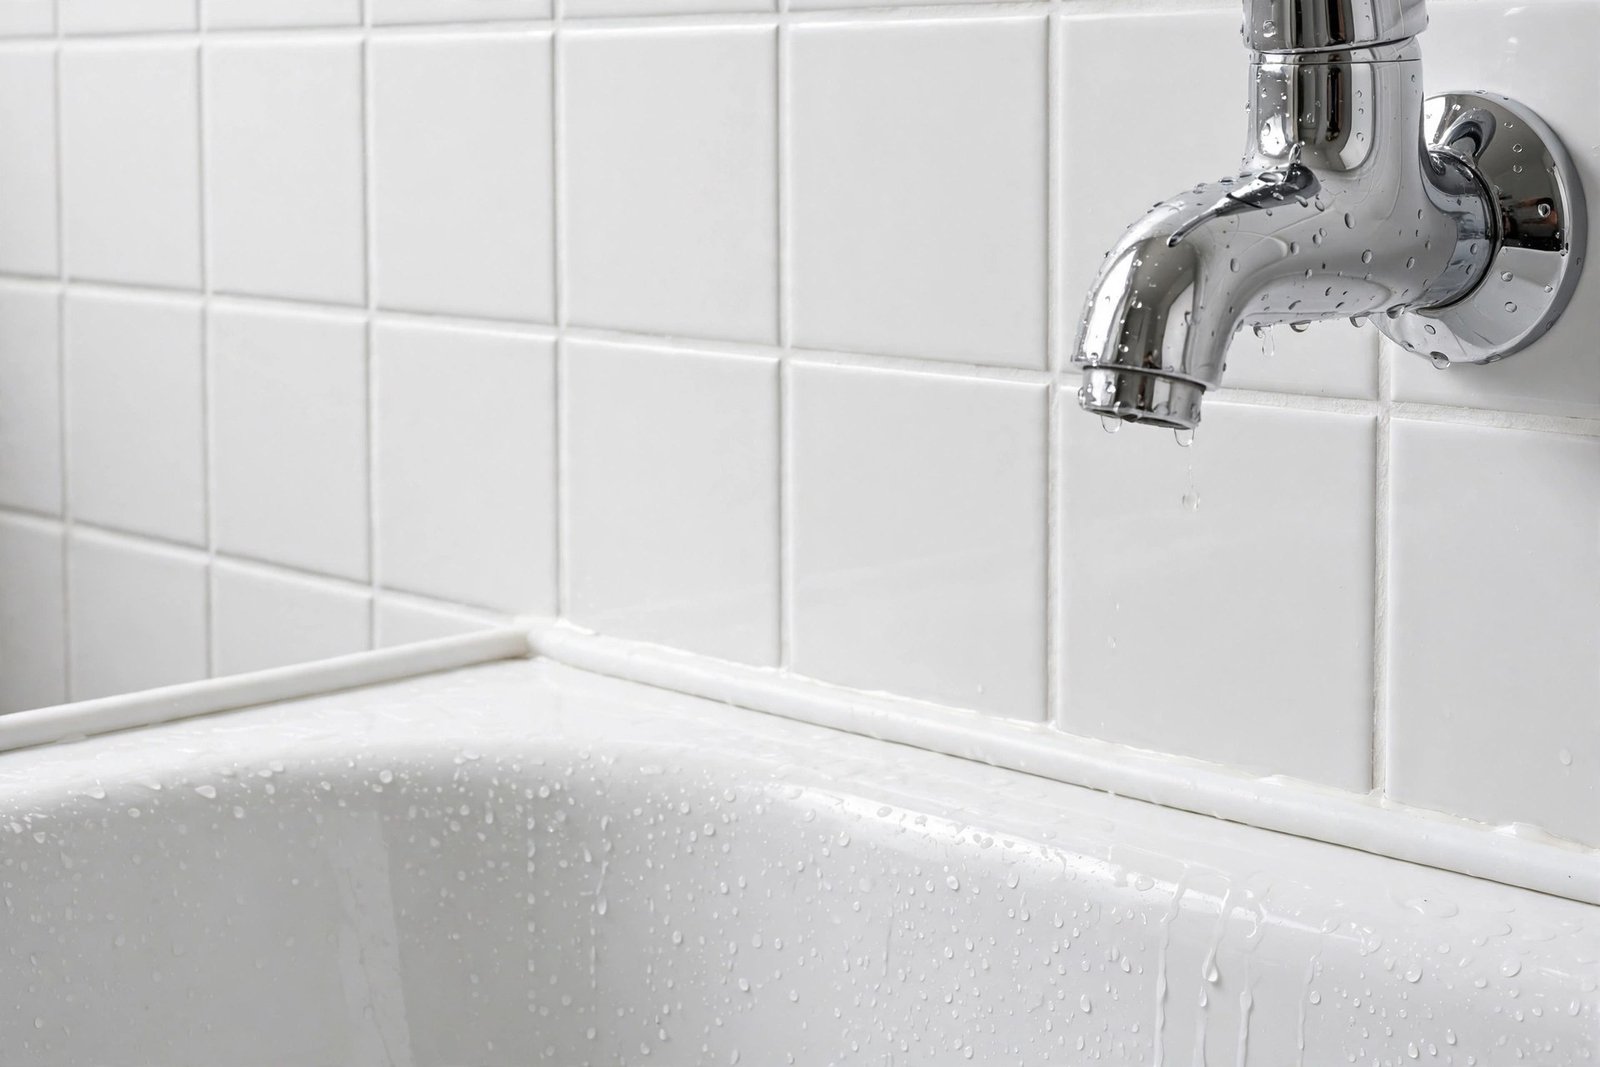
Start with the unglamorous truth: a large share of “dated bathroom” is grey grout, blackened sealant and limescale film. Scrape out mouldy silicone sealant around the bath and basin and replace it — fresh white or clear sealant is the single cheapest visual transformation in the whole room, because the eye reads those lines as cleanliness. Regrouting wall tiles is slower but entirely doable: rake out the failed top layer, pack in new grout, and tiles that looked finished suddenly look installed yesterday.
Where grout is sound but stained, a grout pen or grout paint restores the colour in an afternoon. Descale everything — shower head (soak it in vinegar overnight), taps, glass screens — and polish the sanitaryware. Do this step before judging anything else in the room; bathrooms are routinely condemned for problems that turn out to be dirt.
Step 2: Paint — Ceiling, Walls and Possibly Tiles
Bathroom ceilings peel and yellow; a coat of bathroom paint (mould-resistant, made for steam) fixes the ceiling and brightens the whole room, since the ceiling reflects much of the light. Walls not covered by tile take the same treatment — choose a proper bathroom or kitchen-and-bathroom paint, not standard emulsion, which blisters in steam.
Tile paint is the bigger decision. On sound, well-adhered wall tiles it works well and avoids the cost and mess of retiling: degrease, use the correct primer, and apply thin coats. Be honest about its limits, though. It is far less durable on floor tiles and inside showers, where constant water and abrasion wear it through, and it will not save tiles that are loose, cracked or drummy. Paint the dry walls of tiles; leave wet zones alone or plan a proper fix later.
Step 3: Light and Mirror — The Change You Feel Most
Most tired bathrooms are lit by one dim ceiling fitting or a strip that casts every face into shadow. You cannot always rewire on a budget, but you can replace the fitting with a brighter, warmer one, swap in high-quality LED bulbs, and — the trick that changes the room most — replace or enlarge the mirror. A bigger mirror bounces light around, makes a small bathroom feel larger, and hides wall sins behind it.
Battery or rechargeable mirror lights and LED strips exist for exactly this no-electrician situation. If the bathroom also feels dark during the day, our fixes for a small bathroom with no cabinet space cover the storage side; here, the principle is the same — clear surfaces and better light make the same square metres feel twice as calm.
Step 4: Swap the Small Fittings
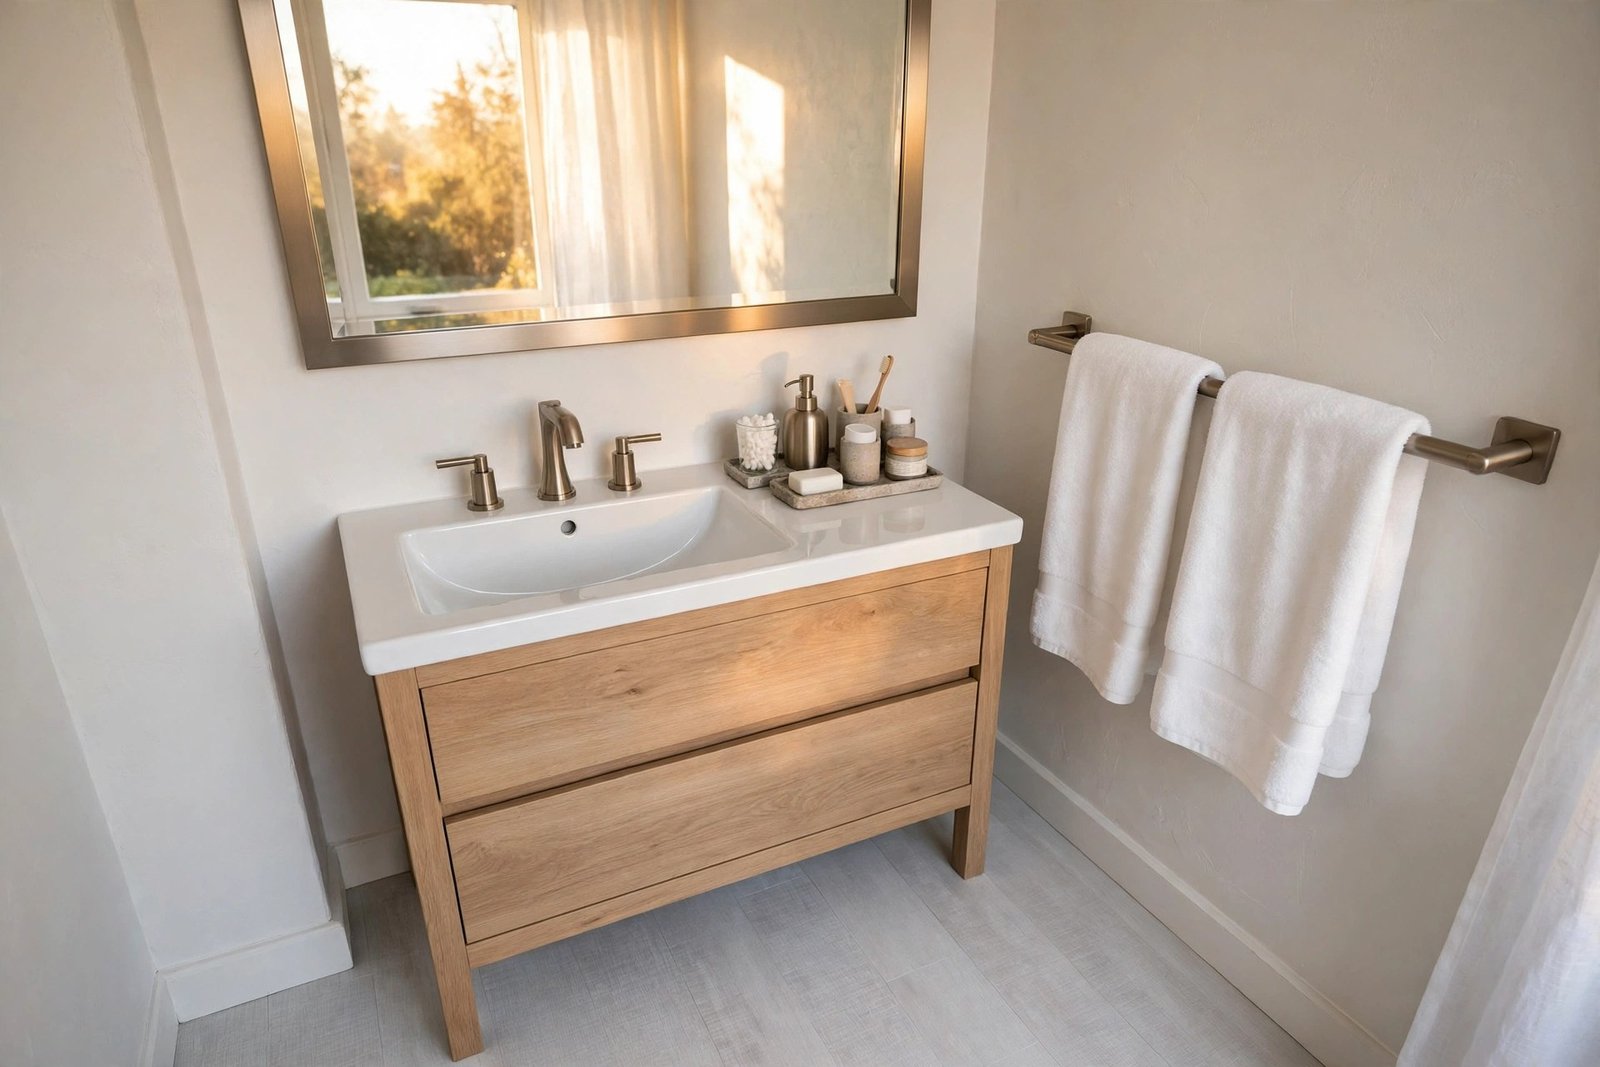
Fittings date a bathroom faster than the suite does. A new shower head is a five-minute job that improves both the look and the shower itself. A fresh soft-close toilet seat replaces the yellowed, wobbling one everyone notices and nobody mentions. Matching towel rail, toilet roll holder and robe hook — in one finish, chosen once — pull the room together the way matching handles do in a kitchen. If the taps are sound but ugly, deep-clean and descale them before pricing replacements; chrome often recovers surprisingly well, and tap replacement is the one job on this list that may need a plumber.
These swaps belong to the same family of small, high-impact spends as the ones ranked in our guide to renovating on a tight budget and what to fix first: small hardware, touched and seen every day, earns its money back in daily satisfaction.
Step 5: Floor Touch-Ups, Storage and Styling
If the floor is the main eyesore — cracked vinyl, stained grout, a pattern from another decade — a small bathroom is the one room where floor upgrades stay cheap, simply because the area is tiny. Sheet vinyl laid in one piece is the classic budget answer, and our room-by-room guide to flooring on a budget and which rooms to do first explains where it sits in the whole-house order. Seal the edges meticulously; water under vinyl is the failure mode.
Then clear the room. Bottles along the bath edge are visual noise: a wall-mounted or over-door organiser, a single tray for daily items, and matching towels in one colour family make the room read as styled rather than stored in. Finish with one plant that tolerates humidity and a decent bath mat. None of this is decoration for its own sake — in a small room, calm surfaces are the luxury.
What a Refresh Cannot Honestly Do
Stop and get advice if you find soft or spongy flooring, persistent damp smells, cracked trays or tiles that move — these are failures, not cosmetics, and refreshing over them wastes the refresh. Equally, if the layout itself is the problem — the door hits the basin, the toilet faces the bath at knee distance — only a refit solves it, and the honest budget move is to keep the bathroom clean and safe while saving for that job properly. A refresh buys a sound bathroom years of good looks; it is not a disguise for a broken one.
Mistakes to Avoid
Painting over mould. Kill and clean mould first, fix the ventilation problem behind it, and use mould-resistant paint — or it returns within weeks, through the new paint.
Regrouting over failed grout without raking out. New grout smeared over cracked, loose grout fails with it. Rake out the loose material so the new grout has something to grip.
Tile paint in the shower. Constant water and scrubbing wear tile paint through in wet zones. Keep it for dry walls, splashbacks and the tiles outside the shower area.
Mismatched “bargain” fittings. A chrome rail, a black hook and a brass holder from three clearance bins look like an accident. Choose one finish and repeat it everywhere.
Ignoring the extractor fan. A clogged or dead fan is why the room ages so fast. Clean it, and replace it if it has failed, before spending on finishes.
Frequently Asked Questions
How much cheaper is a refresh than a full refit?
Typically a small fraction — the refresh uses almost no trade labour, no plumbing moves and no new suite, which are the costs that dominate a refit. Think in terms of a modest weekend budget rather than a major savings goal; the exact gap varies, but it is usually the difference between doing it this month and saving for years.
Can you really paint bathroom tiles?
Yes, on sound wall tiles outside the direct wet zone, with proper degreasing, the right primer and tile or multi-surface paint. Expect a good-looking result that lasts years on dry walls, but do not rely on it inside a shower or on floors, where wear is much harsher.
How long does a bathroom refresh take?
Most of it fits into two weekends: one for cleaning, regrouting, sealant and paint (with drying time between coats), and a second for fittings, mirror, floor and storage. Nothing on the list keeps the bathroom out of action for more than a day at a time.
What single change makes the biggest difference?
Fresh sealant and grout, together with better light. Sealant and grout remove the visible grime that reads as “old”, and good light is what lets you see the improvement. If the budget forces one choice, do those before any new fitting.
The Bottom Line
A tired bathroom is usually a dirty, dim and cluttered bathroom wearing a sound suite. Rake out the failed grout, renew the sealant, paint what paint can honestly cover, fix the light and the mirror, swap the small fittings in one finish, and give the floor and storage a weekend each. Done in that order, the room looks renovated to everyone who uses it — and the real refit, if it is ever needed, can wait until the budget is ready for it.