A dated kitchen has a particular kind of gloom: the cabinets are a wood tone from another decade, the lighting is one fluorescent tube, the worktops are crowded with everything the cupboards cannot hold. A new kitchen would fix it, but a new kitchen is one of the biggest purchases in a home — and for many people it is simply not this year’s money. The choice is not really “new kitchen or nothing”, though. Most of what makes a kitchen look dated is surface, light and clutter, and all three can be changed for small money if you work in the right order.
Order matters because the fixes build on each other: there is no point styling shelves in a kitchen that is still dirty and dim, and no point painting cabinets before you know whether the doors are worth painting. This guide gives you the sequence — seven fixes, cheapest and most foundational first — so that every step makes the next one easier and the whole kitchen improves from the first weekend.
Quick Answer
Fix a dated kitchen in this order: 1) declutter and deep clean; 2) paint or reface the cabinet fronts; 3) new handles; 4) under-cabinet and ceiling lighting; 5) worktop and splashback covers; 6) floor touch-ups; 7) styling with open shelves and textiles. The first fix is free, the second is the biggest transformation for the money, and the last ones only work once the foundations are right. Skipping ahead to styling or covers before paint and light is the usual reason budget kitchen makeovers disappoint.
Fix 1: Declutter and Deep Clean (Free, and Not Optional)
Before spending anything, empty the worktops down to the two or three machines you use daily, and find homes — inside cupboards, on a rail, in a drawer — for everything else. Crowded worktops are the top reason small kitchens look chaotic: audit what actually earns counter space, give everything else a cupboard, rail or drawer home, and resist buying any organiser until the audit is done.
Then deep clean as if the kitchen were being photographed for sale: degrease the cabinet fronts and the tops of the wall units, descale the sink and tap, clean inside the oven and the extractor filters, and wash the floor properly. Grease film is a colour of its own, and it yellows everything it coats. Half the “dated” in many kitchens rinses off.
Fix 2: The Cabinet Fronts — Paint, Doors or Film
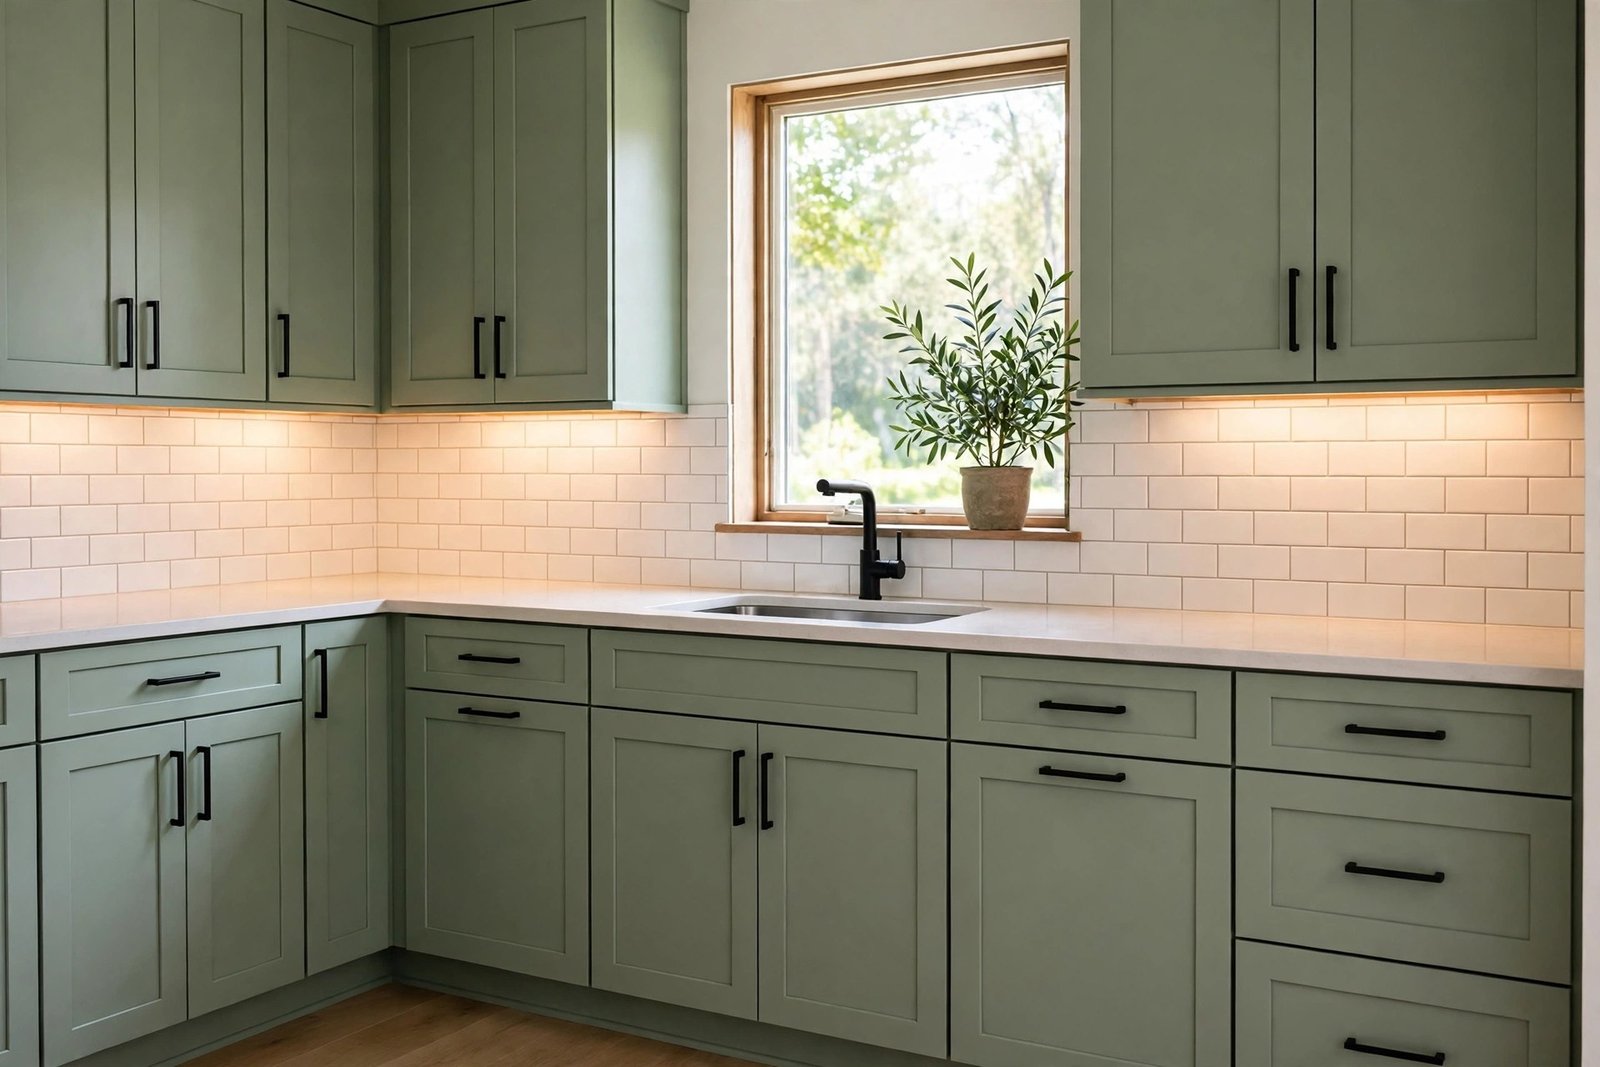
Cabinets cover more of the room than everything else combined, so their colour decides whether the kitchen reads as dated. If the doors are solid and the layout works, painting them is the best-value transformation in the whole house: degrease, sand, prime, and use a hard-wearing cabinet paint. If the doors are damaged or a style paint cannot save, new doors on the old boxes cost a fraction of a new kitchen. The full comparison — costs, durability and when each option is a mistake — is in our guide on whether to replace or paint kitchen cabinets.
One cheaper trick within this fix: remove one or two upper doors entirely and style the shelves as open storage. It costs nothing, breaks up a heavy run of dated doors, and makes the kitchen feel more current — provided the shelves hold neat, matching everyday items, not the overflow.
Fix 3: Handles and Hardware
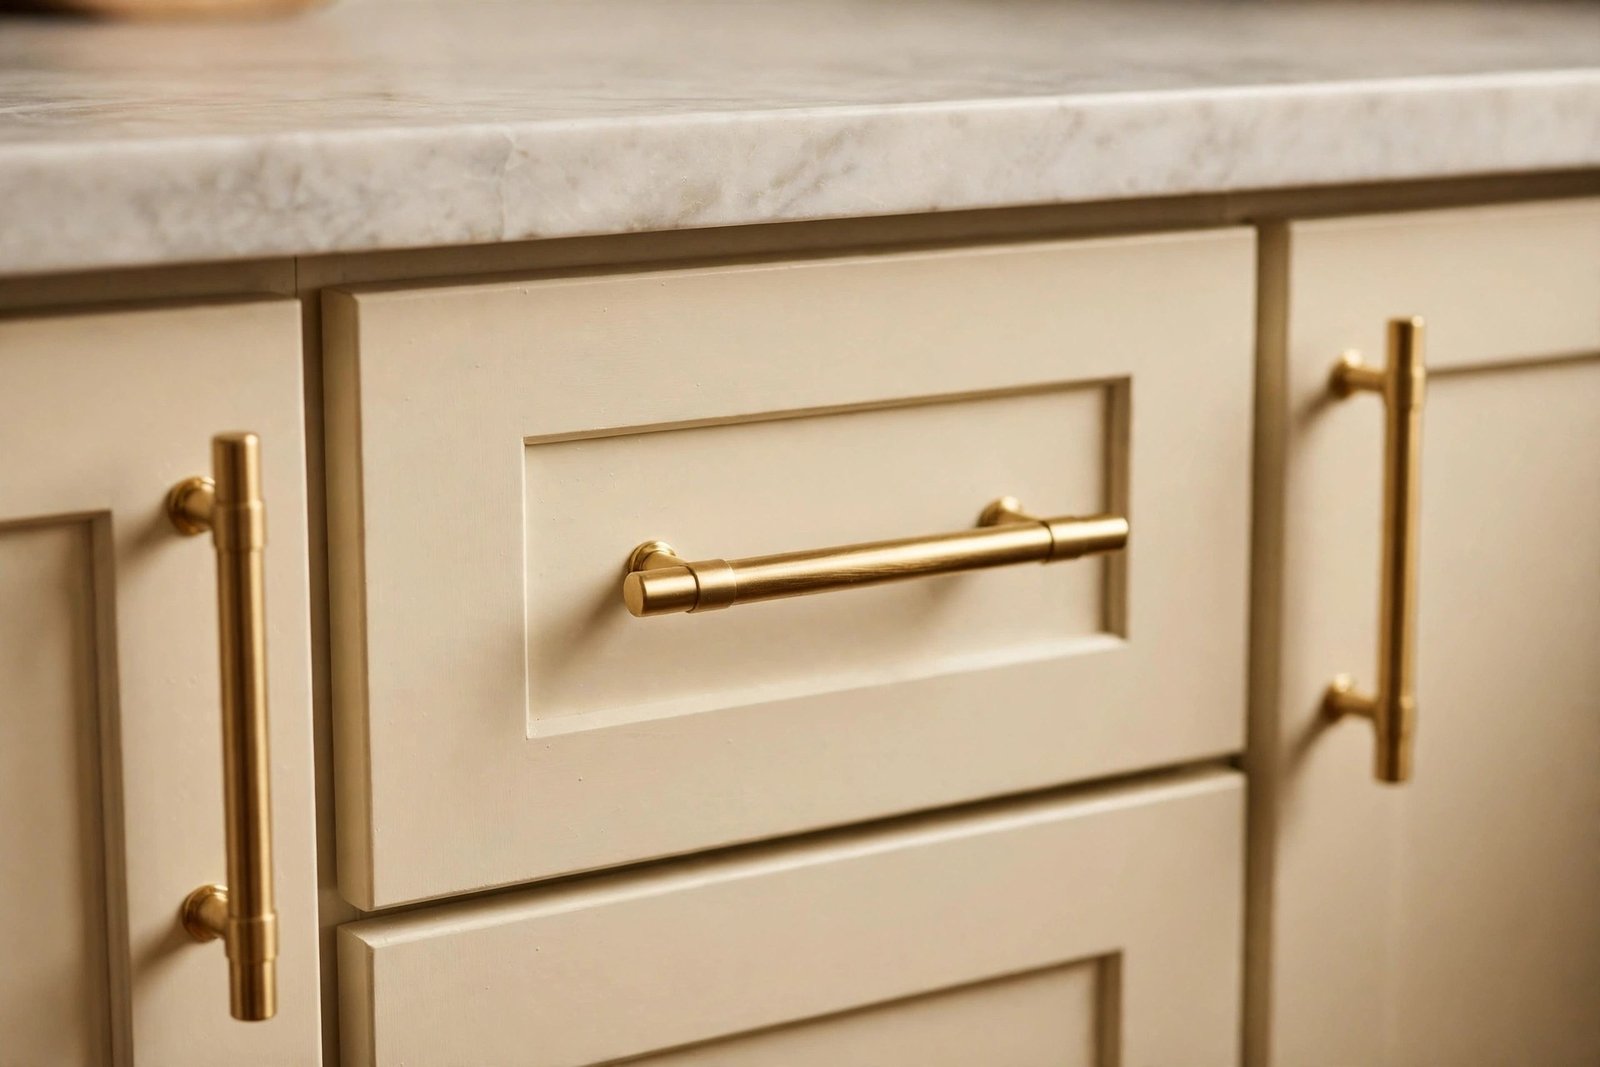
With the fronts painted or replaced, the old handles become the oldest thing in the room. New handles in one finish — chosen once, repeated everywhere — finish the cabinet transformation for remarkably little money. Measure the screw-hole spacing on your existing handles before ordering so the new ones fit the same holes, and keep the style simple: plain bars and knobs in a warm metal or matte black date far more slowly than ornate designs. Include the fridge and dishwasher handles in your thinking if they are visible; the room reads as one design when the metal finishes agree.
Fix 4: Lighting — The Fix That Changes How Everything Looks
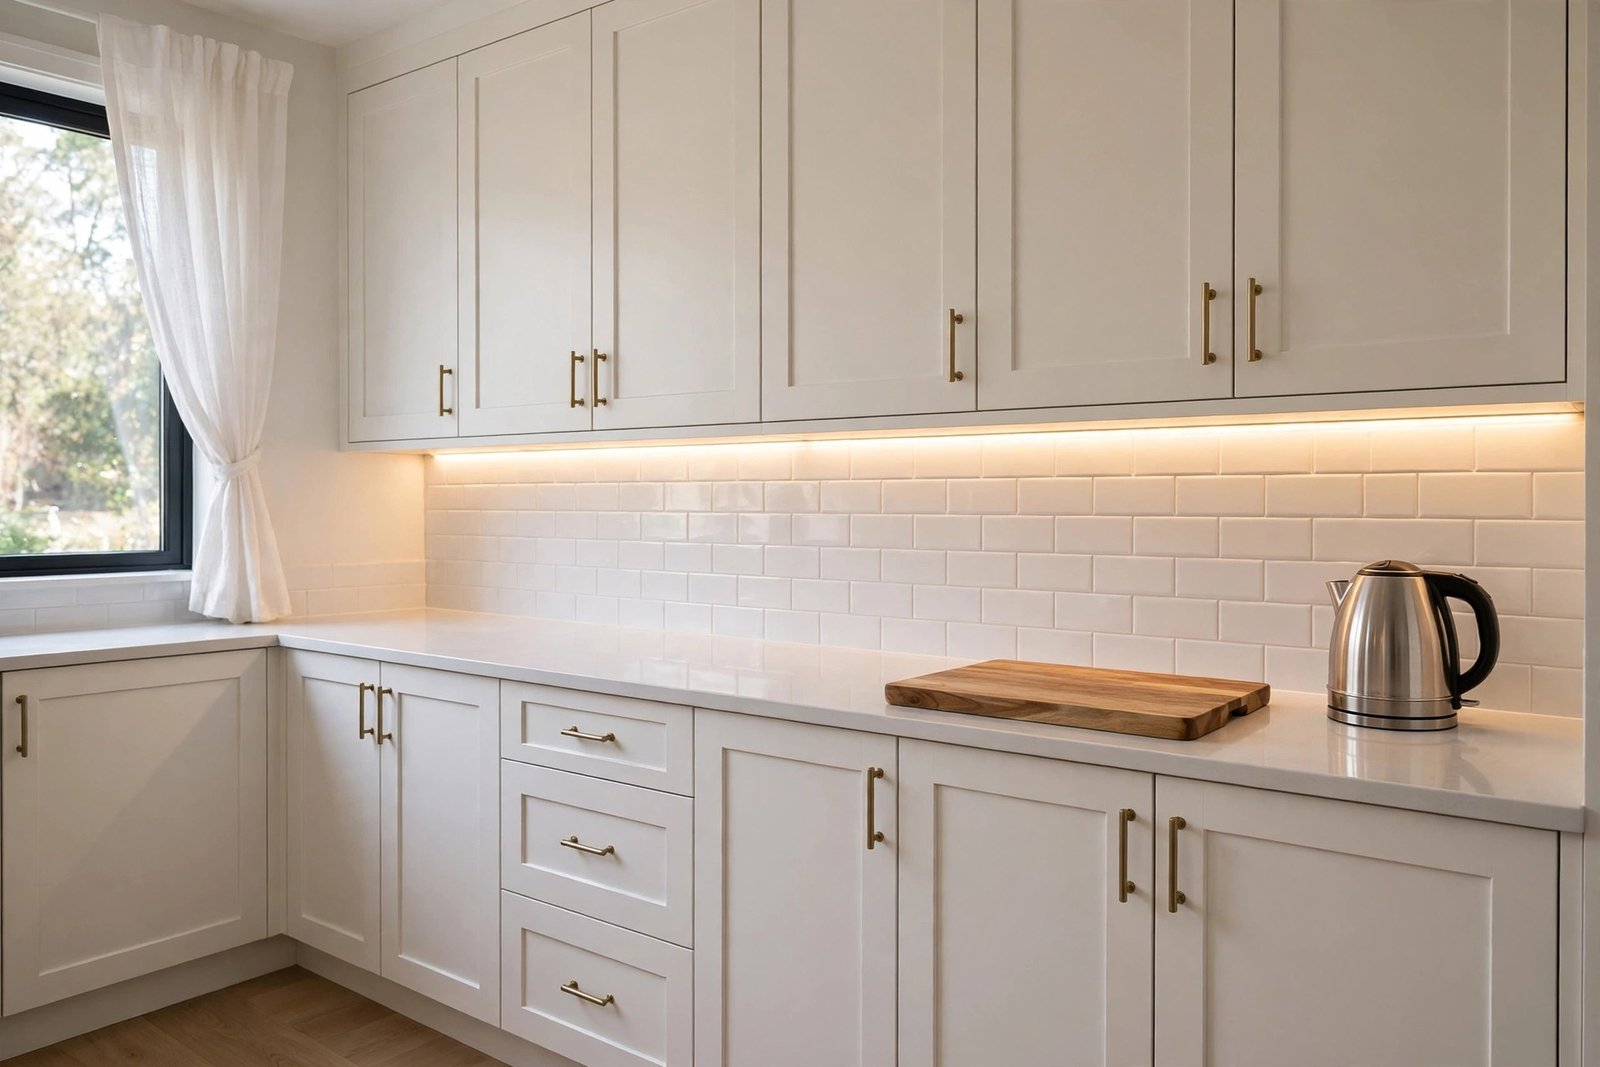
Many dated kitchens are lit by a single ceiling fitting that leaves the worktops in shadow — your own body blocks the light exactly where you chop and cook. Under-cabinet LED strips or bars are cheap, mostly plug-in or battery powered, and transform the working kitchen instantly; they also make new paint look its best. Our guide to kitchen lighting shadows on the counter and how to fix them covers placement and colour temperature in detail.
Swap remaining bulbs for warm-white LEDs of the same temperature throughout, so the room is not lit in patches of blue and yellow. If the main fitting itself is a dated fluorescent tube, replacing the fitting — an electrician’s short visit, or a like-for-like swap where regulations allow — is worth its place in this position in the order.
Fix 5: Worktop and Splashback Covers
Only now, with the big surfaces and light sorted, is it worth covering a tired worktop. Worktop wrap film in a stone or wood effect, applied carefully on a clean, dry surface, gives a fresh counter for very little; it is not a forever surface — use boards and trivets — but it buys years. Peel-and-stick splashback panels or tile stickers do the same job behind the hob and sink; choose genuinely heat-resistant products near the hob and test adhesion in a hidden corner first. If the worktop itself is damaged or swollen, thin overlay worktops that sit on top of the old one are the next step up in cost and a great deal cheaper than full replacement.
Fix 6: Floor Touch-Ups
A stained or lifting kitchen floor undermines everything above it, but the floor is also the most disruptive job in the room, which is why it sits late in the order — and why, on a budget, it should often be a touch-up rather than a replacement. Re-stick lifting vinyl edges, replace a single cracked tile, or lay sheet vinyl fresh if the area is small. If the floor truly has to be replaced, our room-by-room guide to flooring on a budget and where to save money explains why kitchens deserve a water-tolerant material and where in the whole-house order this spend belongs.
Fix 7: Styling — Only Now
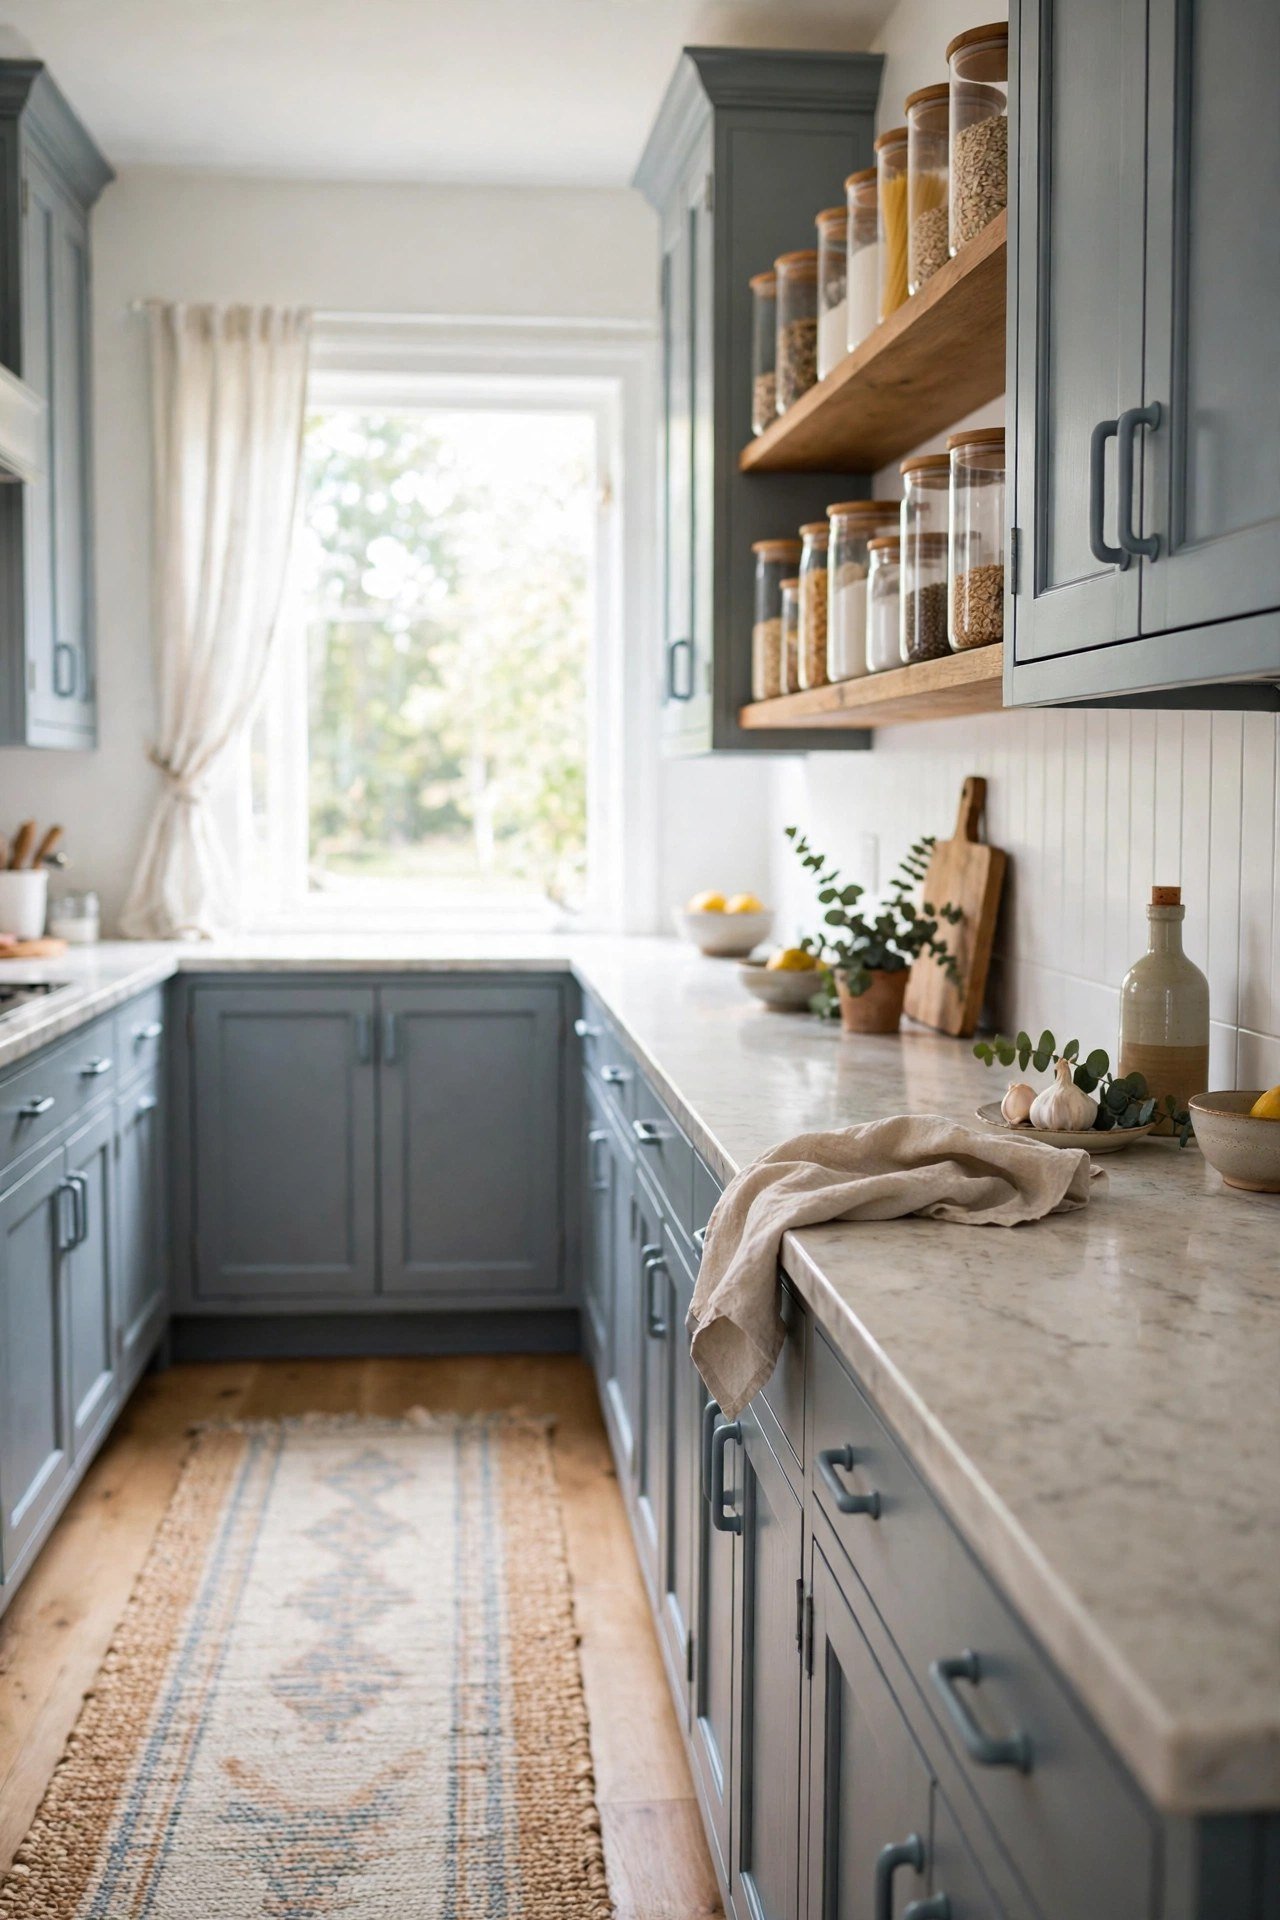
With clean, painted, lit surfaces, styling finally has something to work with. A rail with matching utensils, a few glass jars for dry goods in place of branded packets, one plant on the windowsill, a decent runner on the floor and new tea towels in the room’s accent colour — small things, but they are what make a kitchen read as finished rather than merely repaired. Keep the worktops mostly empty; the clear space you created in Fix 1 is itself the most modern-looking feature in the room.
Mistakes to Avoid
Styling first. New jars and a plant on top of greasy cabinets and fluorescent light change nothing. The order exists because each stage is the foundation for the next.
Painting cabinets without degreasing and priming. Kitchen grease defeats paint invisibly; a rushed job chips within the year and looks worse than the dated doors did. Preparation is most of the work and nearly all of the result.
Covering a damaged worktop with film. Film shows every dent and swells over water damage. Sound surfaces only — or step up to an overlay worktop.
Buying one fashionable gadget instead of the sequence. A designer kettle in a dim, cluttered kitchen is money parked in the wrong fix. The boring order beats the exciting purchase every time.
Mixing metal finishes by accident. Handles, tap, rail and appliance trims in three different metals look like three different kitchens. Pick one finish in Fix 3 and hold the line.
Frequently Asked Questions
What is the cheapest way to make a dated kitchen look better?
The first two fixes: a ruthless declutter and deep clean, which cost nothing but time, and then painting the cabinet fronts. Together they remove the two biggest causes of “dated” — clutter and cabinet colour — for the price of paint, primer and a weekend.
How long do these low-cost fixes last?
Well-prepared cabinet paint lasts years with small touch-ups; handles and lighting are permanent until you tire of them. Worktop film and splashback stickers are the shortest-lived items — treat them as two-to-five-year surfaces that buy time while you save for the real thing.
Should I paint the cabinets or replace the doors?
Paint when the doors are solid, flat or simply styled, and the colour is the problem. Replace the doors when they are damaged, warped, foil-wrapped and peeling, or an ornate style that paint cannot modernise. Either way, keep the boxes and layout if they work.
What should I spend on first: cabinets or worktop?
Cabinets, almost always. They occupy far more visual area, so their colour change transforms the room; a new-feeling worktop film or overlay can follow cheaply later. The exception is a worktop that is damaged or unhygienic — that becomes a repair and jumps the queue.
The Bottom Line
A dated kitchen is usually a cluttered, greasy, dim kitchen wearing sound cabinets — and each of those problems is cheap in the right order. Clean and clear first, transform the cabinet fronts, finish with handles and proper light, then cover the worktop, touch up the floor and style what is left. Follow the sequence and the kitchen feels renovated for a small fraction of a refit’s cost; skip to the fun parts first, and even the fun parts will look tired.