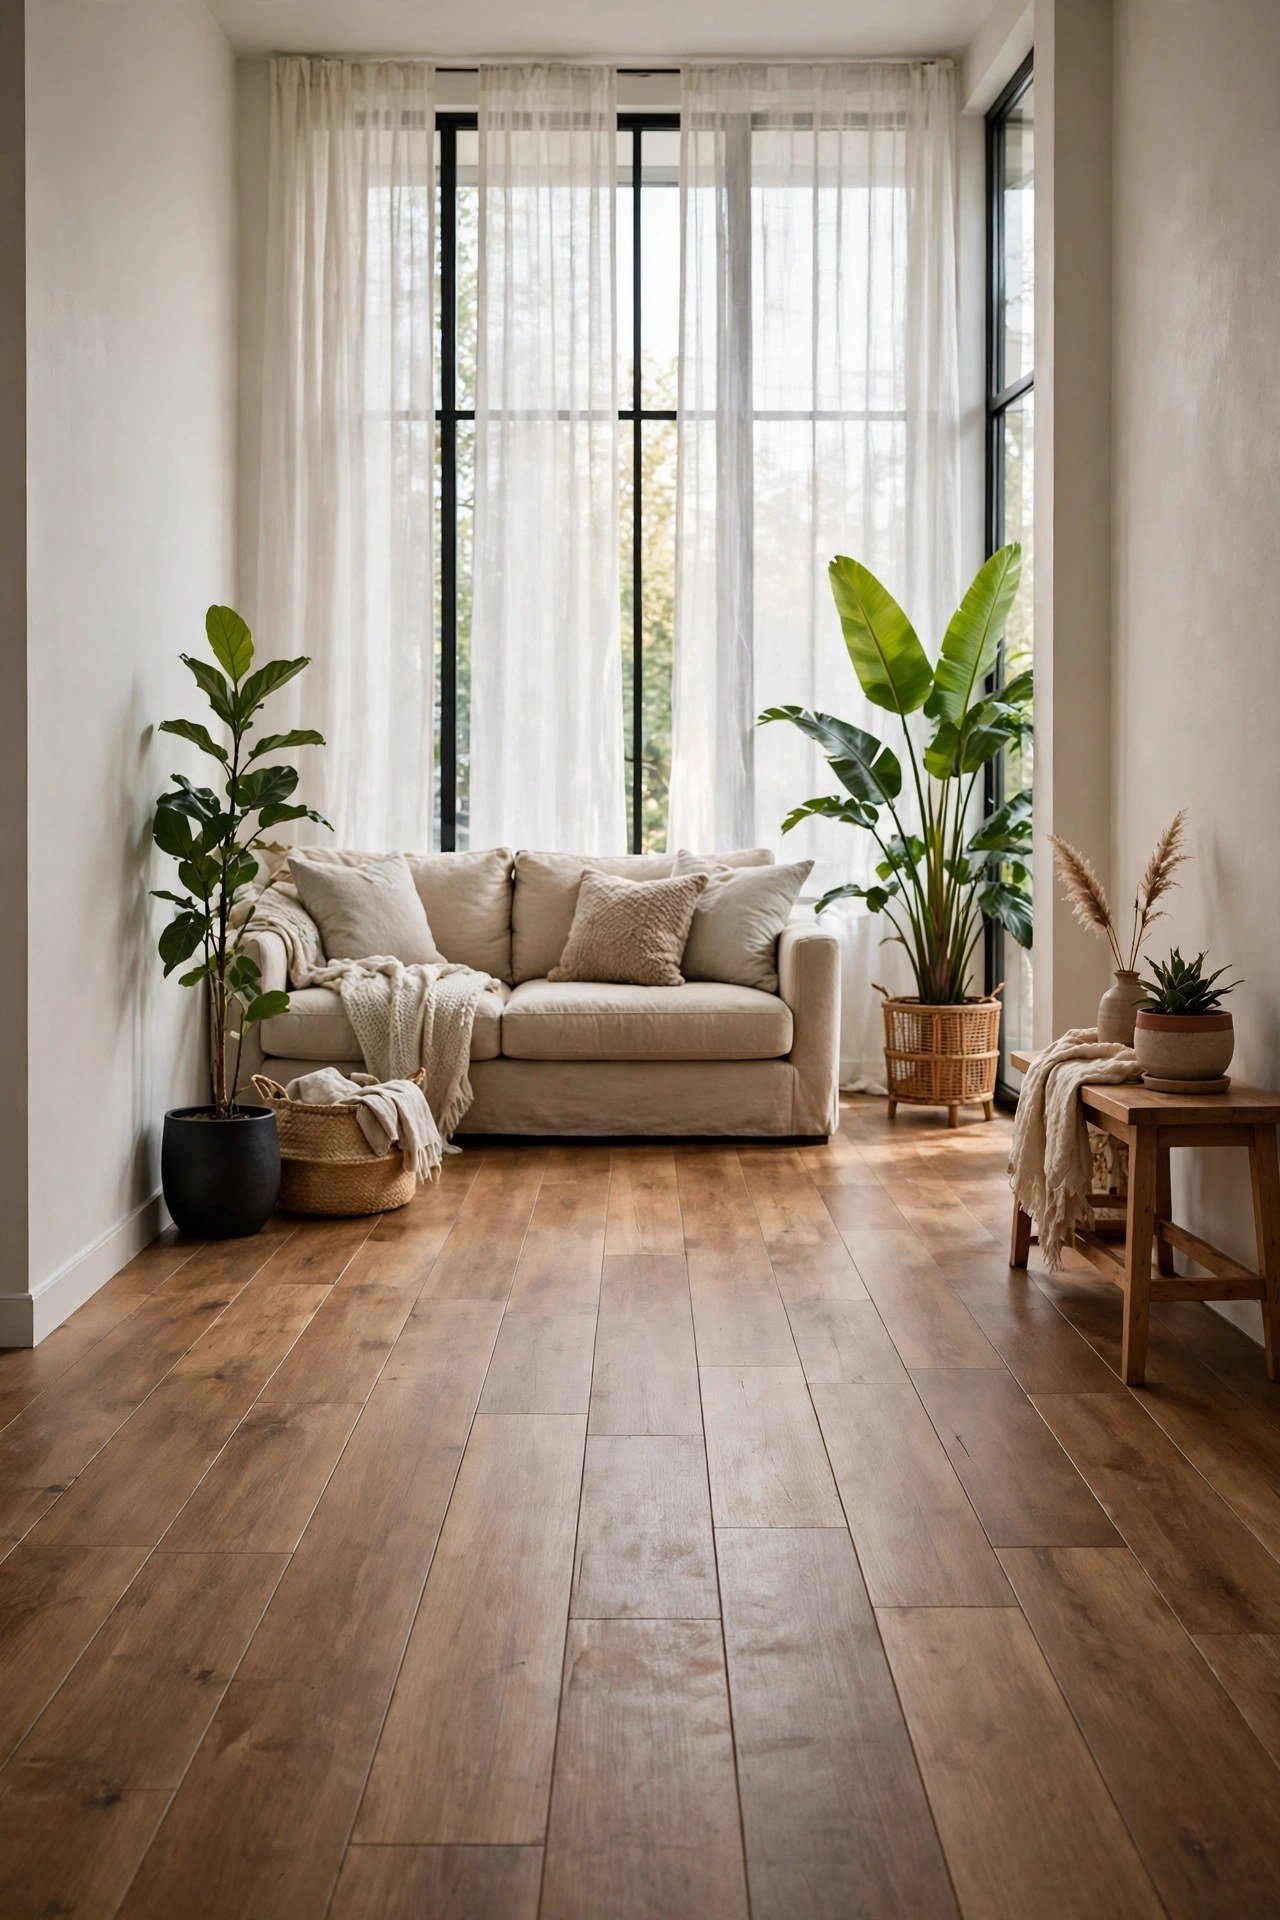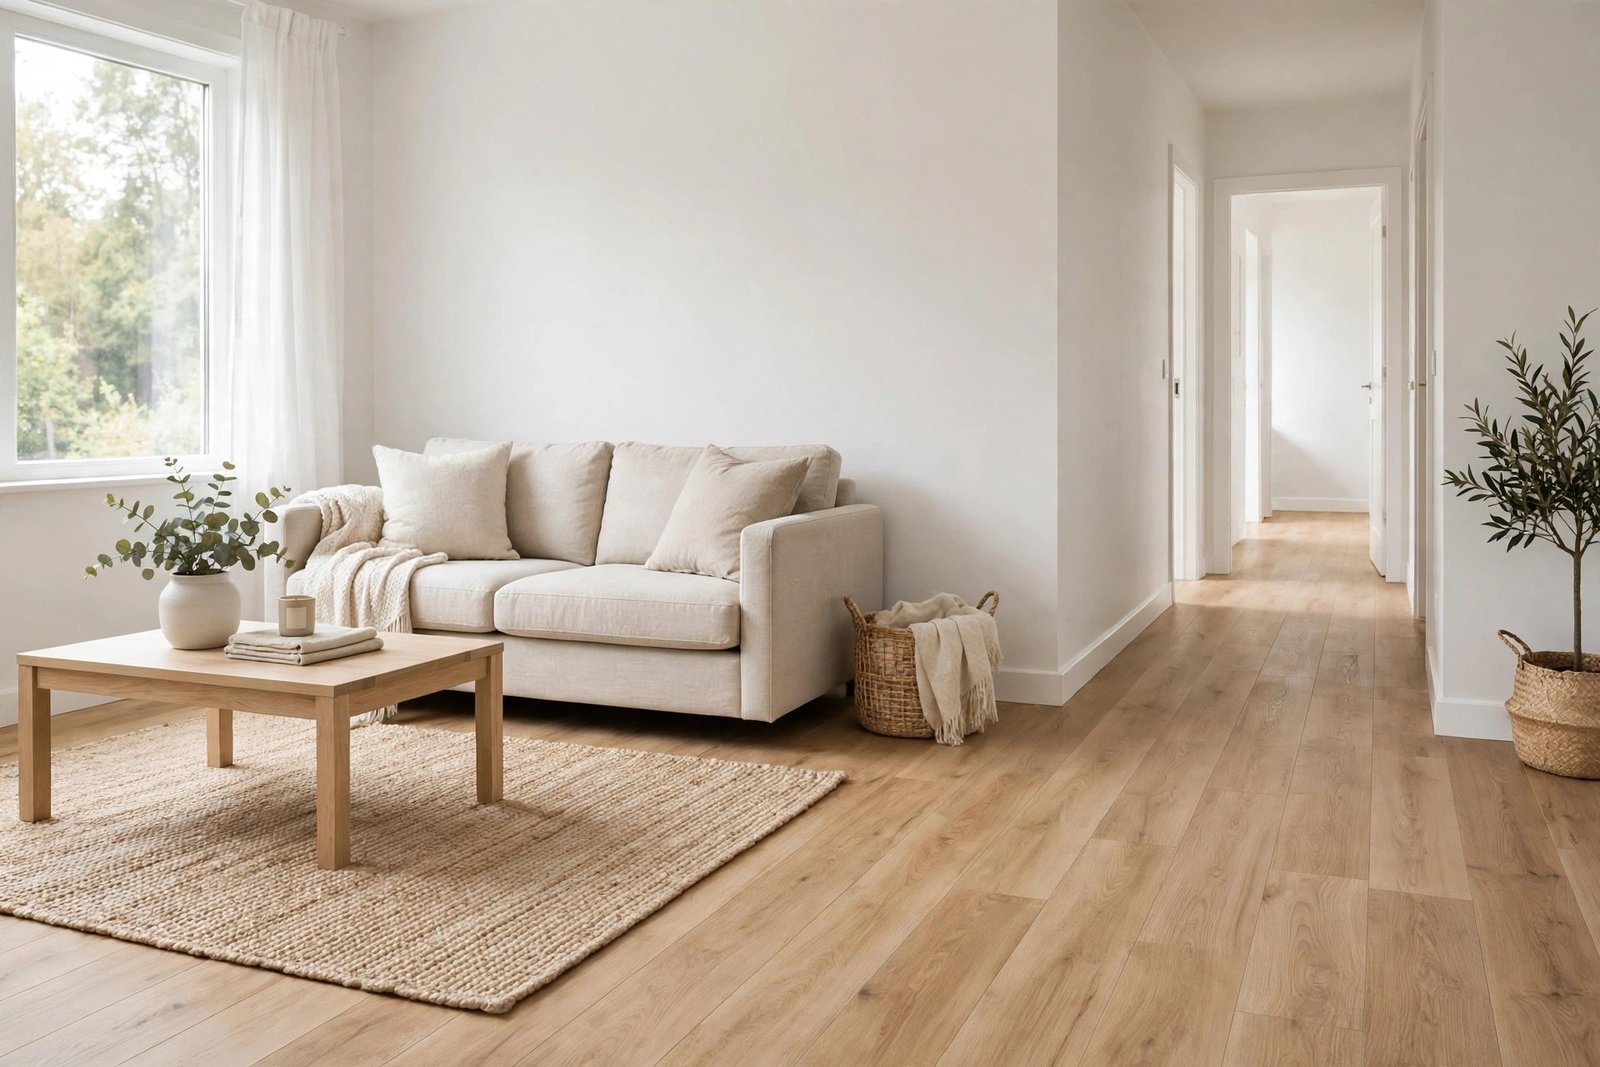
Flooring is one of the biggest single costs in any renovation, and it is usually the job people either rush first or postpone forever. Both reactions waste money. Rushing means laying an expensive floor in a room that barely gets used while the hallway still looks worn out. Postponing forever means living with a floor that makes every other improvement invisible — new paint and furniture still look tired when the floor underneath them is stained, lifting or dated.
The good news is that flooring responds well to planning. Rooms do not all wear out at the same speed, materials do not all cost the same to buy or to fit, and there are honest places to save that do not come back to bite you. This guide gives you the order to tackle rooms, a fair comparison of the main budget materials, and the short list of corners you should never cut.
Quick Answer
On a budget, floor the rooms in this order: hallway and living room first (highest traffic, most seen), kitchen second (hard wear, water risk), main bedroom third, and spare rooms and bathrooms last. The best value materials are usually sheet vinyl and good laminate or click vinyl; the safest savings are fitting click systems yourself, doing the preparation yourself, and using one flooring across connected rooms so there are no thresholds or wasted offcuts. The false economies are thin wear layers in busy areas, cheap laminate anywhere near water, and skipping subfloor preparation.
Step 1: Rank Your Rooms by Wear and by Hours
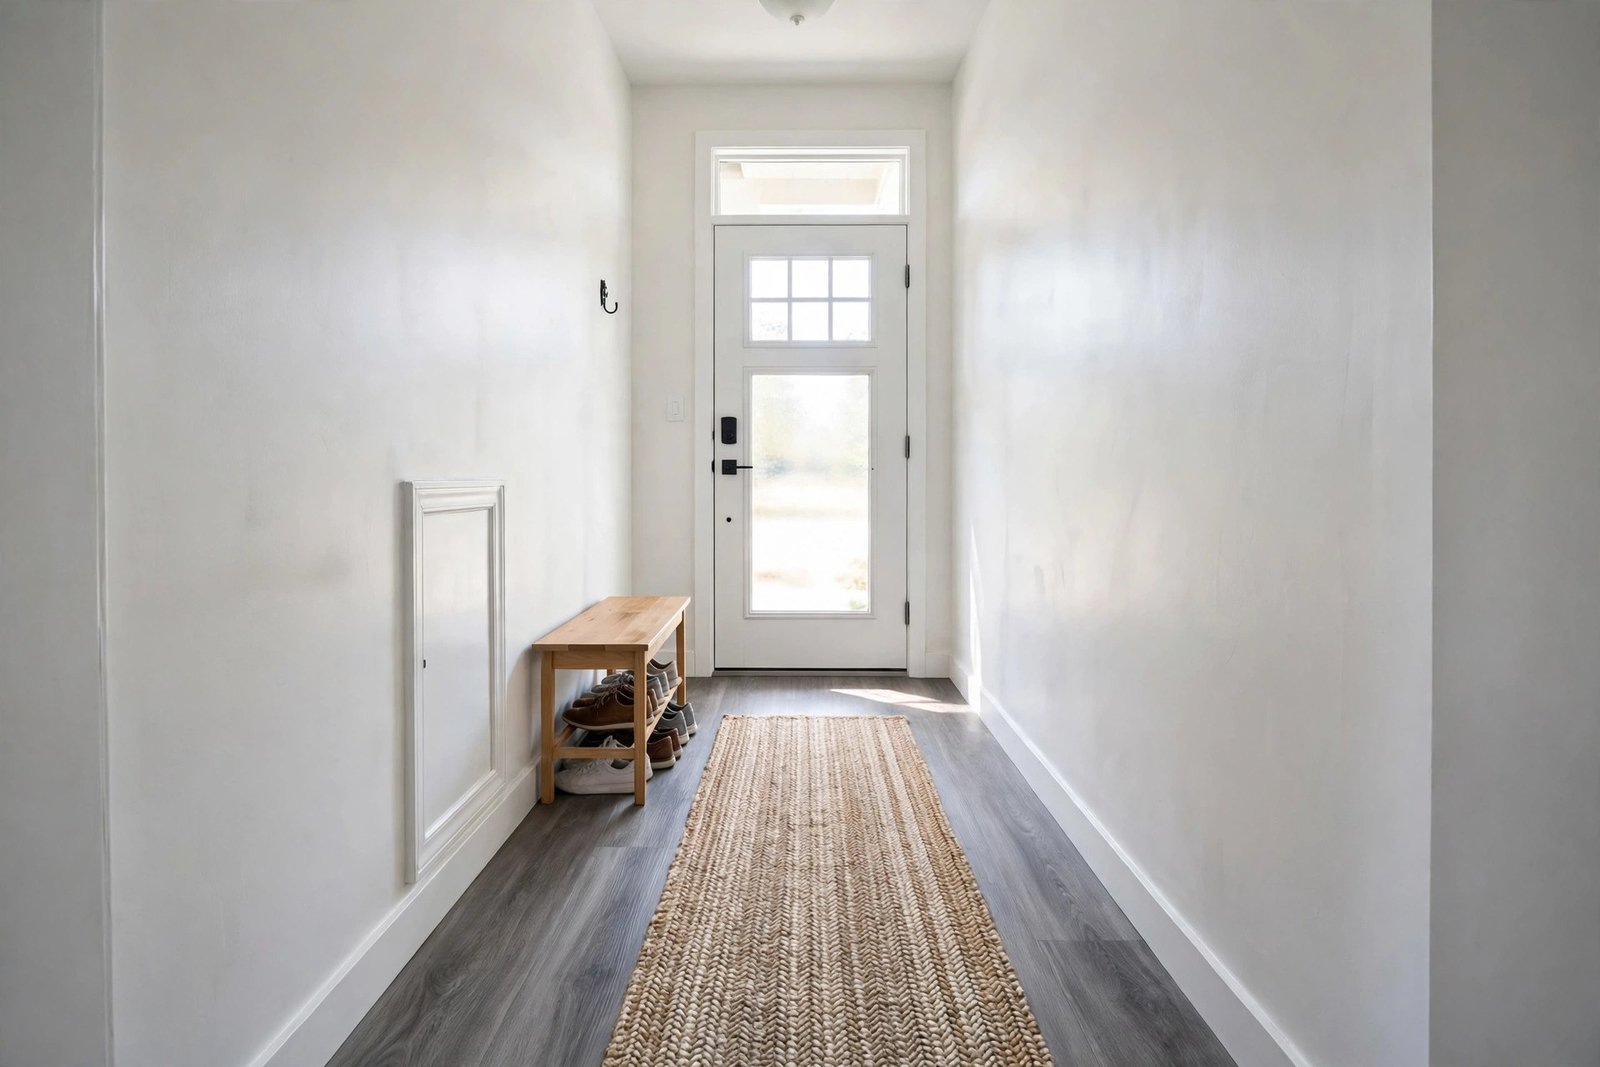
Not every room deserves the same floor. Before pricing anything, walk the house and sort the rooms into three groups. Heavy wear: the hallway, entrance and kitchen take grit, water and daily traffic; floors fail here first and look worst fastest. Daily living: the living room and main bedroom are seen and used for hours every day, so a tired floor here drags the whole home down. Light use: spare bedrooms, studies and guest rooms can honestly wait a year or two — or take a cheaper material — without anyone suffering.
This ranking is the same thinking behind our wider guide to renovating on a tight budget and what to fix first for the biggest change: spend where daily life actually happens, and let low-use rooms be patient. A beautiful new floor in a guest room nobody enters is money that should have gone under your own feet.
Step 2: The Honest Cost Ladder
From cheapest to most expensive to buy and fit, the usual order looks like this — in general terms, since prices vary widely by country and season.
Carpet is often the cheapest way to cover a bedroom or stairs, warm underfoot and forgiving of an uneven subfloor. It wears fastest in hallways and cannot handle water, so keep it out of kitchens and bathrooms.
Sheet vinyl is the budget workhorse: one unbroken sheet means no seams for water to enter, it is soft and quiet, and modern designs imitate wood and stone convincingly at arm’s length. It can tear under dragged furniture and is harder to patch invisibly, but for kitchens, bathrooms and rentals it is hard to beat on value.
Laminate and click vinyl (LVT) sit in the middle. Click-together planks are the most DIY-friendly floors there are — no glue, no nails, cut with basic tools — so you save the fitting cost entirely. Laminate hates standing water; click vinyl handles it far better and is the safer budget pick for kitchens.
Ceramic and porcelain tile cost more in labour than in materials, because a tiled floor is slow, skilled work. It lasts decades and laughs at water, which makes it excellent value in a small bathroom — where the area is tiny — and poor value as a budget choice for a large kitchen.
Real wood and engineered wood sit at the top. Beautiful and repairable, but on a tight budget they are rarely the right first spend, except in one small, high-impact room.
Step 3: Where You Can Save Money Safely
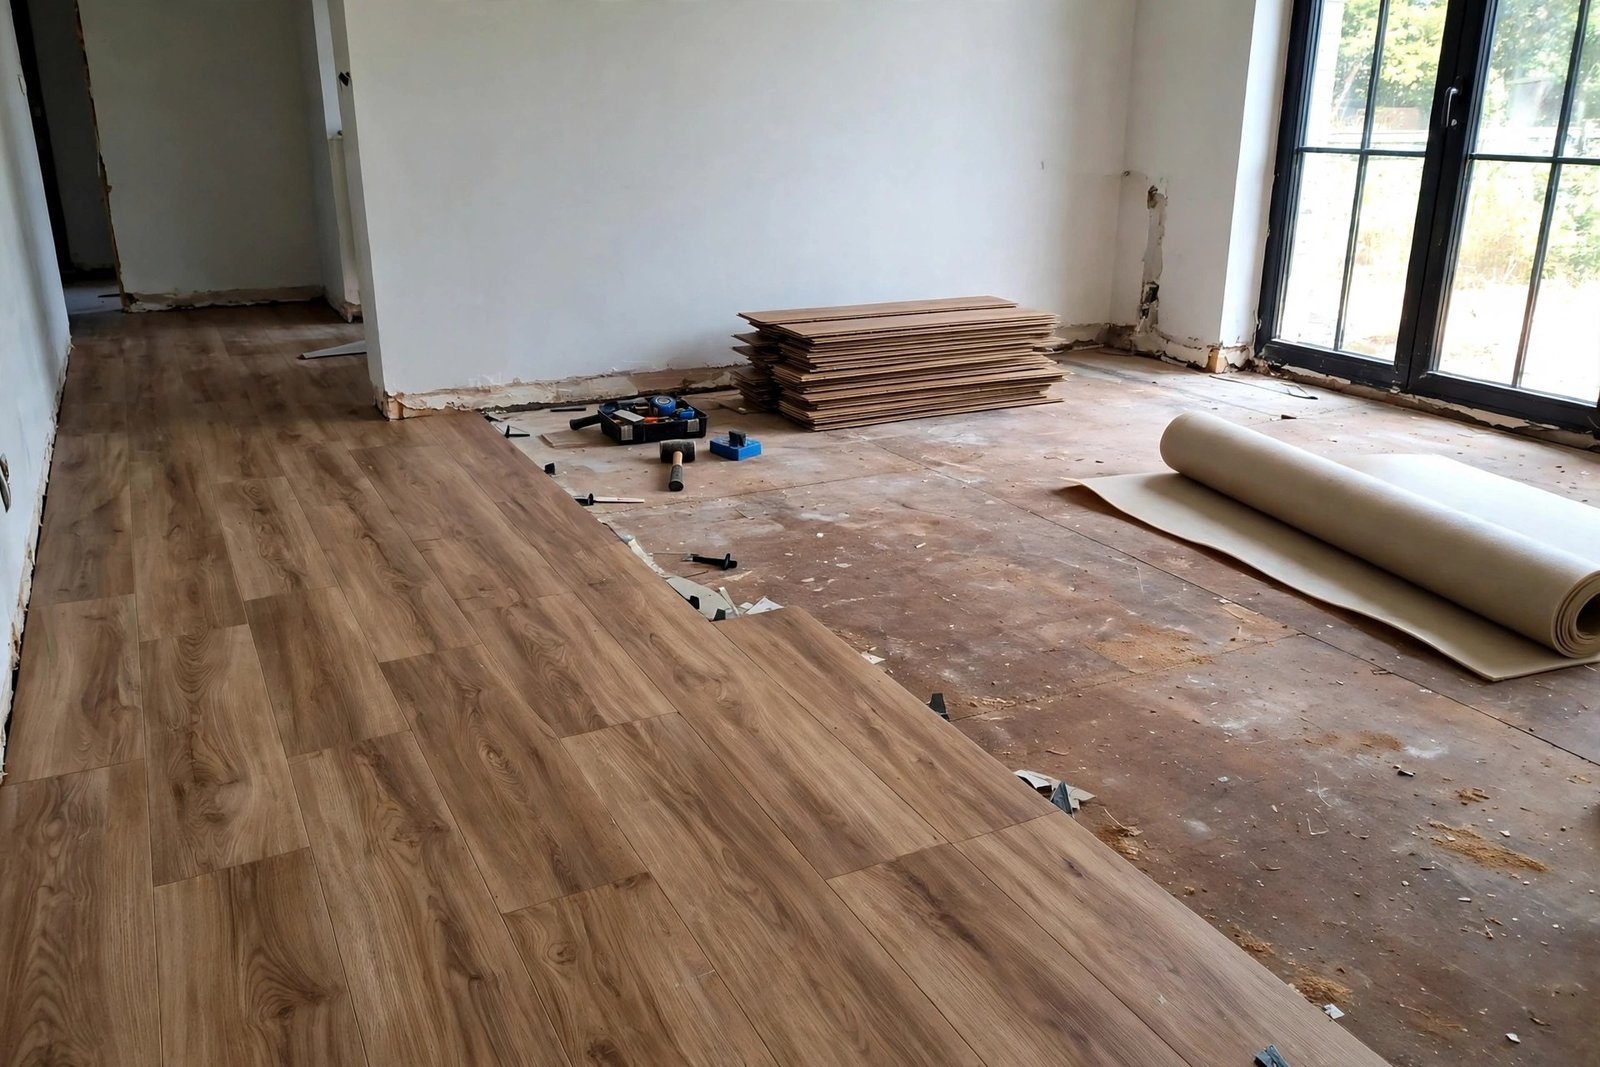
Fit click floors yourself. Fitting is often close to half the total bill for laminate and click vinyl. The systems are designed for homeowners: level the base, roll out underlay, click the planks together, leave an expansion gap at the edges. A living room is a weekend job for a careful beginner.
Do the preparation yourself, even if a fitter lays the floor. Lifting the old flooring, removing staples and skirting, and clearing the room are unskilled hours you are otherwise paying for. Fitters charge for everything they touch; hand them a clean, empty, ready room.
Use one flooring across connected rooms. Running the same click vinyl from hallway into living room removes thresholds and door bars, lets you buy in bulk, and uses offcuts instead of wasting them. Visually it also makes small homes feel bigger, because the eye reads one continuous surface.
Cover before you replace. A sound but ugly floor in a low-priority room can be postponed properly with a large rug — choose the size using the same rules as our guide to living room rug sizes for your seating, and the room feels finished while the budget recovers.
Step 4: Where Cheap Flooring Is a False Economy
Thin wear layers in busy areas. The wear layer is the clear coat that takes the damage. Budget vinyl and laminate with a very thin layer can look worn in a hallway within a couple of years, and there is no way to refinish them — you replace the floor again. Spending a little more per square metre in the hallway beats redoing it twice.
Laminate near water. Laminate’s fibreboard core swells when water seeps into the joints. In a kitchen or bathroom, one slow leak under an appliance can bubble a whole floor. Click vinyl and sheet vinyl exist precisely for these rooms.
Skipping the subfloor. Every floor telegraphs what is beneath it. Boards laid over a bouncy, uneven base flex, creak, open at the joints and wear at the high spots. Levelling compound and proper underlay are unglamorous and cheap compared with relaying a failed floor.
Forgetting the extras. Underlay, door bars, skirting or beading, delivery and waste removal routinely add a noticeable slice to the headline price. Budget for the complete job, not the cost per square metre on the box.
How to Phase the Work, Room by Room
Phase one: hallway and living room together if they connect, since one material across both is cheaper and looks better. Phase two: the kitchen, choosing a water-tolerant floor and sealing the edges properly. Phase three: the main bedroom — carpet is a legitimate budget choice here, warm and cheap over a large area. Phase four: bathrooms, where a small area means sheet vinyl gives a near-tile result for a fraction of tile’s labour cost. Spare rooms come last, whenever the budget genuinely allows, and until then a rug and a deep clean carry them. If the kitchen is your biggest daily frustration, pair this plan with our step-by-step sequence of low-cost fixes for a dated kitchen, so the floor lands in the right place in the overall order.
Mistakes to Avoid
Flooring a low-use room first because it is easiest. Easy is not the same as valuable. The guest room can wait; the hallway cannot.
Choosing on the sample alone. A small sample hides pattern repeats and colour shifts. Borrow or buy a full plank or a metre of vinyl and live with it in the room’s real light for two days.
Mixing many different floors in a small home. Every change of material adds thresholds, visual clutter and wasted offcuts. Two floor types per home is a good budget rule.
Laying the new floor before fixing a leak or damp. Water problems must be solved first, or the new floor becomes the most expensive way to discover them.
Measuring once. Measure each room twice, add a sensible allowance for cuts and mistakes, and check whether door clearances survive the new floor’s thickness before you order.
Frequently Asked Questions
Which room should I floor first on a small budget?
The hallway or the living room — whichever is more worn. Both are high-traffic and highly visible, so the improvement is felt every day. If they connect, do them together in one material and save on fitting, thresholds and waste.
Is it cheaper to floor the whole house at once?
Usually slightly cheaper per room, because a fitter visits once and bulk buying helps. But it demands the full budget up front and empties every room at the same time. Phasing room by room costs a little more overall yet spreads the cost and the disruption — for most tight budgets, phasing wins.
What is the cheapest flooring that still lasts?
Sheet vinyl in wet and busy rooms, mid-range click vinyl in living areas, and basic carpet in bedrooms. All three can give years of service if the subfloor is prepared and the wear layer is not the thinnest available.
Can I lay a new floor over the old one?
Sometimes. Click floors can often float over sound, level, hard flooring such as tile or sealed vinyl. They cannot go over carpet, spongy old vinyl or anything damp or uneven. Check the door clearances too — the door must still swing over the finished height.
The Bottom Line
Budget flooring is not about the cheapest material; it is about the right material, in the right room, in the right order. Hallway and living room first, kitchen second, bedrooms after, and bathrooms whenever you can — sheet vinyl and click systems where water and wear demand them, carpet where warmth matters more. Save on fitting and preparation labour, never on wear layers, water tolerance or the subfloor, and one room at a time will get you a house that feels re-floored long before every room is done.